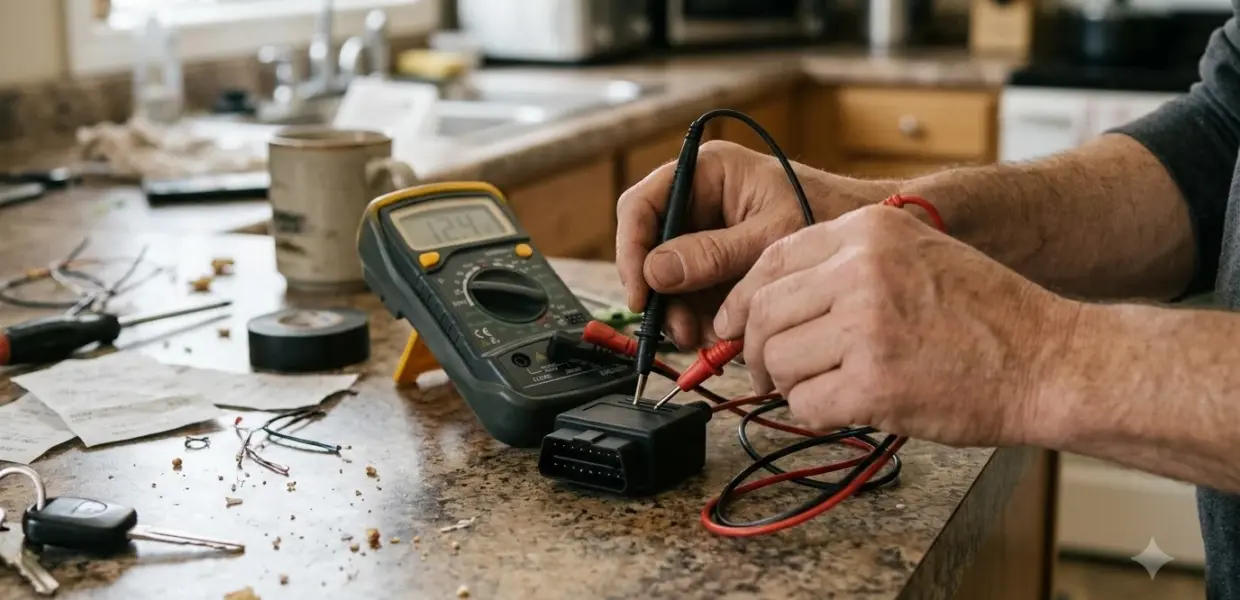

Learning how to test a fuel pump means checking five things: the key-on run, pump voltage, fuel pressure, fuel volume and injector pressure drop. A healthy pump runs briefly at key-on, holds steady pressure and delivers about 3/4 to one quart of fuel in 30 seconds.
Learning how to test a fuel pump takes a multimeter and a fuel pressure gauge for most checks. Fuel systems hold both pressure and fuel, so relieve pressure first and keep sparks and flames away from the work.
Fuel system work can release fuel and vapor, so follow your vehicle’s service manual and stop if any step is unclear. Gasoline direct injection systems run at much higher pressure and need the manufacturer’s procedure.
How to Test a Fuel Pump With the Key-On Check
With the key on and the engine off, a working pump should run for a couple of seconds, because the engine computer triggers it through the fuel pump relay.
- Turn the key to ON without cranking and listen. The pump should run for a couple of seconds.
- Crank the engine and listen again. A working pump makes a little noise. No noise means it is not spinning.
- If the pump is silent, route power directly to the pump, following your service manual’s wiring diagram.
- If the pump runs on direct power, the relay or its wiring is at fault. If it stays silent, suspect the pump or its wiring.
- Shake the relay. A rattle inside means the relay is broken.
Knowing how to test a fuel pump starts here, because this check needs no gauge and shows whether the relay or the pump needs a closer look. Check the relay and its wiring before you condemn the pump.
Check the Fuel Pump Voltage and Relay
Pump supply voltage should be within half a volt of normal system voltage, so measure it with a multimeter before you condemn the pump.
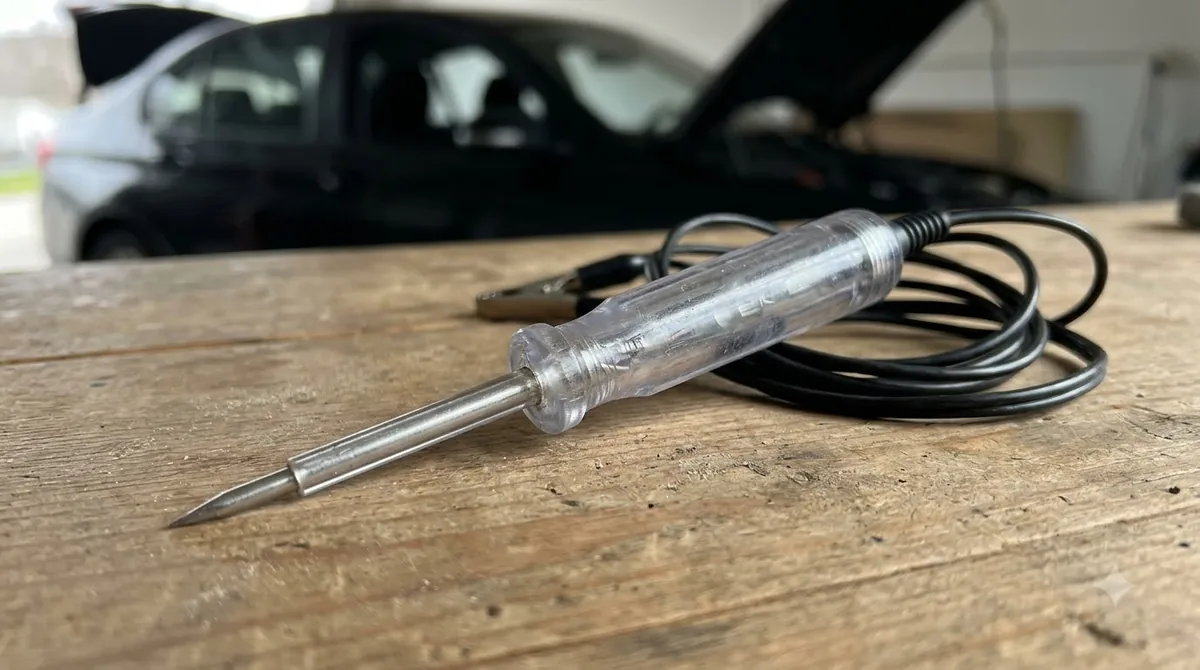
The voltage check comes second in how to test a fuel pump. Measure at the pump supply with the circuit energized, using a digital multimeter on your car, then compare the reading with system voltage. A reading more than half a volt away means the supply circuit needs checking before you blame the pump.
- Within half a volt of system voltage: the supply is normal, so move on to the pressure checks.
- Voltage present at the pump with no pump operation: the pump is the suspect part.
- Pump runs on direct power but not through the relay: the relay or its wiring is the suspect part.
Relieve Fuel Pressure Before Any Gauge Test
Relieve all fuel system pressure before you connect a pressure gauge, because opening a pressurized line can spray fuel.
Safety comes first in how to test a fuel pump, so do this step before any gauge work. Follow these rules at every stage.
- Relieve pressure using the method in your service manual before any fuel line is opened.
- Keep open sparks and flames away from the work area during every test.
- Keep spark plug wires clear while cranking, since touching them can cause a shock.
- Keep fingers clear of the belts and gears while the engine is cranked.
- If you use a spark tester, ground it to the engine block.
Work in a well ventilated area. Relief methods vary by vehicle and engine design, so the manufacturer’s steps beat a generic one. If you cannot find the relief method in the service manual, stop and get the procedure before you go further.
Run the Fuel Pressure Test: Static, Running and Dead-Head
Many fuel-injected vehicles need 30 to 80 psi to start and run, but the exact spec depends on the vehicle, so check the service manual first.
When you test a fuel pump with a gauge, connect it to the fuel rail test port, following your service manual to find it. A guide to using a fuel pressure tester covers the hookup. According to AA1Car’s fuel pump diagnosis guide, pressure even a couple of psi below spec may cause a no-start or rough running.
| Test | What you check | Reference from AA1Car |
|---|---|---|
| Static pressure | Key on, engine off | Pressure rises quickly and holds steady |
| Running pressure | Engine idling | Compare with the manufacturer’s range |
| Residual pressure | After engine shutdown | Holds several minutes; check the spec for allowable drop |
| Dead-head pressure | Return line pinched shut, engine at idle | About two times normal operating pressure |
| Regulator test | Vacuum hose off, engine running | Pressure rises 8 to 10 psi; a wet vacuum hose means a leaking diaphragm |
Reading these numbers together, not one at a time, is part of how to test a fuel pump. Low pressure with a normal voltage reading is the case to check the regulator before you replace the pump.
Run a Fuel Pump Volume Test Safely
A good pump delivers about 3/4 to one quart of fuel in 30 seconds when energized with the engine off, according to AA1Car’s guide.
- Relieve fuel system pressure, then disconnect the fuel line at the point your service manual specifies.
- Place a clean container under the line.
- Energize the pump with the engine off, and keep sparks and flames away from the test.
- Measure the fuel for 30 seconds, then compare the volume with the spec for your vehicle.
The volume test is one step in how to test a fuel pump, and the quart figure is a rule of thumb. The service manual spec is the number to use. A low result is a reason to repeat the pressure and voltage checks before you order parts. If the pump does fail, the fuel pump repair cost guide shows what the replacement can run.
Check Injector Pressure Drop and Fuel Trims
Each injector should show a pressure drop of about 1 to 3 psi in the drop test, with no more than 5 to 7 psi in total.
Run this check after rail pressure is confirmed, because it helps separate a pump fault from an injector fault. Each injector is pulsed 100 times at 5 milliseconds while you watch the gauge. Injector wiring and resistance checks are a separate job, covered in the guide to how to test a fuel injector.
- The pressure drop should differ by 2 psi or less between injectors.
- A difference of more than 3 psi suggests dirty injectors.
- No drop at all points to a clogged or defective injector.
- A bouncing gauge needle points to a sticking injector.
- Scan tool fuel trims (see short term fuel trim): plus or minus 8 is normal, while short-term trims above 8 or long-term trims above 10 indicate a lean condition, although vacuum leaks and other faults can also cause lean readings.
When GDI Fuel Systems Need Different Steps
Gasoline direct injection systems run at far higher pressure than port injection, so the manufacturer’s residual pressure procedure comes first.
According to NHTSA Technical Service Bulletin 19-FL-001H, Hyundai and Kia Theta port-injection systems regulate fuel at 42 to 64 psi, while the GDI high-pressure line runs from 290 to 3,626 psi, depending on the model.
That bulletin covers only the listed Theta 2.0T and 2.4L models, including certain Sonata, Santa Fe, Tucson and Veloster N model years. Do not apply its numbers when you test a fuel pump on other engines. As the bulletin summarizes, residual pressure release on these models works like this:
- Remove the fuel pump relay.
- Start the engine and let it idle until the engine stops.
- Turn the ignition to OFF, then reinstall the fuel pump relay.
- Clear any trouble codes related to disconnecting the fuel pump relay before the repair is finished.
For any other GDI engine, look up the residual pressure procedure in the service manual before you open a high-pressure line. Knowing how to test a fuel pump on a GDI car starts with that procedure.
Frequently Asked Questions
How do you test a fuel pump without a gauge?
You can run several checks without a gauge. The key-on run, the relay bypass, the relay shake test, the voltage check and the volume test need no pressure gauge, although the volume test needs a container. Reading fuel pressure itself needs a gauge connected to the test port, so a full fuel pump test needs one.
What pressure do you need when you test a fuel pump?
Many fuel-injected vehicles need 30 to 80 psi to start and run, according to AA1Car’s fuel pump diagnosis guide. The exact number depends on the vehicle, so use the specification in the service manual for your car before you decide the pump is good or bad. Knowing how to test a fuel pump means comparing your reading against that number.
Does a low reading always mean the pump is bad?
No. Check that voltage at the pump is within half a volt of system voltage, then run the regulator test. With the vacuum hose off, pressure should rise 8 to 10 psi, so a regulator that fails this test can cause a low reading too. Replace the pump only after those checks are complete.
How long should the pump run when you turn the key on?
The engine computer runs the pump through the relay for a couple of seconds at key-on, which is the first thing to check in how to test a fuel pump. If no engine speed signal follows, it shuts the pump off. A pump that stays silent at key-on, or during cranking, needs the relay and voltage checks next.
What are the bad fuel pump symptoms to look for?
The checks in this guide look for low or unsteady pressure, a pump that makes no noise while cranking, and no pressure reading with voltage present at the pump. Confirm any of these results with the tests above before you replace parts.
Do not replace a fuel pump after a single low reading. Confirm the relay, voltage, pressure and volume results against the service manual for your vehicle first. That is how to test a fuel pump without guessing. Get a qualified shop involved if any step is unclear or pressure stays out of spec.