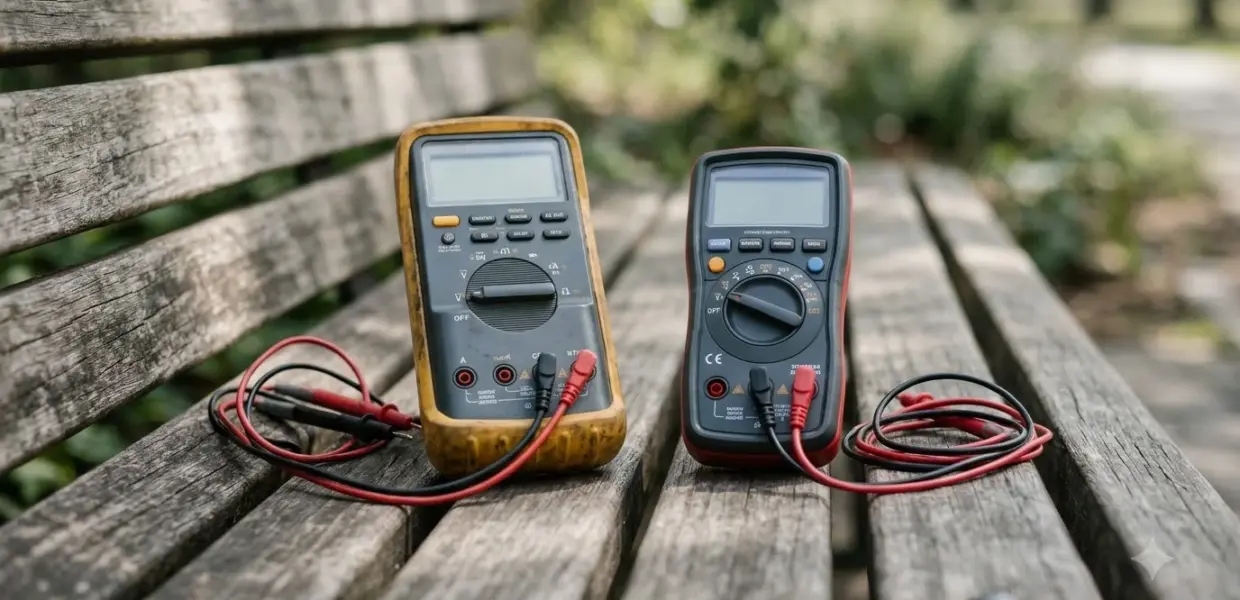

How to test an oxygen sensor comes down to watching its signal voltage with a multimeter at idle and during a throttle snap. A working sensor’s voltage moves constantly, so a flat, unchanging reading is a warning sign.
Learning how to test an oxygen sensor only pays off on a warm engine with no misfire or vacuum leak. Heater problems need a separate check, which the section on the heater circuit covers.
What an Oxygen Sensor Signal Should Look Like
A working oxygen sensor sends a changing voltage to the engine computer, and at idle that signal centers near 150 millivolts. Before you learn how to test an oxygen sensor, it helps to know what a good signal looks like, because the test is a comparison.
The engine computer, also called the powertrain control module (PCM), reads this signal to adjust the fuel mixture. According to the 2carpros oxygen sensor test guide, the idle signal bounces slightly around its center point rather than holding one steady value.
The sensor type matters. A narrowband sensor reports only a narrow window of air-fuel mixture around the ideal ratio, and this test applies to narrowband sensors. Wideband air-fuel sensors use a different design, so they are not covered here. A healthy narrowband signal keeps switching as the mixture moves rich and lean, and that movement is what the test looks for.
What You Need Before You Start
To follow how to test an oxygen sensor, you need a digital multimeter with a millivolt range, your vehicle’s repair manual, and a warm engine.
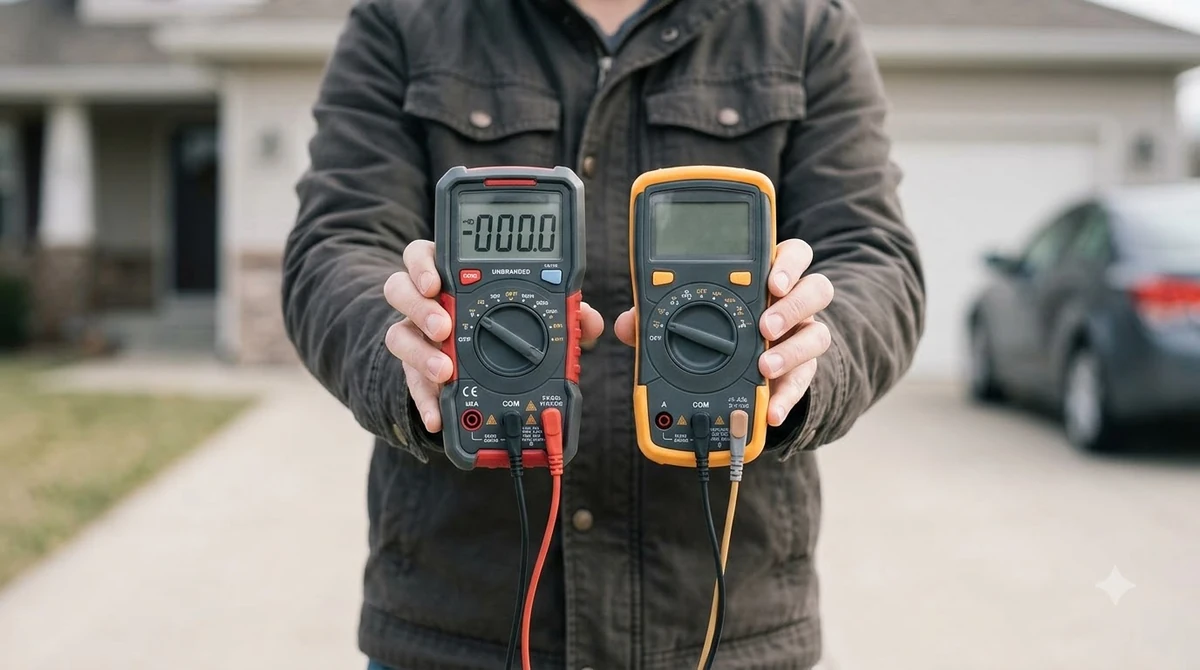
- A digital multimeter with a millivolt (mV) range
- The repair manual or wiring diagram for your vehicle
- Safety glasses and gloves, since exhaust components stay hot
- A helper to open and close the throttle during the test
- Optional: a scan tool to read live data and trouble codes
A cold engine needs time to reach working temperature, so plan for about 15 minutes of warm-up before the readings count. Keep the multimeter leads away from belts, fans, and the exhaust manifold while the engine runs, and keep your hands clear of moving parts. If the meter is new to you, how to use a digital multimeter on your car covers the basics.
Preconditions to check first
2carpros advises against this test while a misfire or vacuum leak is present, because the sensor can appear to fail when it operates outside its normal range. Fix those problems before you measure anything (see engine misfire signs and causes), then run the oxygen sensor check again. Skipping this step is the fastest way to misread the results on an engine that has other faults.
Step-by-Step: How to Test an Oxygen Sensor With a Multimeter
To test an oxygen sensor, connect a millivolt meter between its sensing wire and ground, warm the engine, and watch the signal at idle.
Start by finding the sensing wire. Wire count varies by sensor, so the repair manual shows which wire carries the signal to the computer. Once you know which wire to probe, follow these steps for how to test an oxygen sensor on your vehicle.
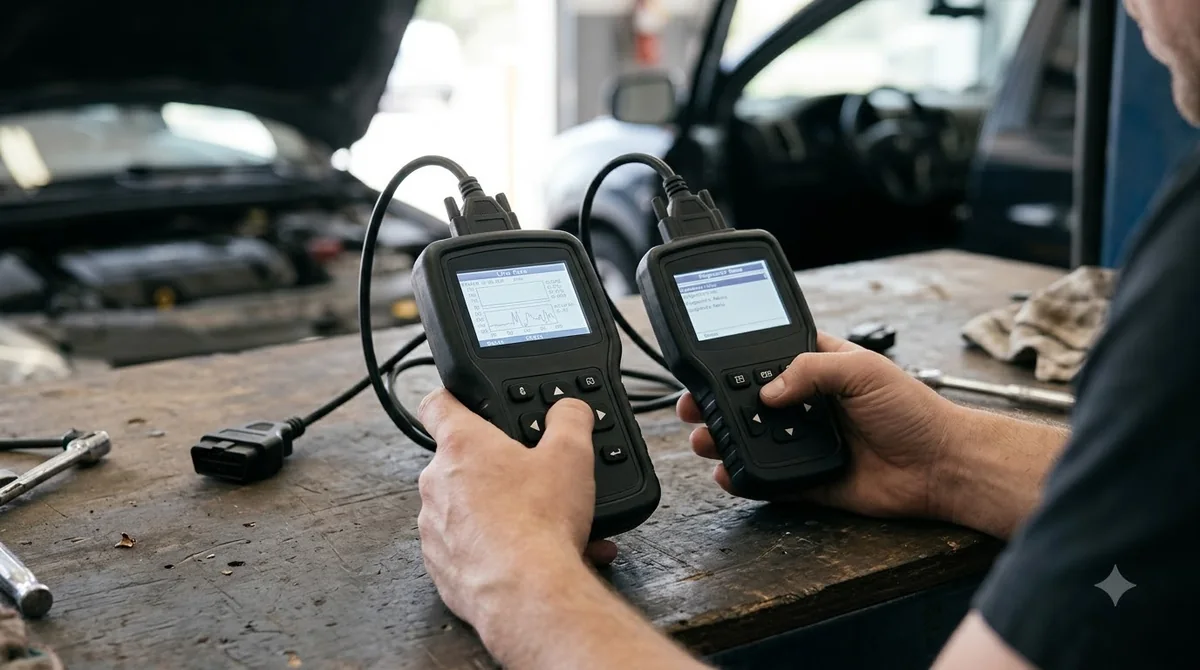
- Connect the meter’s leads to the sensing wire and a solid ground, set to millivolts.
- Start the engine and let it idle until it is fully warm, about 15 minutes according to 2carpros.
- Watch the reading. It should bounce slightly around the center point, near 150 millivolts.
- Have a helper open the throttle quickly. The voltage should dip briefly, then spike when the throttle closes.
- Confirm the reading settles back to its original idle voltage.
Compare each result with the idle value you recorded. Judging movement and recovery matters more than any one fixed number.
Reading the results
Once you have finished how to test an oxygen sensor with a multimeter, the results should match this pattern. A healthy sensor keeps switching and responds quickly to the throttle. A reading that never moves, or never returns to its idle value, points to the sensor, its wiring, or its ground. Repeat the full procedure for how to test an oxygen sensor to confirm the result before you replace parts.
Checking the Heater Circuit
The heater circuit is checked separately, and a 2014 Volkswagen Passat reference lists heater voltage limits, such as below 3.26 V for code P0031.
The heater warms the sensor element so it can report a signal soon after startup. Heater faults are stored as trouble codes, and the manufacturer’s thresholds are the reference for judging them. A complete routine for how to test an oxygen sensor includes the heater check, which answers a different question than the signal test. A signal that looks normal can still come with a heater code, so check both.
| Code | Fault (Bank 1) | Threshold in reference |
|---|---|---|
| P0030 | Heater control circuit, Sensor 1 | Heater voltage 4.70 to 5.40 V |
| P0031 | Heater control circuit low, Sensor 1 | Heater voltage below 3.26 V |
| P0037 | Heater control circuit low, Sensor 2 | Heater voltage below 3.00 V |
These values come from the Volkswagen Passat 2014 specification book, which lists them for that model only.
A heater resistance check is done with the sensor unplugged, using the heater terminals named in the manual. An open heater reads as infinite resistance, and a reading near zero suggests a short. Either result points to a heater fault rather than a signal fault. If a heater code appears while the signal looks normal, start with the heater supply and ground shown in the wiring diagram, then check the connector pins for corrosion or looseness. The P0135 oxygen sensor heater code and P0141 Bank 1 Sensor 2 heater code guides explain two common heater codes.
Why heater values change by vehicle
Heater limits and resistance specifications differ by sensor and manufacturer. Check the service manual for your exact vehicle before you judge a heater reading, because a figure from one model may not apply to yours.
Common Mistakes and When to Replace the Sensor
The most common mistake is testing a sensor while a misfire or vacuum leak is present, which can make a healthy sensor look faulty. Many failed attempts at how to test an oxygen sensor trace back to skipped preconditions or the wrong wire, so review the mistakes below before you start.
- Testing a cold sensor, which cannot give a valid signal
- Ignoring a misfire or vacuum leak that skews the readings
- Probing the wrong wire because the wiring was not checked against the manual
- Replacing a sensor before checking its wiring and connector
- Skipping replacement when a stored heater failure code is present, since 2carpros says that code means the sensor should be replaced
Check the connector before you condemn the sensor. A corroded pin or loose terminal adds resistance, which can mimic a sensor fault. If the signal checks still fail after the preconditions are met, replacement is the next step. If a new sensor goes in, run the same steps for how to test an oxygen sensor on it, so you can compare its idle and throttle behavior with the old one. Replacing a sensor that was never confirmed bad costs money (the oxygen sensor replacement cost guide shows typical bills), so let the test results decide the repair.
Frequently Asked Questions
What voltage should an oxygen sensor read at idle?
A working oxygen sensor signal centers near 150 millivolts at idle and bounces slightly around that point. According to 2carpros, this is the reference point to compare against during a warm-engine test.
Can I test an oxygen sensor with a multimeter?
Yes. How to test an oxygen sensor with a multimeter comes down to a millivolt range reading at idle and during a throttle snap, which covers the basic checks. You need the repair manual to find the correct sensing wire before you connect the meter.
Why must the engine be warm before testing?
The sensor has to reach operating temperature to produce a valid signal. 2carpros suggests idling the engine until it is warm, about 15 minutes, before you watch the voltage. Testing a cold sensor can give a misleading result, so warm-up is part of how to test an oxygen sensor correctly.
Can I test an oxygen sensor without a scan tool?
Yes, a multimeter is enough for the signal test, and it is the simplest way to learn how to test an oxygen sensor at home. A scan tool adds live data and trouble codes, which can help confirm the result.
What does a heater circuit code mean?
A heater code points to a problem in the heater circuit, such as a voltage that is too low or too high. Threshold values differ by vehicle, so the manufacturer’s service information is the reliable reference. The 2014 Volkswagen Passat reference lists limits such as below 3.26 V for P0031.
Should I replace the sensor after one bad reading?
Not before confirming the result. Knowing how to test an oxygen sensor helps you separate a sensor fault from a wiring or engine fault. Rule out a misfire, a vacuum leak, and damaged wiring, then repeat the warm-engine and throttle test. According to 2carpros, a trouble code for a heater sensor failure means the sensor should be replaced.
As you work through how to test an oxygen sensor, stay careful around the exhaust, which stays hot long after the engine stops. Run the signal test only after the engine is warm and any misfire or vacuum leak is fixed. If the wiring is hard to trace, a repair shop can confirm the sensing wire.