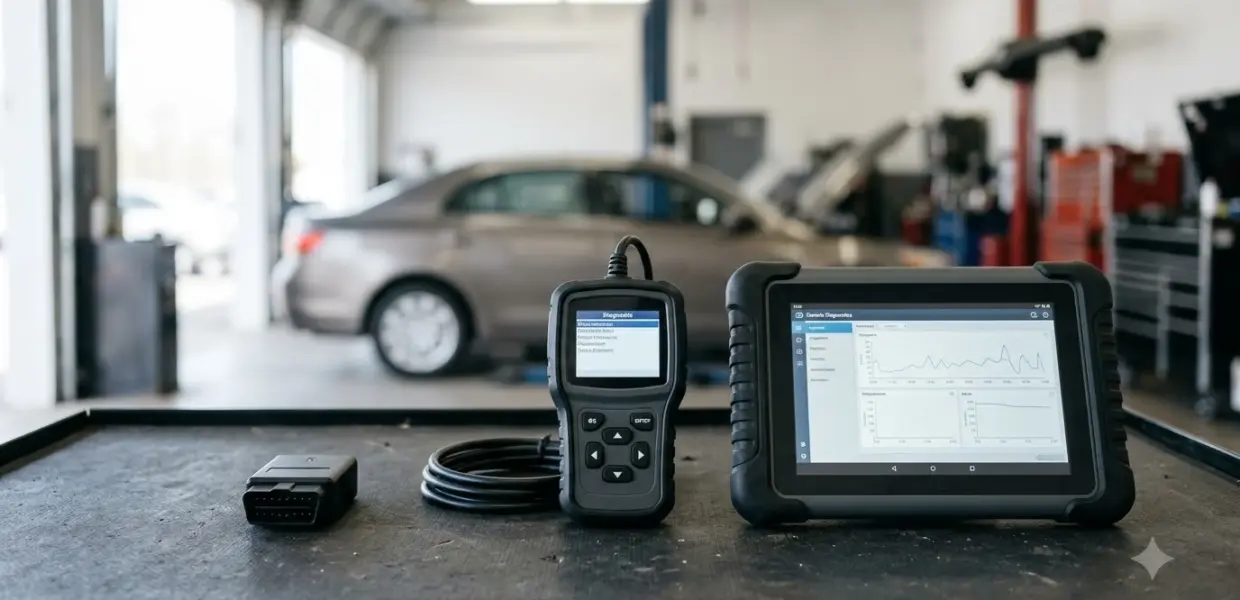

Learning how to test an O2 sensor means checking its signal voltage at operating temperature and its heater resistance with the sensor unplugged. The sensor reports rich or lean exhaust to the engine computer, so a weak signal can raise fuel use and emissions.
Here is how to test an O2 sensor in order: codes first, then signal voltage, heater resistance and wiring. Start with a scan tool to read codes, then use a multimeter to check the sensor itself before you buy a replacement. Your vehicle’s manual sets the exact values, and they can differ by model.
What an O2 sensor does and where it sits
An O2 sensor measures oxygen in the exhaust and tells the engine computer whether the mixture is rich or lean. Once it is hot enough, it sends a voltage that the computer uses to adjust fuel delivery, so a sensor that reads poorly can throw off the whole mixture.
Knowing what the sensor does helps you read the results when you learn how to test an O2 sensor. NTK says zirconia is the most common type, at about 90% of the market, and it comes as a heated or unheated sensor with 1 to 4 wires.
Vehicles from the 1996 model year onward have sensors both before and after the catalytic converter. Sensor 1 sits upstream of the converter and sensor 2 sits downstream. Bank 1 is the side of the engine with cylinder 1, and the bank and sensor numbers come from that reference point. NTK’s oxygen sensor guide explains the layout and the sensor types in detail.
Tools and safety before you start
You need a digital multimeter that reads DC volts and ohms, plus a scan tool that shows live data and fault codes. If you are new to your meter, the AstroAI DM6000AR guide to safe voltage readings shows how to set up a typical one. Let the exhaust cool before you work near the sensor, because it sits in hot exhaust gas. The right tools make it easier to learn how to test an O2 sensor.
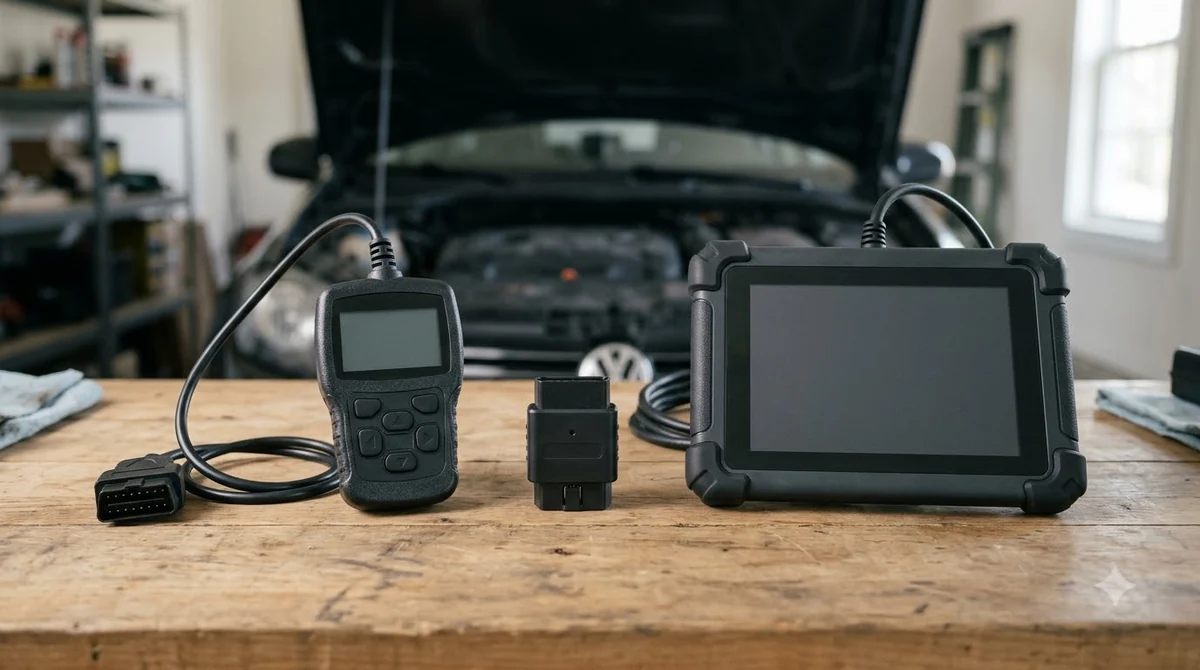
- A digital multimeter that reads DC volts and ohms.
- A scan tool that shows live O2 data and fault codes.
- The wiring diagram for your exact vehicle, to find the sensor pins.
- Basic hand tools to reach and release the sensor connector.
- Gloves, because the exhaust and the sensor body stay hot after driving.
An oscilloscope is a professional option that draws the sensor’s switching as a graph. Most home testers can skip it when they learn how to test an O2 sensor, but many shops use one to see how quickly a sensor responds.
Read the trouble codes before you test the sensor
A check engine light is the most obvious sign that something in the emissions system needs attention. It does not necessarily mean the O2 sensor is faulty, so read the codes and freeze-frame data first, which is the starting point for how to test an O2 sensor. Reading codes first is part of how to test an O2 sensor correctly.
Other signs of a worn sensor are higher fuel consumption and higher vehicle emissions. Those symptoms point to the sensor only when the codes and tests agree, so avoid replacing a sensor based on symptoms alone. They are a reason to start testing, not a reason to buy a sensor.
How to test an O2 sensor signal voltage at operating temperature
A healthy switching O2 sensor puts out 800 to 1000 mV with rich exhaust and 100 to 200 mV with lean exhaust. Warm the engine first, because the sensor is not operational until it reaches about 350°C (650°F).
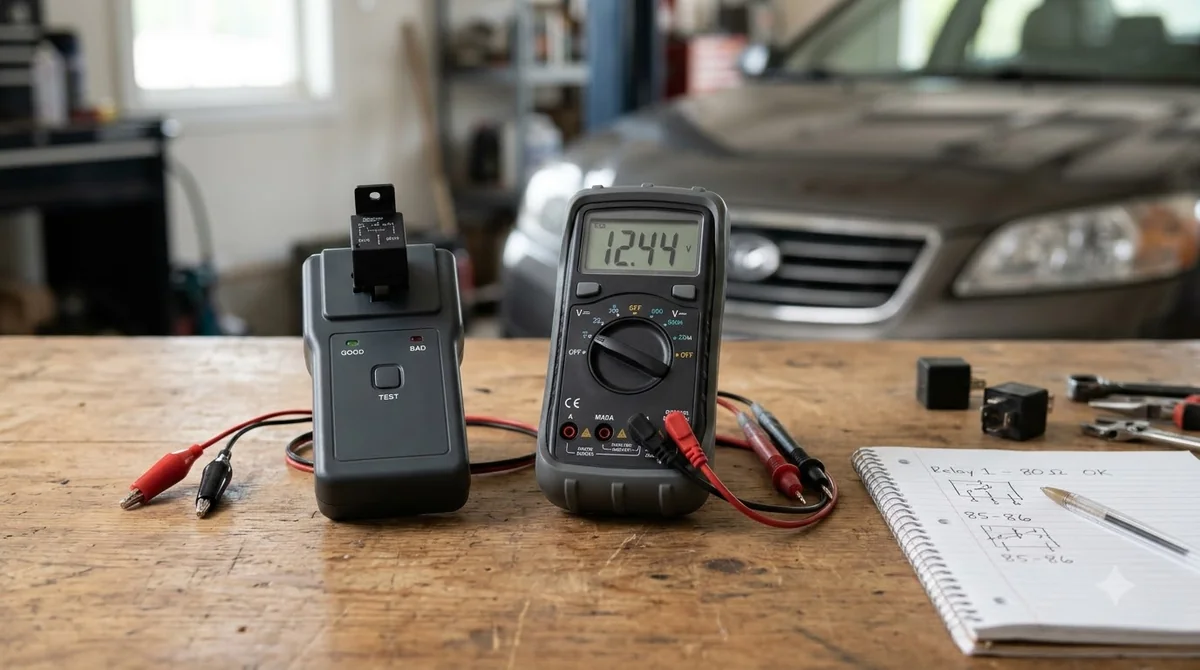
- Warm the engine until it reaches normal operating temperature.
- Set the multimeter to DC volts and connect the red lead to the sensor signal wire.
- Connect the black lead to a solid ground on the engine or chassis.
- Start the engine at idle and watch the voltage swing between rich and lean readings.
Signal voltage reference table
NTK’s reference ranges apply to a conventional switching sensor. Check the wire colors on the diagram first, because they differ between sensor makers. Use these ranges as the baseline for how to test an O2 sensor on its signal wire.
| Exhaust mixture | Signal voltage (switching sensor) |
|---|---|
| Rich | 800 to 1000 mV |
| Lean | 100 to 200 mV |
A single steady reading is not enough. This is the core of how to test an O2 sensor, because a healthy switching sensor keeps swinging as the engine runs, so a reading that barely moves points to a fault in the sensor or its circuit. A heater circuit code such as the one in the P0135 oxygen sensor heater circuit explainer is a cue to run the heater test next.
Test the heater circuit with the sensor unplugged
With the engine off and the sensor unplugged, a multimeter on the heater pins should read a measurable resistance. An open reading, meaning no continuity, means the heater element is broken.
The heater check is a quick part of how to test an O2 sensor. NTK describes this heater check on a removed sensor with a common multimeter. A heated 4-wire sensor has a signal wire, a ground wire and two heater wires, so find the heater pins on the wiring diagram before you probe them. Unheated sensors have no heater pins, since they use only a signal wire, or a signal and a ground wire.
- Turn the engine off and let the exhaust cool.
- Unplug the sensor connector and locate the two heater pins.
- Set the multimeter to ohms and touch one lead to each heater pin.
- Compare the reading with the heater resistance in your service manual.
A heater that reads open means the element is broken, and the sensor needs replacing. A reading close to the manual value means the heater is likely fine, so move on to the wiring checks. Treat that result as a checkpoint in how to test an O2 sensor.
Use live data or an oscilloscope to check response
A scan tool showing live O2 data, or an oscilloscope, lets you watch the sensor switch between high and low voltage. NTK lists both tools among the ways to check a sensor’s operation. This is the fastest way to check a sensor’s response.
Checking response is the last part of how to test an O2 sensor. On a live data graph or a scope, a healthy switching sensor shows a waveform that moves up and down as the mixture changes. A line that stays flat or moves slowly suggests a weak sensor or a fouled element.
Wideband sensors need a different check, so this method does not cover how to test an O2 sensor of that type. NTK says they use a controller and measure the air-fuel ratio, so do not expect them to swing like a switching sensor.
Check wiring before you replace the sensor
Before you replace a sensor, check its circuit for an open, short or high resistance. Toyota’s service bulletin on P0138 and P0158 codes gives that step first for the models it lists.
The Toyota’s O2 sensor bulletin covers MIL ON codes P0138, P0158 and P0606. When the readings do not match its values, it tells technicians to inspect the O2 circuit for an open, short or high resistance first.
Checking the circuit belongs in any plan for how to test an O2 sensor. The bulletin applies only to the Toyota models it lists, so use your own vehicle’s service information for other makes. Check these points before you buy a new sensor:
- Damaged or chafed wires near the exhaust.
- Corrosion, bent pins or a loose fit at the connector.
- Exhaust leaks ahead of the sensor, which can change its readings.
- Good contact on the ground circuit.
Causes of O2 sensor failure and what they look like
Lead, excessive soot, silicone and engine coolant can poison an O2 sensor, and each leaves a different deposit. NTK says the root cause must be fixed along with any sensor replacement.
| Cause | Visible sign | What to do |
|---|---|---|
| Lead | Shiny deposits on the sensor | Replace the sensor and use only lead-free fuel |
| Excessive soot | Thick deposits that slow the response | Replace the sensor and check for a too-rich mixture or heater damage |
| Silicone | White deposits on the sensor | Replace the sensor and find the silicone source |
| Engine coolant | Poisoned element, often with other engine damage | Fix the leak, then replace the sensor |
| Thermal shock | Cracked heater element | Replace the sensor and find the raw fuel or moisture source |
Fix the root cause before you install a new sensor, or the replacement may fail the same way. Clearing the cause also keeps any later test result reliable. NTK notes that other mechanical problems often appear alongside sensor poisoning. If a sensor does need replacing, the oxygen sensor replacement cost guide explains what changes the bill.
Frequently Asked Questions
Can you test an O2 sensor without a scan tool?
Yes, a digital multimeter is enough to check an O2 sensor’s signal voltage and heater resistance without a scan tool, which covers the core of how to test an O2 sensor. A scan tool is faster, though, because it shows live data and fault codes that help you see how the sensor responds over time.
Can you test an O2 sensor while it is still in the car?
Yes, you can check the signal voltage with the sensor installed, at operating temperature, using the signal wire on the diagram. The heater resistance check is usually done with the sensor unplugged, and NTK describes that check on a removed sensor.
What is the difference between a zirconia and a wideband O2 sensor?
A zirconia sensor is a switching sensor that produces a voltage under 1 V. A wideband sensor needs a controller and measures the air-fuel ratio, and NTK says the two types are not interchangeable, so match the part number to your vehicle. The difference matters in how to test an O2 sensor, because a wideband sensor is not checked with the switching-voltage method.
Can a bad O2 sensor cause poor fuel economy?
Yes. NTK lists higher fuel consumption and higher vehicle emissions as signs of a worn sensor. The computer adjusts the fuel mix from the sensor’s readings, so poor readings can leave the mixture off target. Learning how to test an O2 sensor helps you confirm whether that is happening.
What if the sensor tests fine but the code comes back?
Check the wiring, the connector and the exhaust for leaks before you buy another sensor, because wiring is the first step in how to test an O2 sensor that keeps setting a code, and that order keeps the result meaningful. Toyota’s bulletin also starts with a circuit inspection on the models it lists.
Follow this order for how to test an O2 sensor: codes, voltage, heater, then wiring. If the voltage swings and the heater reads normal, check the wiring before you buy a sensor. If the signal stays flat or the heater reads open, replace the sensor and fix the cause, so the new part lasts.