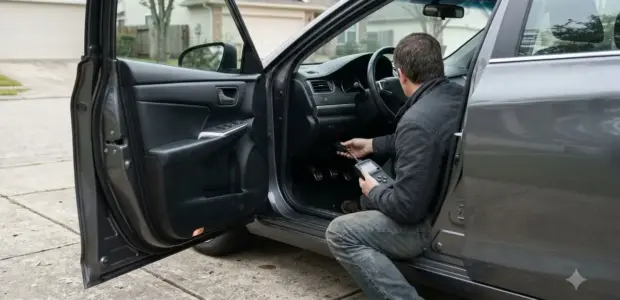

How to use Topdon ArtiDiag600S comes down to five steps: power on, finish setup, connect, identify the vehicle, then scan. The ArtiDiag600 S is a tool with a five-inch touch screen and an OBD-II cable that plugs into the car’s data link connector.
Follow the steps in order, because the ignition must be off when you plug the cable in. The steps below follow the official manual for this unit, so check it if your screen looks different.
This guide summarizes the manufacturer’s procedure and is not repair advice. Follow the vehicle’s service manual before any repair decision.
How to Use Topdon ArtiDiag600S: Power On and Setup
Press and hold the power button for 3 seconds to turn on the ArtiDiag600 S, then finish the setup steps before your first scan. Setup is the first part of how to use topdon artidiag600s.
Setup asks for five steps, in this order, and it is the base for how to use topdon artidiag600s. Keep your Wi-Fi password ready, because the tool needs a network connection before you can log in to your account.
- Select the system language.
- Choose your region and time zone.
- Pick a Wi-Fi network from the scanned list and enter its password.
- Log in to your TOPDON account, or register with your email if you do not have one.
- Wait for the home screen to appear.
After setup, the manual recommends checking the System Update module for a new software version. The full procedure is in Topdon’s ArtiDiag600 S user manual, which is the reference for the screens described here. Once the home screen is up, you are ready to learn how to use Topdon ArtiDiag600S on a real vehicle.
Connecting the ArtiDiag600S to the Vehicle
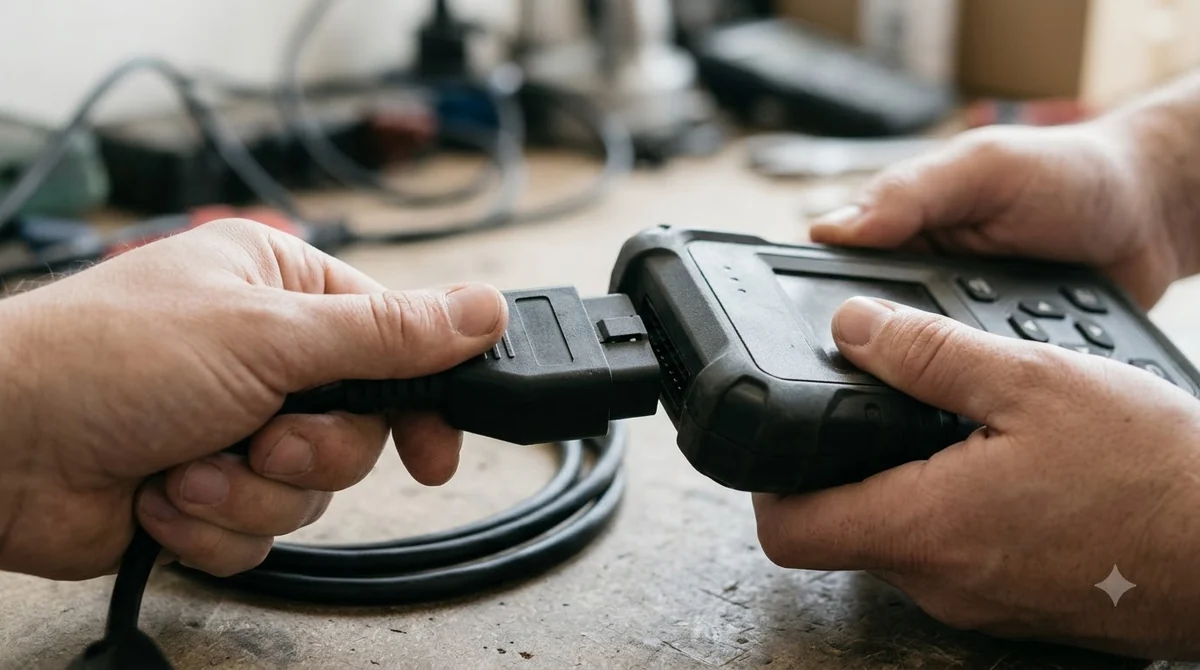
Turn the ignition off, plug the OBD-II cable into the vehicle’s DLC, which is usually under the dashboard, then turn the ignition on. Another tool is in Innova scanner Bluetooth features. For Toyota-specific tests, see Toyota Techstream setup guide.
The ignition must stay off while you plug in or unplug the cable. The manual warns that connecting with the ignition on can damage the tool or the vehicle’s electronic components. Getting this step right is central to how to use topdon artidiag600s safely.
- Turn the ignition off.
- Plug the supplied OBD-II diagnostic cable into the DLC.
- Check that the connection icon on the screen changes once the cable is seated.
- Turn the ignition to ON. On keyless cars with an Engine Start/Stop button, press it without the brake pedal, or the car will start instead.
Cannot find the DLC? Open Library > DLC Location on the tool, or check the service manual. The way to switch the ignition on varies by vehicle model, so the service manual is the final reference.
Identifying Your Vehicle: Auto VIN, Manual or Demo
Open Diagnostics and the screen shows the VIN and make, then the tool identifies the car by Auto VIN or manual selection.
Auto VIN reads and decodes the Vehicle Identification Number for you, but not every vehicle supports it. The other methods let you enter the details yourself. Choosing the right identification method is part of how to use topdon artidiag600s correctly.
- Auto VIN: the tool reads the VIN and decodes it.
- Enter VIN: type the VIN yourself and tap Confirm.
- Manual: select the make, model and year from the menus.
Systems depend on the make, model and year, so a system you expect may be missing on another car. Before you learn how to use Topdon ArtiDiag600S on a real car, try DEMO on the Make list to explore the Diagnostics functions.
Running an Auto Scan for Fault Codes
Auto Scan checks every system the vehicle supports, and trouble codes appear as each system is scanned, so one tap covers the whole car.
A full scan gives you a complete picture of stored codes. The manual also notes that a scan before and after a repair can help with troubleshooting and confirming the repair. Running a full scan is often the first part of how to use topdon artidiag600s in practice.
- Identify the vehicle, as described in the previous section.
- Tap Auto Scan at the bottom corner of the screen.
- Wait while the tool scans each system and the codes appear.
- Tap Report to save the results.
Saved scan reports open at Folder > Reports > System Report. Depending on the vehicle make, some functions may not be available, so an option missing from the menu is not always a fault. Keeping these reports is a habit that makes how to use topdon artidiag600s easier to repeat.
Reading and Clearing Trouble Codes Safely
Read Trouble Code shows the codes for one selected system, and Clear Trouble Code removes them, but only after the required repair is finished. Reading codes one system at a time is the other half of how to use topdon artidiag600s. A rival tool is in Innova 5110 code reading.
Select a system from the system menu, then tap Read Trouble Code. The tool communicates with that ECU and displays its codes as it retrieves them.
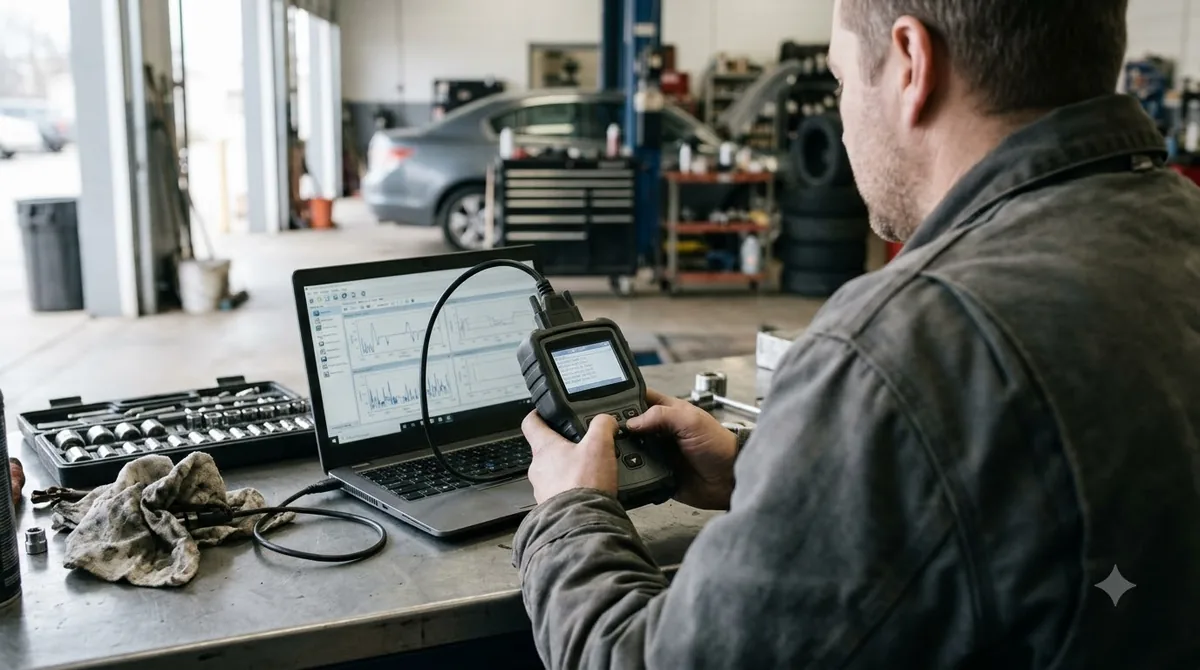
Tap the options icon on the right of a code to open its tools. When an icon lights up, that tool is available for the code.
- Search Google for more information about the code.
- View the detailed description of the code.
- View the freeze frame captured when the code was set.
- View the repair measures for the code.
Clearing codes is the last step, not the first. The manual says to clear DTCs only after the required repair is complete, because clearing also erases the freeze data stored in the ECU. Do not start the engine while codes are being cleared.
- Select the system from the system menu.
- Tap Clear Trouble Code.
- Tap OK when the codes are cleared.
To keep a record before clearing, tap Report to save the codes. Saved fault reports open at Folder > Reports > Fault Code Report. Keeping a record before clearing is a habit worth building into how to use topdon artidiag600s.
Live Data and the Home Screen Functions
Live Data streams a data list for one selected system, and the home screen adds battery voltage, I/M readiness, maintenance resets and updates.
After the vehicle is identified, select a system, tap Live Data in the function menu, and a data stream list appears. The home screen groups the other tools as shown below. Live Data is a useful part of how to use topdon artidiag600s once codes are read.
| Home screen item | What it does |
|---|---|
| Diagnostics | Reads and clears trouble codes, shows live data and reads ECU version information. |
| OBDII/EOBD | Runs emission-related diagnostics for the vehicle. |
| Battery Voltage | Shows the vehicle battery’s real-time voltage. |
| I/M Readiness | Checks the status of emission-related systems. |
| Maintenance | Provides nine resets, including Oil Reset, EPB Reset, DPF Regeneration and TPMS Reset. |
| Folder | Holds Reports, Live Data Rec, screenshots and screen recordings. |
| Library | Includes the OBD-II generic DTC repair guide, technical service bulletins and a warning light library. |
If you are still learning how to use Topdon ArtiDiag600S, the Library is the place to look up an unfamiliar code or warning light before you act on it.
Common Mistakes to Avoid
The costly mistakes are plugging in with the ignition on, clearing codes before a repair, and running the engine without ventilation.
- Plugging or unplugging with the ignition on, which can damage the tool or the vehicle’s electronics.
- Clearing codes before the repair, which also erases the stored freeze data.
- Starting the engine while clearing codes, which the manual does not allow.
- Using the tool while driving, since any distraction may cause an accident.
Operate the vehicle only in a well-ventilated area, because it produces carbon monoxide when the engine runs. Keep your hands and clothing away from moving or hot engine parts, and wear approved safety goggles. A careful approach to how to use topdon artidiag600s keeps both you and the car safe.
Frequently Asked Questions
Do I need Wi-Fi to use the ArtiDiag600S?
The setup steps ask you to join a Wi-Fi network and log in to a TOPDON account, and the manual recommends updating through the System Update module. The manual does not say whether every scan needs an internet connection, so check it before planning to use the tool offline.
Where is the DLC on most cars?
The DLC is usually located under the dashboard, according to the manual. If you cannot find it, open Library > DLC Location on the tool or check the vehicle’s service manual. Keep the ignition off while you plug the cable in.
What should I do if Auto VIN does not work?
The manual says not all vehicles support Auto VIN. Choose Manual instead, then select the make, model and year. The system menu appears once the vehicle is identified, and you can then run a scan.
Can I practice before connecting to a car?
Yes. Choose DEMO on the Make list to become familiar with the Diagnostics functions. Demo mode is for practice only, so run your first real scan with the cable connected to the vehicle. Practice mode is a low-risk way to learn how to use topdon artidiag600s.
Where are saved scan reports stored?
Scan results open at Folder > Reports > System Report, and fault code reports open at Fault Code Report. Use the Report button after a scan or a code read to save the results.
Clear codes only after the required repair is finished, and keep the vehicle’s service manual close by for every repair decision. A second Auto Scan after the repair lets you compare the results with your first report.