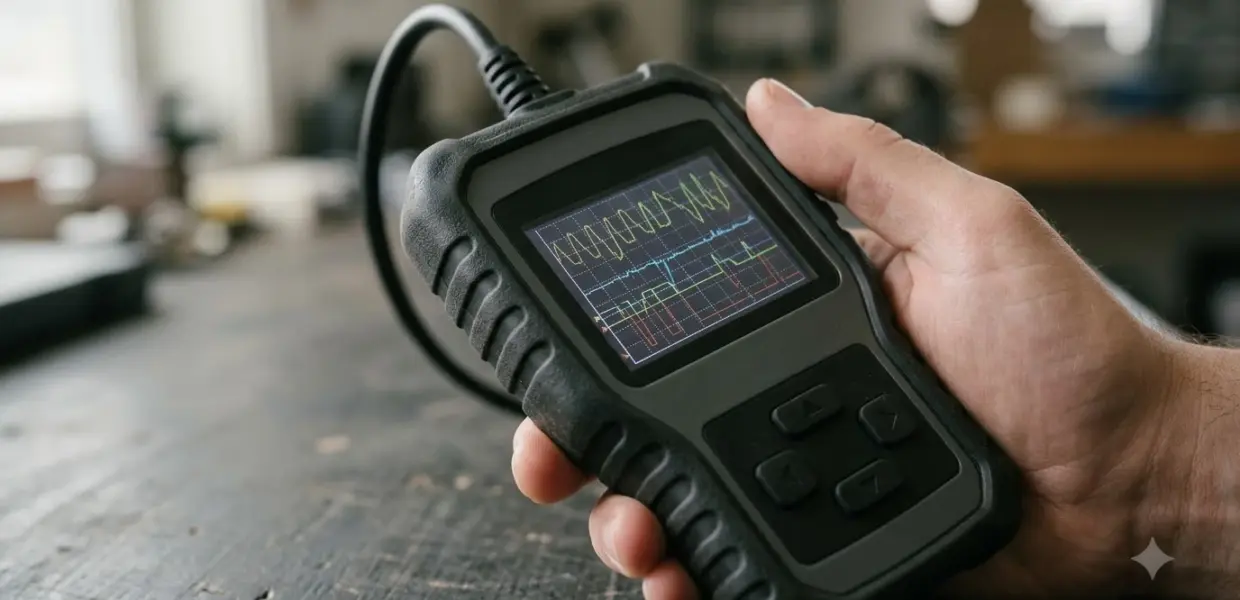

Knowing how to use Snap On Solus starts with confirming which SOLUS model you own, then connecting it to the vehicle and running a scan. As of November 5, 2026, the newest model listed by Snap-on is the SOLUS+, and the steps below follow its official product information.
This guide walks through how to use Snap On Solus step by step. Menus and cables differ across the SOLUS line, so match each step to your own unit. Use the user guide that came with your tool when a screen does not match this guide. Learning how to use Snap On Solus well takes a few sessions, so plan a practice scan before a paid job.
A scan tool can show fault codes that need a professional diagnosis. Treat the readings as information for your next decision, not as a complete repair plan.
What the Snap-on Solus name covers
The SOLUS name covers several Snap-on scan tools, including the SOLUS Legend, SOLUS Edge, SOLUS Ultra and SOLUS+. A how-to guide for one model may not match the screens or software of another, so start by checking the model label on your unit. Before you learn how to use Snap On Solus, that one check saves the most time.
The SOLUS+ is the current model on Snap-on’s pages, so this part of how to use Snap On Solus follows its official specs. Snap-on’s UK SOLUS+ product page describes an 8-inch color touchscreen with a 1024 x 600 display, and it lists touchscreen or 4-way keypad navigation.
Snap-on’s US press release on the SOLUS+ launch says the tool is ready to use in just two seconds and can return diagnostic results in as little as 30 seconds. Those are vendor claims, so treat them as typical targets rather than guarantees.
How to set up the SOLUS+ before your first scan
Setting up is the first part of how to use Snap On Solus, and it takes only a few minutes. The most important part is making sure the tool has power and the right software. The official page says the unit automatically powers up when connected to a vehicle.
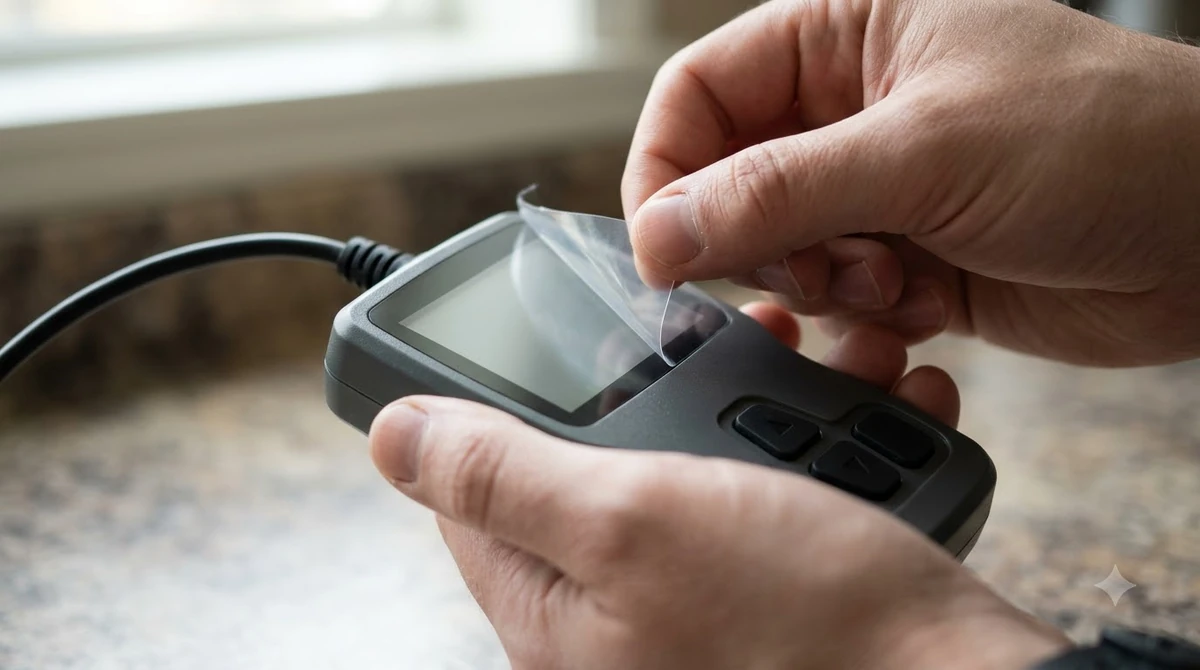
Follow these five steps for how to use Snap On Solus on the first power-on.
- Check the battery. The SOLUS+ uses a removable, rechargeable lithium-ion battery, so charge it fully before the first use.
- Confirm the microSD card is in place. Snap-on says the high-capacity microSD card holds the diagnostic software and your data files.
- Connect the diagnostic cable to the vehicle’s OBD-II port. The tool powers up when it is connected.
- Wait for the home screen. The page says the tool is ready to use in just two seconds.
- Look at the software status icon. It shows whether the tool is running the latest software.
Before you start a job, confirm the vehicle is on the coverage list, check the software version on the tool, and then connect. That short routine avoids a wasted session. Ethernet connection is a separate case. Snap-on says Ethernet support is available for applicable Jaguar, Land Rover and Volvo models with an Ethernet adapter, so buy the adapter before you plan a scan on those vehicles.
How to run a scan and read the codes
Running a scan is the core of how to use Snap On Solus. The pattern is simple: select the vehicle, run the scan, and review the codes. The tool offers a pre-scan and a post-scan Vehicle System Report, which helps you compare the car before and after a repair.
The page says the SOLUS+ covers all 10 modes of Global OBD-II, along with more than 100 OEM-specific vehicle systems. That breadth matters because a code in a single module can point to a larger system problem.
Before the first real job, run one scan on a vehicle you know well, and compare the codes with what you already know. That shows whether your setup and your steps work before you rely on the tool. When you read a code, record the exact text and the system it belongs to. Check the code against the SureTrack Expert Information that Snap-on includes with current software, because the page says that information is available only with current software.
Using live data, graphing and recording
Once you know how to use Snap On Solus for live data, the graph becomes the main view. Live data is where learning how to use Snap On Solus pays off in a diagnosis. The SOLUS+ earns its place here. The official page lists live data graphing, PID recording and bi-directional controls, so you can watch a sensor change over time instead of reading a single number.
Graph the sensor you suspect and watch it across a few minutes of driving, which shows a pattern more clearly than a single snapshot. Record a short session when a fault comes and goes, because a recording of that kind gives a shop a clear starting point. Playing the recording back later lets you compare readings from the same drive, which is useful when the problem is intermittent.
| Feature | What the official pages say |
|---|---|
| Display | 8-inch color touchscreen, 1024 x 600 pixels |
| Battery | Removable, rechargeable lithium-ion |
| Storage | High-capacity microSD card for software and data |
| PC connection | USB port for PC connectivity |
| Wi-Fi | Software updates and reports over Wi-Fi |
| Start-up | Ready to use in about two seconds |
Software updates and subscription costs
Software keeps the Snap On Solus current, and Snap-on sells that software as a subscription. The official UK page says the first three updates are included in the price of the unit, and that later updates are chargeable after the first 12 months.
A current subscription is part of how to use Snap On Solus well, because outdated software can miss repair records. Keep the tool on the latest software before you rely on it for repair information. The page links SureTrack Expert Information to current software, so an outdated tool can miss the newest repair records.
Before you buy, note the software version the seller shows, then compare it with the latest version on the screen after you power up. Before buying a used unit, ask whether the software subscription is active and how many updates remain. Those costs are not part of the hardware price, and the page does not give a fixed monthly amount.
Coverage limits and common mistakes
Coverage is the first limit to check before you learn how to use Snap On Solus on a given car. The US press release says the SOLUS+ covers 49 domestic, Asian and European vehicles, while the UK page describes comprehensive coverage with more than 100 OEM-specific systems. Check the coverage list for your exact make and model year before you buy. That check belongs in how to use Snap On Solus from the start, not after the first failed scan.
- Skipping the software status check and using an outdated tool.
- Assuming one SOLUS model’s menus apply to another.
- Buying an Ethernet adapter without confirming that your vehicle needs it.
- Clearing codes before writing them down, which removes the record a shop would use.
Keep in mind that how to use Snap On Solus depends on the vehicle, its model year and the modules it carries. The same steps can give different results from one car to the next. The safest habit is to write down each code and its system before you clear anything. Clearing codes does not fix the cause, and the light can return.
Related Guides
Frequently Asked Questions
Is it easy to learn how to use Snap On Solus as a beginner?
The SOLUS+ is designed to be ready in about two seconds and powers up when connected to a vehicle. A beginner should still follow the user guide for the exact model, because menus differ across the SOLUS line.
Does the Snap On Solus need a PC to work?
The official UK page lists a USB port for PC connectivity, but it also describes Wi-Fi software updates and cloud uploads. Check the user guide for your model before you assume a PC is required for every task.
How many vehicles does the SOLUS+ cover?
The US press release says the SOLUS+ covers 49 domestic, Asian and European vehicles. The UK page describes more than 100 OEM-specific systems, so check the coverage list for your exact make and year.
Do I have to pay for software updates?
The official UK page says the first three updates are included in the price of the unit. Later updates are chargeable after the first 12 months, so review the subscription terms before buying.
Can the Snap On Solus read live data?
Yes. The official page lists live data graphing, PID recording and bi-directional controls. Live data helps you see how a sensor changes during a drive, which a single code cannot show.
Start with the model label, keep the software current, and write down every code before you clear anything. Those three habits make how to use Snap On Solus a practical skill for a real diagnosis.