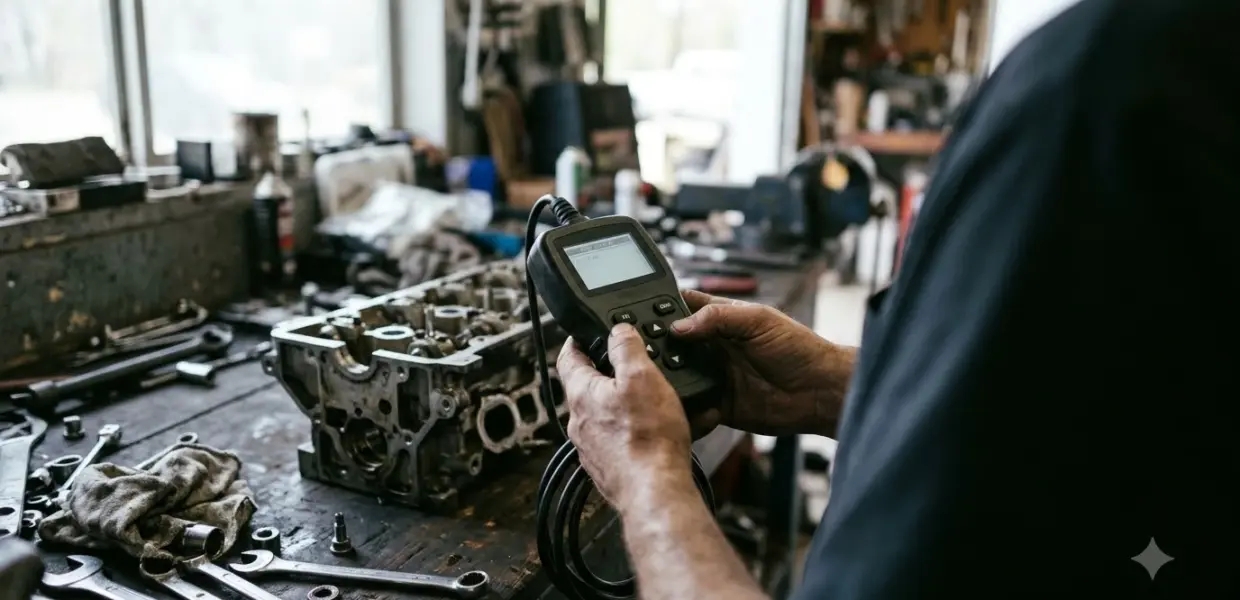

To learn how to use Konnwei KW850, plug its cable into the car’s 16-pin OBD II port with the ignition off, then turn the ignition on.
The scanner covers fault codes, live data and emission checks in one menu. Start with Read Codes before you change anything in the car, which is the core of how to use Konnwei KW850.
How to Use Konnwei KW850: What It Does and What You Need
The Konnwei KW850 is an OBD2 and EOBD scanner that reads fault codes, shows engine data and runs emission readiness checks on cars with a 16-pin port. Before you learn how to use Konnwei KW850, you need a car with that port, the scanner and a few minutes with the ignition off.
The KW850 user manual says the OBD II connector links the scanner to the vehicle’s Data Link Connector. Your car’s owner’s manual shows where that port is, so check it before the first connection.
The manual lists a body of 5.59 x 5.08 x 2.67 cm, a weight of 0.750 kg and eight supported languages, including English. For printing or upgrades, the scanner connects to a PC running Windows XP, 7, 8 or 10.
Most readers who search for this topic want to read codes first, so the rest of this guide follows that order. Each step uses the names shown on the scanner’s menus, which makes it easier to match what you see on screen.
How to Use Konnwei KW850: Connect Step by Step
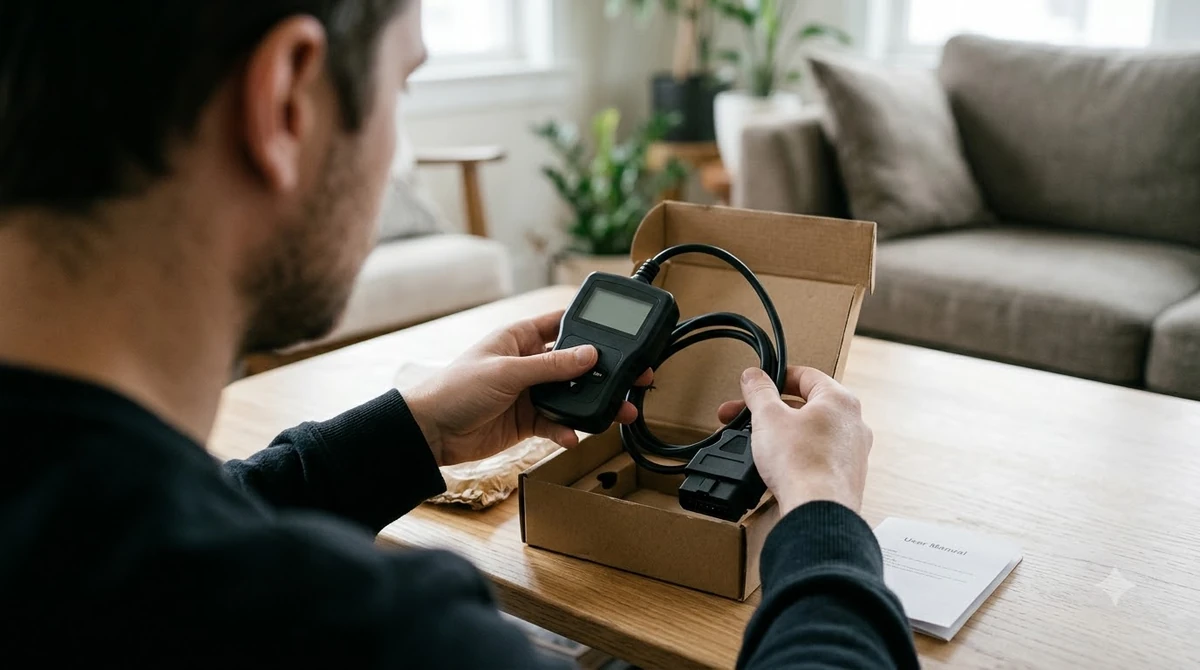
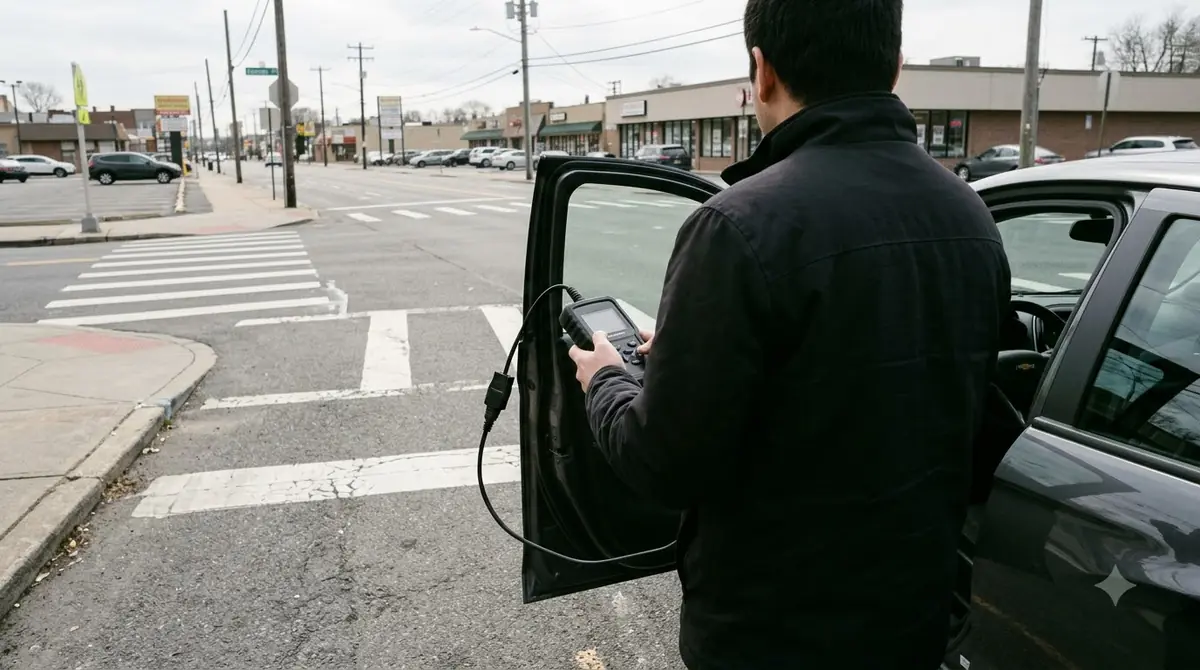
Connecting the scanner is the first part of how to use Konnwei KW850, and the order matters. Turn the ignition off, plug the cable into the 16-pin port, then turn the ignition and the engine on before you open the menu.
- Turn the ignition off.
- Locate the vehicle’s 16-pin Data Link Connector.
- Plug the OBD II cable into the port.
- Turn on the ignition and the engine.
- Press the ESC button to reach the main menu.
The manual describes plugging in with the ignition off first. Plugging in with the ignition already on skips that sequence, so follow the five steps in order each time. The KW850 user manual is posted on the maker’s KONNWEI user manual page, where the English PDF is listed.
Keep the cable firmly seated in the port while you work, because a loose connection can interrupt the readings.
LED Colors and Buttons
The KW850 uses green, yellow and red LEDs to show whether systems run normally, may have a problem, or have a fault. Learning these colors is part of how to use Konnwei KW850 safely, because the color tells you where to look first.
| LED | What it means |
|---|---|
| Green | The engine systems are running normally |
| Yellow | A possible problem, such as a pending code or monitors that have not run |
| Red | A problem in one or more systems, or codes that are present |
The arrows move the cursor, OK confirms a choice and ESC goes back one menu. The Left and Right arrows also turn pages when a list has more than one page. The Help button opens help and a code breaker function, and the one-click I/M readiness button gives a quick emissions check.
Read the LED color before you read the screen. Yellow can mean a pending code or monitors that have not finished testing, while red points to codes that are present.
How to Use Konnwei KW850 to Read Codes
Open Diagnostic from the main menu to reach the tests that do the real work. Read Codes is the first one to use when you want to see what the car has stored.
- Read Codes: shows any stored codes so you can view them.
- I/M Readiness: shows which emission monitors have run and finished their tests.
- Data Stream: shows fuel system status, calculated load, coolant temperature, fuel trims and engine RPM.
- Freeze frame: a snapshot of operating conditions recorded when an emission-related fault occurred.
- O2 Sensor Test: the result of the computer’s last oxygen sensor test, not a live reading.
- Onboard monitoring: results of on-board tests for specific components, with limits and status.
- EVAP test: asks the car’s computer to start a leak test, but the scanner does not run the leak test itself.
For live oxygen sensor readings, the manual points to the live sensor screens, such as the Graph Screen. Freeze frame data is useful when a fault is intermittent, because it shows the conditions at the moment the fault was recorded.
A typical session with how to use Konnwei KW850 starts with Read Codes, moves to Data Stream if the codes point to a sensor, and ends with I/M Readiness before any retest. This order is a suggestion based on the menu layout, not a step the manual requires.
Erase Codes Only After You Know the Cause
Erase Codes walks you through on-screen steps, and you press OK after each one. Clearing a code does not repair the fault behind it, so read the codes before you erase anything.
Write down the codes, the LED color and the mileage before you start. A technician has less to work from once the codes are cleared, so the record helps even if the light comes back. Those notes are part of how to use Konnwei KW850 safely.
Follow the display one step at a time instead of pressing buttons quickly. The manual says the erase steps appear on the screen, so the screen is the guide for each press.
Erasing is the last step of a repair workflow, not the first. Once you have the code list and a reason for it, clearing the code lets you check whether the light returns on the next drive.
Tool Setup, Printing and PC Connection
Tool Setup lets you change the language, units and beep, and it also runs a device self-test. The USB connector links the scanner to a PC for printing and upgrading.
- Language: choose from the supported list with the arrows and OK.
- Units: set the units for flow, speed, distance, pressure and temperature.
- Beep: turn the beeping sound on or off.
- Device self-test: tests the screen, buttons and LEDs.
- USB: connects to a PC for printing and upgrading.
The manual lists Windows XP, Windows 7, Windows 8 and Windows 10 as supported systems for the PC connection. Check your computer’s version before you try a print or upgrade.
Set the language first when you learn how to use Konnwei KW850, because every menu label follows that choice. Then adjust units and the beep, so the readings match what you expect to see.
Common Mistakes to Avoid
Three mistakes the manual points to are reading O2 test results as live values, starting an EVAP test without a service manual and erasing codes before recording them. Avoiding them keeps how to use Konnwei KW850 simple and safe. Readiness status matters on any reader, and the ANCEL AD530 emissions readiness check shows where to find it.
- Reading O2 test results as live values. They are the computer’s last test, so use the live sensor screens for current readings.
- Starting an EVAP leak test without the vehicle’s service repair manual, which the manual says to check first for the stop procedure.
- Erasing codes before you write them down, which leaves less information for the next reader.
- Plugging in with the ignition already on, which skips the order the manual gives for how to use Konnwei KW850.
Related Guides
Frequently Asked Questions
Does the Konnwei KW850 work on every car?
The manual describes it for vehicles with a 16-pin Data Link Connector, which covers OBD2 and EOBD systems. Cars without that port need a different tool. Check your vehicle’s owner’s manual for the port location before you buy or plug in.
Do I need the engine running to read codes?
Yes, according to the manual’s steps. After you plug in with the ignition off, turn on the ignition and the engine, then press ESC to reach the main menu. Open Diagnostic and choose Read Codes from there. That sequence is the heart of how to use Konnwei KW850 for most readers.
What does a yellow LED mean on the KW850?
A yellow LED signals a possible problem. The manual says it can mean a pending diagnostic trouble code or emission monitors that have not finished testing. Check Read Codes and I/M Readiness to see which one applies.
Can I print results from the scanner?
Yes, through the USB connector. The manual says the cable links the scanner to a PC for printing and upgrading, and lists Windows XP, 7, 8 and 10 as supported systems. Use the PC connection only on a computer that meets those versions.
What does the one-click I/M readiness button do?
It runs a quick check of emissions readiness and drive cycle verification, according to the manual. The result helps confirm whether monitors have run, which is useful after a repair. The full list appears under I/M Readiness in the Diagnostic menu. That quick check is one more part of how to use Konnwei KW850 for routine visits.
Record the codes, the LED color and the time before you erase anything. Then use the scanner in the same order each time, so you can compare readings across visits. Keep the manual handy for menu names. Learning how to use Konnwei KW850 is quick once the order is clear, and checking the manual again for unused settings keeps the routine consistent.