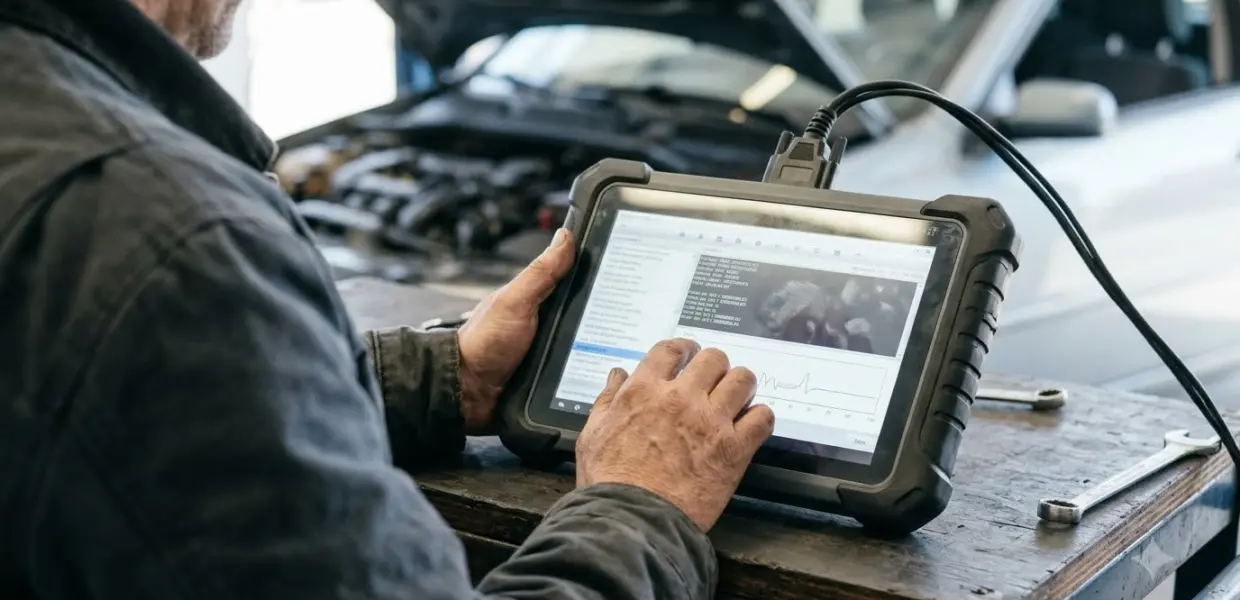

Learning how to use DashCommand comes down to three steps: create a vehicle profile, choose the right OBD-II interface type, and connect to your car. DashCommand is a read-only diagnostic app that displays live engine data and reads trouble codes.
Once you know how to use DashCommand, the app shows data your factory dashboard hides and logs readings for later review. Read its limits in the first section before you use it for any repair decision.
What DashCommand Can and Cannot Do
DashCommand is a read-only diagnostic logging tool, so it cannot flash, tune or run bi-directional tests on your vehicle. Ford owners who want a Ford-specific app can compare it with FORScan on Ford vehicles.
The DashCommand User Manual, version 4.0.0 at the time of writing, explains how to use DashCommand and describes the app as an advanced in-car computer. It shows data missing from the factory dashboard and calculates values your vehicle does not report directly.
The manual lists Windows, iOS and Android as platforms. The Windows product page names only older Windows versions, up to Windows 7, so check current system requirements before you buy.
How to Use DashCommand: What You Need Before You Start
Before you learn how to use DashCommand, you need an OBD-II interface that DashCommand supports, a device to run the app, and a few basic vehicle specs from your owner’s manual.
When you learn how to use DashCommand, the Settings screen offers three interface types: ELM, Innovate Motorsports and GoPoint Technology, which works on iPhone only. If you are unsure which one you own, the manual suggests ELM as a starting default.
On Windows, the DashCommand Windows product page lists ELM compatible, Innovate Motorsports OT-2 and J2534 compliant interfaces. Match that list against your adapter’s listing before you buy. If you still need an adapter, see our guide to picking a Bluetooth OBD2 scanner.
- Engine displacement, fuel type and fuel tank size from the owner’s manual
- Tire size from the tire sidewall, if you plan to use the gear calculations
- Transmission gear ratios and axle ratio, only if you want gear data
Set Up Your Vehicle in Vehicle Manager
Create one vehicle profile for each physical car in Vehicle Manager, because two vehicles of the same model can report different PID sets.
Each vehicle profile keeps its own data logs, fuel economy history and trip stats, and setting it up is the first real step in how to use DashCommand. A clean profile keeps your records separate and your readings accurate.
- Open Vehicle Manager. On iPhone, tap the plus button. On Android, press Menu and select Add Vehicle.
- Enter the year, make, model and type. Use the predefined values when they appear, because they unlock enhanced PIDs if your vehicle has a package.
- Enter engine displacement, fuel type and fuel tank size from the owner’s manual.
- Leave any field you are unsure of blank, since a wrong value skews the calculations.
- Reconnect to the vehicle after you change vehicle settings, because some settings apply only at the next connection.
Leave all PID settings blank unless Palmer Performance support tells you to fill them in.
Advanced Fuel and Gear Inputs
Part of how to use DashCommand is filling in the advanced settings, which feed the fuel and performance calculations. Fuel tank capacity drives the fuel level and distance to empty readings, so take that number from the owner’s manual.
- Brake specific fuel consumption: a blank field uses 0.44, and the manual suggests 0.40 to 0.50 for naturally aspirated engines
- Volumetric efficiency: a blank field uses 75, and 60 to 85 is a good starting point
- Tire size: enter the sidewall value, such as 255/60R17
- Speed correction: a multiplier, where 1.0 means no change
Connect DashCommand to Your Car
Select your vehicle, confirm the interface type in Settings, then tap Connection to link the app to your car’s OBD-II port.
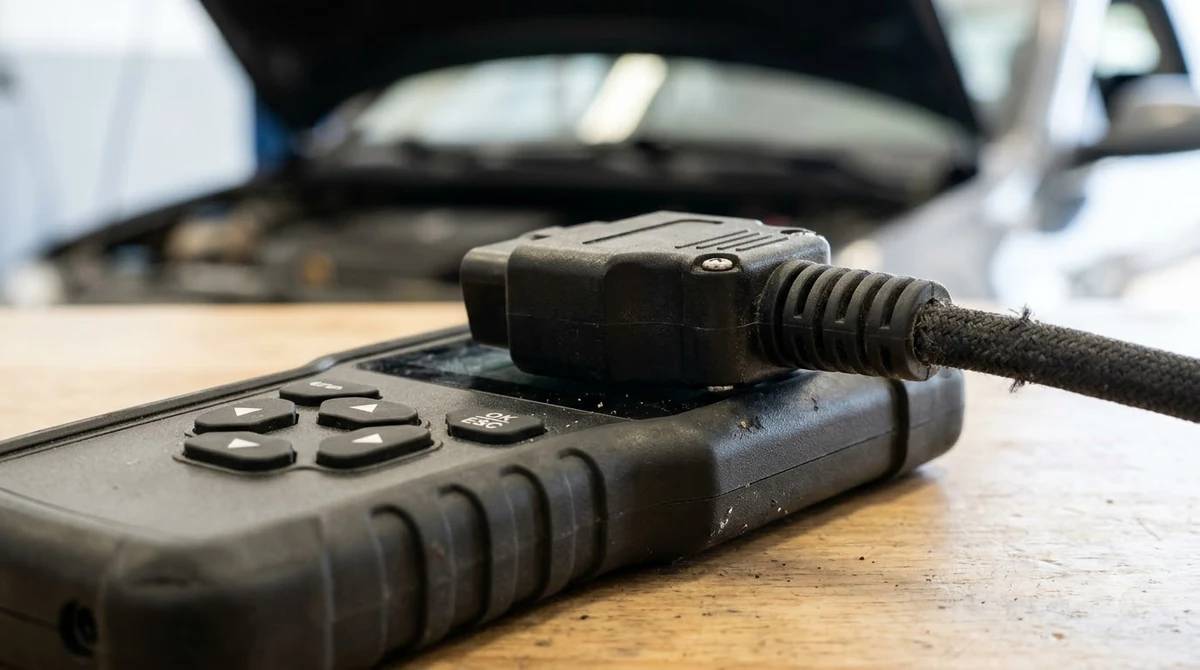
- Plug your OBD-II interface into the car’s diagnostic port.
- Select the vehicle you created in Vehicle Manager.
- Open Settings, then Connection, and choose your interface type.
- Keep the data port on AUTO so DashCommand can search for common WiFi interfaces such as Kiwi WiFi, OBDLink WiFi and OBDKey WLAN.
- Return to the main menu and tap Connection.
The connection button shows your status, and it is the first thing to check when you learn how to use DashCommand. Orange means you are not connected, yellow means a connection is in progress, and green means you are connected. If the circle turns orange again, the link to the vehicle has dropped.
The data port setting applies only to WiFi interfaces. If your adapter is missing from the list, the manual says to enter the custom IP address from the hardware maker.
Leave Aux Input Type on None. The manual states that changing it does not increase your chances of connecting through the OBD-II port.
Use Dashboards and Gauges
Dashboards show live data through Skin Sets, and the default Tuxedo skin includes performance, fuel economy, trip, engine and fill-up screens.
A Skin Set is a collection of dashboards, and each dashboard fills one screen with gauges. To switch skins, open Settings, then Dashboards, and choose Selected Dashboard. Extra skins uploaded by other users are available through the Download from DashXL.net option.
Not every vehicle supports every PID, so some gauges may stay empty on your car, which is normal when you first learn how to use DashCommand.
Edit a Gauge
To learn how to use DashCommand gauges, touch the screen to bring up the edit bar, then touch a gauge to edit it. Choose its style and type, set the PIDs for the needle, LCD and marker, and then set the low and high limits.
The multiplier makes displayed numbers smaller, and it is one of the settings to get right when you learn how to use DashCommand. A multiplier of 1000 on RPM shows 1, 2, 3 instead of 1000, 2000, 3000. Leave the high limit alone, because DashCommand adjusts it automatically.
Knowing how to use DashCommand properly includes the Fill-up dashboard, which is optional. Use it only when you monitor the whole tank, because a partial session falsely skews fuel economy numbers.
Read and Clear Trouble Codes Safely
The Diagnostics screen reads and clears trouble codes, but clearing also erases emissions monitor data, so record the codes first.
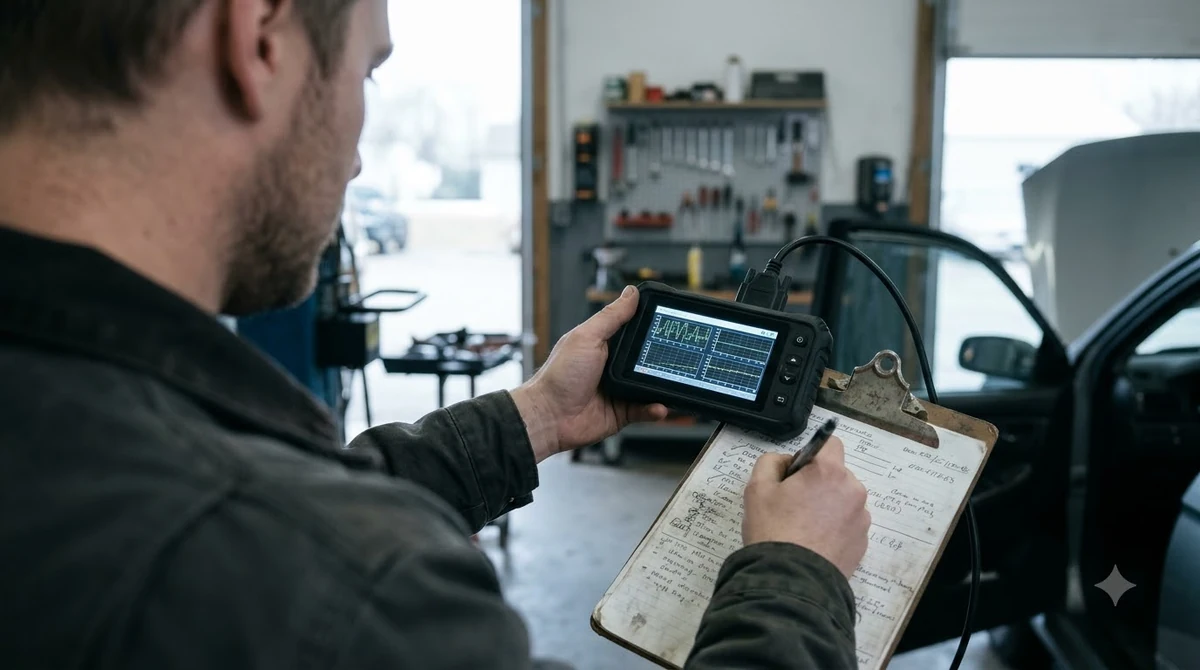
- Connect to your vehicle and open Diagnostics.
- Write down each code. Standard OBD-II codes show a short description, while manufacturer-specific codes show only the code.
- Check each monitor. A green checkmark means passed, a red exclamation mark means failed, and a yellow circle means not supported.
- Clear codes only after you have recorded them. On a few vehicles, clearing works only with the engine off and the key on.
The manual says that clearing trouble codes also clears emissions monitor data, which it describes as legally required. Treat each code as a starting point for diagnosis, since it names a fault condition rather than always the part that failed. If the light is blinking instead of staying on, read what to do when the engine light blinks first.
Log Data With Data Grid
Logging is a key part of how to use DashCommand, since it records the PIDs on the dashboard you are viewing. Data Grid lets you choose exactly which PIDs to record.
If you log from Dashboards, only the current dashboard’s data is saved. Switching dashboards mid-session changes the PIDs being recorded, so keep one dashboard for each log.
- Add PID shows SAE PIDs with a green checkmark when your vehicle supports them
- CALC PIDs are always listed, because DashCommand calculates them itself
- Persistent PIDs keep recording in the Data Grid view and appear in every log file
When you review a saved log, Loop playback in Settings repeats it at the end instead of returning to live monitoring.
Troubleshoot Connection Problems
Troubleshooting is part of how to use DashCommand. If the app will not connect, check the interface type, the data port and the selected vehicle first, because the manual ties connection status to these settings.
| Problem | What to check | Manual note |
|---|---|---|
| Not connecting | Interface type in Settings | Select ELM if you are unsure |
| WiFi adapter not found | Data port set to AUTO | Enter a custom IP from the hardware maker for unlisted adapters |
| Settings changed but no effect | Reconnect to the vehicle | Some vehicle settings apply only at the next connection |
| Wrong readings | Vehicle profile values | Leave unsure fields blank |
| Missing PIDs | PID revalidation in Vehicle Manager | Revalidate only if Palmer Performance support asks |
The Console shows debugging details about failed connections. The manual says to leave it alone unless Palmer Performance support asks you to check it.
Frequently Asked Questions
Does DashCommand work on Windows?
Yes, the Palmer Performance manual covers how to use DashCommand on Windows, iOS and Android. The Windows product page describes use on a desktop or laptop with a mouse or touch pad, but it names only older Windows versions, so check current requirements before you buy.
Can DashCommand change my car’s programming?
No. The manual on how to use DashCommand describes the app as a read-only diagnostic logging tool that cannot flash, modify, tune, perform CASE relearns, run injector tests or use bi-directional control. Use it to observe data and codes, not to change settings in the vehicle.
Why do I need to select a vehicle before connecting?
DashCommand saves the supported PID list and vehicle protocol with each vehicle, and data logs are stored by vehicle too. The manual recommends a new vehicle profile for each physical car, even for two cars of the same model.
Can DashCommand clear a Check Engine Light?
Yes. The Diagnostics screen can read and clear trouble codes, which is how the light is reset in the app. The manual notes that clearing also erases emissions monitor data, so record the codes before you clear them.
What do the connection colors mean?
Orange means DashCommand is not connected, yellow means a connection is in progress, and green means it is connected. If the circle turns orange after it was green, the connection to the vehicle has been lost.
Before you rely on what you learned about how to use DashCommand for a repair, confirm the interface type and vehicle profile, then record every code before you clear anything. If the app still will not connect, check the adapter maker’s compatibility list before you spend more time changing settings.