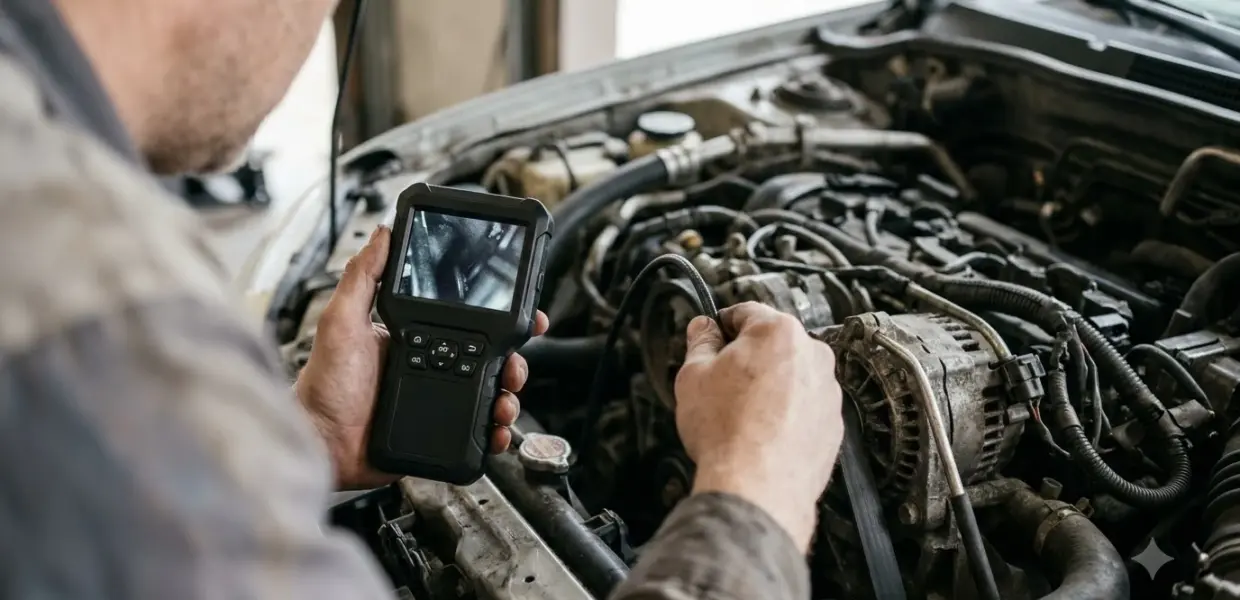

Here is how to use a smoke leak detector: seal the part under test, power the machine from a 12V battery and watch where the smoke escapes. The method finds leaks in intake pipes, turbo hoses, exhaust parts and EVAP lines that are too small to hear.
The steps below use the Laser Tools 8831 and the ANCEL S3000 as examples, plus a Ford EVAP procedure. Learning how to use a smoke leak detector on different models is easier when you compare manuals, because fill amounts and pressure ranges differ. Check your own manual before you start. For fuel supply faults, testing fuel pressure with a gauge is the companion check.
This is general information on how to use a smoke leak detector for home mechanics. Follow your device manual and your vehicle’s service data, and work in a well-ventilated area with your hands clear of the engine bay and moving belts.
What a Smoke Leak Detector Does and What You Need
Before you learn how to use a smoke leak detector, know what it does: it pumps low-pressure smoke into a sealed system so you can see where it escapes. You need a 12V power source, smoke fluid, sealing adaptors and a light to see the smoke.
Learning how to use a smoke leak detector starts with the kit. The Laser Tools 8831 kit is built for controlled smoke generation in inlet manifold pipe work, plenum tubes, turbo pipes, intercoolers, exhaust systems, EVAP systems and engine breather pipes. According to the Laser Tools 8831 instructions, it has a built-in pressure gauge, an adjustable pressure regulator and a flow meter.
- A 12V DC source, such as a car battery or an under-bonnet charge point
- Smoke fluid. The Laser manual specifies commercially available baby oil
- Expandable bungs, rubber cones or adaptors that seal the hose or port
- A bright LED lamp, or UV dye added to the smoke fluid, to spot leaks
- A locating hook, which hangs the machine from the bonnet over an engine bay
Set Up the Machine Safely Before the First Test
Setup is the first part of how to use a smoke leak detector safely, and it starts with oil and power. Fill the machine with about 20 to 30 ml of smoke oil on first use, and never overfill it. Power it from a 12V source with the red clamp on positive and the black clamp on ground.
Switch the unit off and disconnect it from the power supply before you open the oil filler or drain the reservoir. The Laser manual says overfilling causes a malfunction, so add oil carefully and check the sight glass.
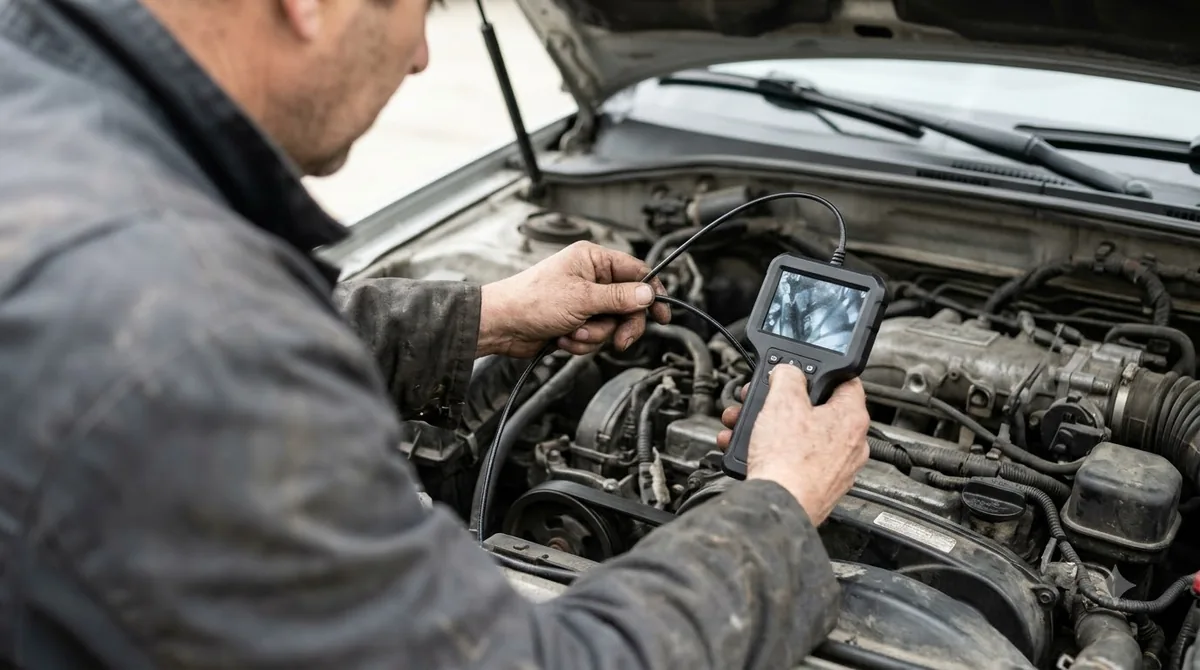
- Fill the reservoir with 20 to 30 ml of baby oil for the first use.
- Connect the red clamp to positive and the black clamp to negative (ground). Do not reverse them, because that can damage the machine.
- Check the connections before you apply power, since the pump starts as soon as 12V is connected.
Use the machine in a well-ventilated area. The same manual says not to clean the unit with alcohol or paint thinners, and not to store or run it in high heat, high humidity or condensation.
How to Use a Smoke Leak Detector Step by Step
The main steps of how to use a smoke leak detector are to seal the part under test, connect the machine, switch on the smoke generator and wait a few minutes for the system to fill. Keep the pressure gauge in the 5 to 10 psi range while you work.
- Place the machine on a secure surface. Over an engine bay, the locating hook can hang it from the underside of the bonnet.
- Seal the system with a suitable adaptor or bung. If needed, fit an extra adaptor so the smoke outlet plug can connect.
- Connect the 12V DC source. The pump starts once power is applied.
- Switch on the smoke generator. The smoke-active lamp lights, and there is a short warm-up before smoke appears.
- Fit the smoke outlet plug to the sealing adaptor or bung.
- Turn the flow-level knob to set the flow. Watch the pressure gauge and keep it in the 5 to 10 psi range.
- Wait a few minutes for the smoke to fill the system, then check joints and connections for smoke escaping.
- When you finish, let the machine cool, then clean and purge the hoses, bungs and adaptors before storage.
The ANCEL S3000, a similar 12V unit, follows a similar sequence in its own guide. You add 20 ml of test oil, disconnect the pipe to be tested, connect a 12V battery, and then check the leak points once smoke fills the pipe. Its stated output range is 0.8 to 14.5 psi.
Using an Inflatable Adaptor
For larger hoses or an engine inlet, the Laser kit includes an inflatable, expandable adaptor. Fit it to the hose, close the pressure-sealing valve fully clockwise, then pump the bulb by hand until the rubber sheath seals the system. Turn the valve counter-clockwise to release the pressure when you finish.
Reading the Result and Finding the Leak
In how to use a smoke leak detector, the result is simple to read: a system with no leak pressurizes quickly, and the flow meter shows zero flow. If the flow meter keeps registering flow, there is at least one leak in the system.
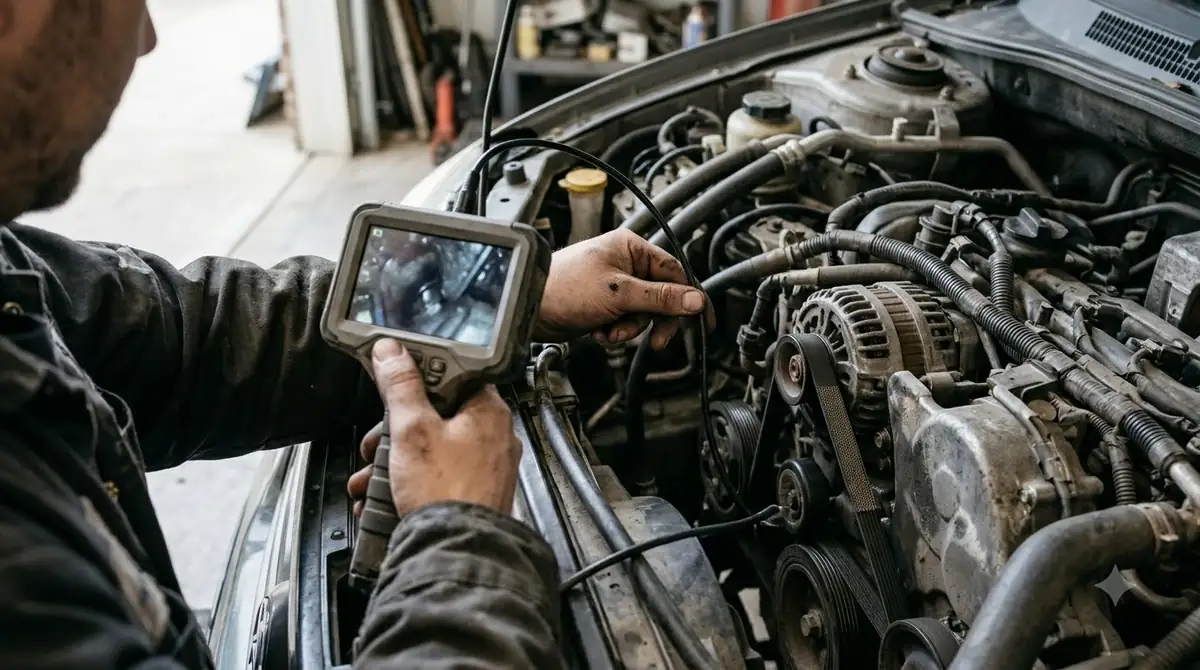
Watch the flow meter and the pressure gauge together to confirm a result. Thin, hard-to-see smoke can mean the oil level is getting low, and the Laser manual says to add only 5 ml at a time while watching the sight glass.
Finding the exact spot takes patience. Use a bright LED lamp to scan joints and connections, or add UV dye to the smoke fluid, which the manual says can help locate leaks. Common places to check:
- Hose ends and the clamps that hold them
- Joints where a pipe meets a plastic connector
- Gaskets and seals around the intake or turbo pipe work
- The bung or adaptor you used, since a poor seal there can look like a hose leak
How to Smoke Test an EVAP System
On a 2019 Ford Ranger with a 2.3L EcoBoost, the EVAP smoke test starts with the scan tool EVAP test and then moves to a smoke check through the purge valve and fuel filler. The steps are specific to that model, so follow your own vehicle’s service procedure.
Ford’s procedure notes that some small leaks may not be detected by the scan tool EVAP test. Move to the smoke check if the system fails that test or if a leak is still suspected after a pass.
- Disconnect the fuel vapor tube from the EVAP canister purge valve quick-connect coupling.
- Connect the smoke tester to the fuel vapor tube quick-connect, then reconnect the battery ground cable.
- Close the canister vent solenoid with the scan tool.
- Install the supplemental refueling adapter in the fuel tank filler pipe, then introduce smoke into the system.
- Confirm smoke exits the filler pipe neck. If it does not, open the canister vent solenoid to purge air, then close it again once smoke appears.
- Remove the refueling adapter after smoke is seen at the filler neck.
- Keep feeding smoke for 60 seconds to build pressure.
- Press and release the remote start button in 15-second intervals, 15 seconds on and 15 seconds off, while you watch for smoke.
- Use the halogen light supplied with the tester to follow the EVAP path and look for smoke at the leak source.
- Repair any leaks and repeat the leak test until the system passes.
Common Mistakes and Duty-Cycle Limits
The most common errors in how to use a smoke leak detector are overfilling the oil, reversing the power clamps and running the machine past its duty cycle. The Laser unit is normally designed to cut out after 15 to 20 minutes of running.
- Overfilling the reservoir, which the manual says causes a malfunction
- Reversed clamps, which can damage the machine
- Running too long. The cut-out can happen sooner in high ambient temperature
- Restarting too soon. After a cut-out, switch off, disconnect and leave the unit 10 to 15 minutes before it runs again
- Old oil. Replace it every three months if it stays in the machine
Frequently Asked Questions
How long does the smoke need to fill the system?
Wait a few minutes for the smoke to fill the system, according to the Laser instructions. The Ford EVAP procedure feeds smoke for 60 seconds to build pressure, then checks for smoke at the leak source. Your unit manual sets the exact timing.
Do I need a special smoke fluid?
The Laser manual specifies commercially available baby oil. Use only the fluid your manual names, since the right fluid is the first safety step. Never overfill the reservoir.
Can I test door seals with it?
Yes. For door seals, the Laser instructions say to test outside the vehicle, with the heater fans set to maximum inside the car. The kit is designed for pipe work and systems, so check the manual before using it on other parts.
What if no smoke comes out?
Check the oil level in the sight glass first, because thin or missing smoke can point to low oil. Then confirm the 12V connections, the flow setting and the seal at the adaptor. If the unit has cut out, let it cool for 10 to 15 minutes before restarting.
How do I know where the leak is?
Smoke escapes at the leak, so look along joints, clamps and seals with a bright LED lamp. Zero flow on the flow meter means the system holds, while continuing flow means at least one leak remains.
Work slowly, check every connection and treat smoke as a clue rather than a verdict. If the system passes the tool test but the symptom remains, review the procedure for your vehicle before you replace parts. A stored EVAP code such as a P0456 small EVAP leak or a lean code such as P0171 vacuum leak causes is a good reason to run this test.