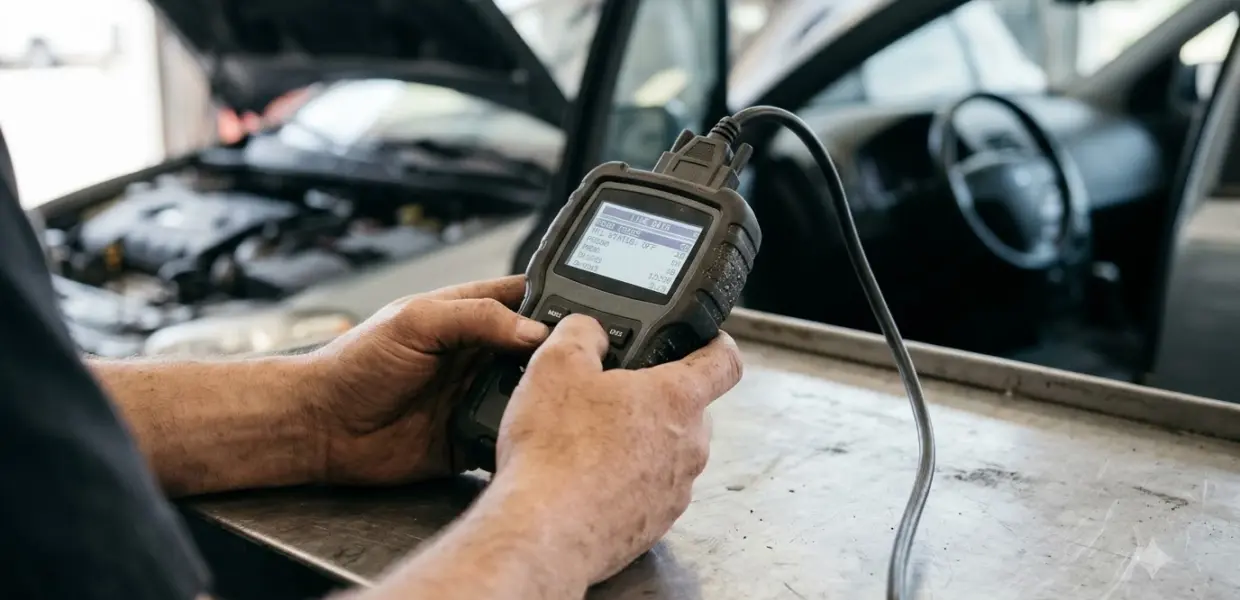

How to use Foxwell NT201 means plugging the handheld scanner into the car’s OBD2 port, turning the ignition on, and working through its menus. The unit reads trouble codes, shows live sensor data and runs an emissions readiness check.
The NT201 takes its power from the car, so there is no battery to charge. Menu names can differ between firmware versions, so check each step against the guide that came with your unit.
What You Need Before You Start
The NT201 needs only a car with an OBD2 port, because it draws power through that port and has no battery to charge. Learning how to use Foxwell NT201 starts with knowing what is in the box and which vehicles it fits.
According to the product overview on CarAudioNow, the NT201 works with OBD2 vehicles sold since 1996. The overview also lists a 12-month warranty from Foxwell and a cable of about 2.5 feet. The box contains the following items.
- NT201 OBDII/EOBD code reader
- NT201 user’s guide
- USB cable, used only for firmware updates on a computer
A widely shared copy of the NT201 user guide gives a vehicle power range of 8 to 18 volts, and its color screen measures 320 by 240 pixels. Those details matter only if you compare the unit with other scanners before buying. Foxwell’s official NT201 product page describes a 2.4-inch TFT color screen and a hot key for the I/M test.
Step 1: Connect the Scanner and Power It On
Plug the NT201 into the OBD2 port, usually under the driver-side dash, then turn the ignition to ON without starting the engine. According to CarAudioNow, the port is usually directly under the dash where your feet are.
- Find the OBD2 port, usually under the dashboard on the driver’s side.
- Plug the scanner into the port.
- Turn the ignition to ON without starting the engine.
- Wait for the unit to connect. If the screen asks for it, press the OBDII/EOBD button. Some units connect without this step.
Once the unit boots, the home screen shows three apps: OBDIIEOBD, About and Setup. Open OBDIIEOBD to reach the diagnostic functions covered in the next sections. This home screen is the starting point for how to use Foxwell NT201 in every later step.
The user guide copy warns against powering the unit from USB while it is communicating with a vehicle. Keep the USB cable for computer updates only, and use the vehicle’s own port for power. Following that rule is one of the simplest parts of how to use Foxwell NT201 safely. For a similar handheld, see Konnwei KW310 buttons and menus.
Step 2: How to Use Foxwell NT201 to Read Codes
From the home screen, Read Codes lists stored and pending codes, and the scanner shows “No (Pending) Codes Found!” when the car has none. The Read function is available directly from the home screen or from the Diagnostic Menu.
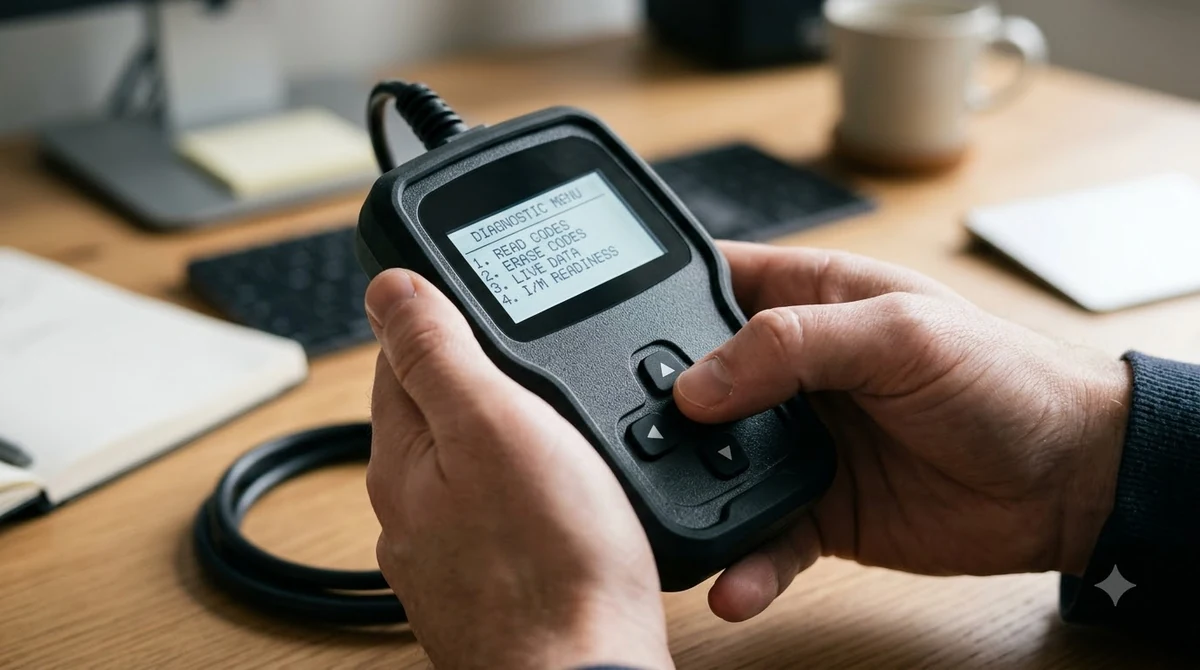
The Read Codes menu gives two lists, Stored Codes and Pending Codes, so check both before you decide what to do. Learning how to use Foxwell NT201 for codes is mostly a matter of moving through these two lists in order.
- Open the OBDIIEOBD app from the home screen.
- Open the Diagnostic Menu, or use the Read shortcut from the home screen.
- Choose Read Codes, then pick Stored Codes or Pending Codes.
- Write down each code and its description before you change anything.
If the car has no codes, the NT201 displays “No (Pending) Codes Found!” That message covers codes only, so check the I/M readiness status too, covered in Step 4. A code is a starting point for diagnosis, not a complete answer on its own. Reading codes carefully is the core of how to use Foxwell NT201, so take your time with each list. Zurich’s ZR13 is another plug-and-read scanner, and its routine is in the Zurich ZR13 code reading steps.
Step 3: Check Live Data and Freeze Frame
Live Data shows sensor readings as they change, and Freeze Frame shows the conditions recorded when a code was set. Use Live Data when you want to watch how one sensor behaves while you test. Live Data is the part of how to use Foxwell NT201 that shows sensors while they change.
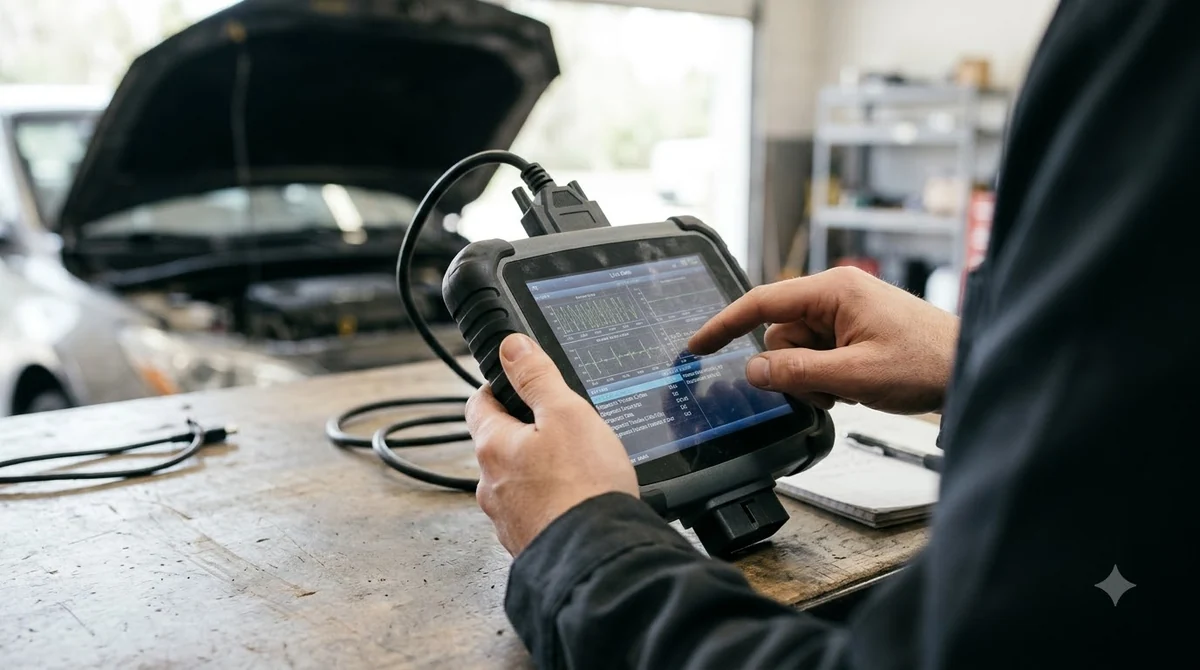
- Open View Data and choose Complete Data Set, which lists the supported PIDs.
- Use the arrow keys to scroll through the list.
- Press ENTER on a numeric PID to see its graph.
- Press ESC to return to the list.
Freeze frame data works differently. It is a snapshot of the vehicle conditions recorded when a code was set, so it shows what the car was doing at the moment of the fault. If the car stored none, the screen shows “No freeze frame data stored!”
Write down freeze frame data before you erase any codes. Step 5 explains why the order matters.
Step 4: Run the I/M Readiness Check
The One-Click I/M Readiness key runs a quick readiness check, and its LED and beeps show whether the emissions monitors are complete. Each monitor reports OK, INC for incomplete, or N/A when the car does not support it. This check answers whether the car is ready for an emissions test, which is why it belongs in how to use Foxwell NT201 before any repair is closed out.
The NT201 shows two views, Since DTCs Cleared and This Drive Cycle. Keep the ignition ON with the engine off while you run the check, as the user guide copy instructs. Running the check before a test is a useful habit for anyone learning how to use Foxwell NT201 on a regular basis.
| LED | Meaning on the NT201 | Beeps |
|---|---|---|
| Green | Systems normal, no codes | Two long beeps |
| Yellow | Possible problem, or monitors have not run yet | Short, long, short |
| Red | Faults present, MIL on | Four short beeps |
A yellow light is not always a fault. It often means a monitor has not run yet, so check the status again after normal driving. Use the readiness result together with Read Codes, because the check shows which monitors ran but does not name the failed part. Our guide to budget code reader options compares other models, and Ancel BD310 readiness and battery checks covers a similar screen tool. Another reader that checks readiness before an inspection is explained in the Autel MaxiScan MS309 readiness check.
Step 5: Erase Codes Only After the Repair
Erase Codes clears current codes and temporary ECU data, including freeze frame, so fix the fault and save the freeze frame data before you erase anything. Erasing is the final step in how to use Foxwell NT201, not the first. The user guide copy also warns that erasing codes does not fix the underlying fault.
- Write down the codes and the freeze frame data.
- Repair the fault and confirm the repair.
- Keep the ignition ON with the engine off, then choose Erase Codes.
- Read the codes again. If any code remains, repeat the process after fixing the cause.
If the same code returns, the scanner has not found the cause. Use live data and repair information for your specific car to narrow it down before you erase again.
Setup Menu and Firmware Updates
The Setup menu controls language, monitor settings, units, beeps and self-tests, and firmware is updated from a computer over USB. Most owners only need the Setup menu once, during their first session with how to use Foxwell NT201.
- Language
- Configure Monitors, including Allowed INC Monitors from 0 to 3
- Unit of Measure, US customary or metric
- Key Beep and Diag Beep, each set on or off
- Tool Self-test, with display, keypad and LED tests
Firmware updates use the NT Wonder PC tool. Connect the unit to the computer by USB, follow the update steps in your guide, and do not unplug the unit or shut down the computer during the update. Check which Windows versions the tool supports before you start, because copies of the guide list different versions. Foxwell’s product page lists the NT Wonder setup file and a quick start guide for download.
Frequently Asked Questions
Does the NT201 need batteries?
No. The NT201 draws power through the OBD2 port, according to CarAudioNow, so there is no battery to charge. A copy of the user guide lists a vehicle power range of 8 to 18 volts. Check the car’s port before you test.
Will the NT201 work on my car?
CarAudioNow says OBD2 readers work with vehicles sold since 1996. To confirm, look for the OBD2 port under the driver-side dash before you follow how to use Foxwell NT201 step by step. If you cannot find a port, the NT201 cannot connect to that car.
What does a yellow LED mean?
A yellow LED means a possible problem or monitors that have not run yet, according to the user guide copy. Read codes to check for stored faults, a routine part of how to use Foxwell NT201. If none appear, drive normally and check the readiness status again.
Why does the scanner say no codes found?
The message “No (Pending) Codes Found!” means the car has no stored or pending codes at that moment. Check the I/M readiness status as well, because monitors may not have run yet.
Should I erase codes before a test?
Erasing codes does not repair a fault, and it clears freeze frame data too. Check the I/M readiness status first, since it shows which monitors have run. Fix the cause before erasing anything, as Step 5 explains for how to use Foxwell NT201.
What is freeze frame data?
Freeze frame data is a snapshot of vehicle conditions recorded when a code was set. Open it from the Diagnostic Menu, which is part of how to use Foxwell NT201 for diagnosis. If the car stored none, the NT201 shows “No freeze frame data stored!”
Use the NT201 to read codes, check live data and confirm readiness, then have a repair shop or service information confirm the cause before you buy parts. This guide relies on a copy of the user guide and a retailer overview, not on Foxwell’s current website, so compare menu names with your own unit before you follow any how to use Foxwell NT201 step.