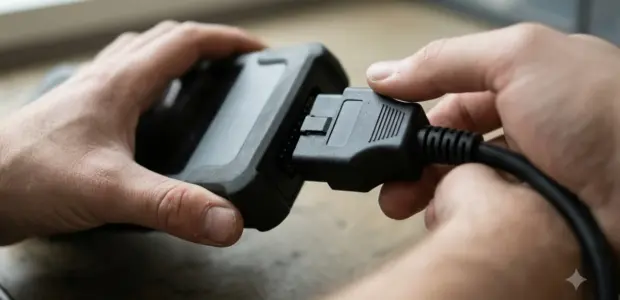

How to use Actron CP9670 comes down to four steps: connect the scan tool to the OBD II port with the ignition on, let it identify the vehicle, read the codes, then check live data and monitors. The CP9670 is a color-screen Actron AutoScanner that draws its power from the vehicle.
Knowing how to use Actron CP9670 is simple, because the tool works on any OBD II vehicle without special adapters. Read the safety section of the user guide first, since battery gases can ignite.
Working around a car battery carries real risk, so learn how to use Actron CP9670 safely. Follow the safety messages in the Actron user guide and your vehicle service manual before you connect or erase anything.
What You Need Before You Start
You need the CP9670 with its DLC cable, a vehicle with an OBD II data link connector, and a battery that reads at least 8.0 V with the key on and the engine off. US vehicles sold from 1996 on use this connector.
- The CP9670 AutoScanner with its DLC cable
- A USB cable, only if you want PC power or software updates (not provided with the tool)
- Safety goggles and a ventilated area, as the manual requires near the battery
- Your vehicle service manual for drive cycles and component details
The English user guide, which explains how to use Actron CP9670 step by step, is listed on the CP9670 product page at OTC Tools. It holds all of the safety information for the tool.
Step 1: Connect the Scan Tool to the Vehicle
Step one is to plug the DLC cable into the vehicle’s OBD II port with the ignition on and the engine off. The tool then powers up from the car, as part of how to use Actron CP9670 on a first connection.
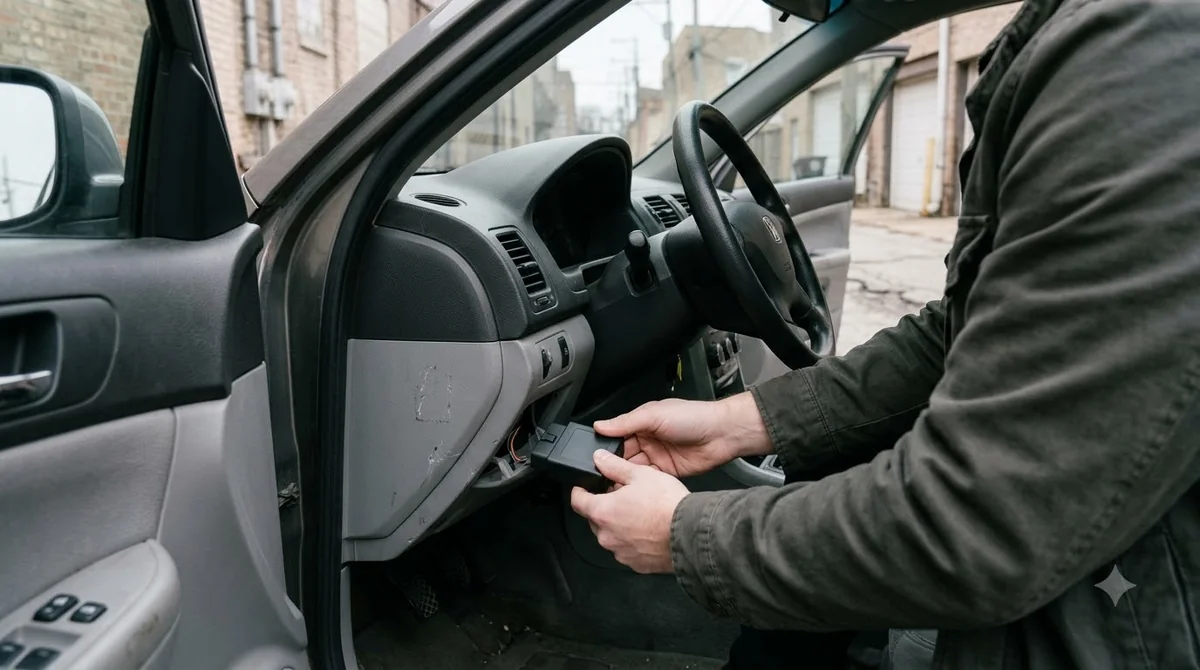
- Find the OBD II data link connector under the driver side dash, usually near the steering column, and remove its cover if one is fitted.
- Turn the ignition to the ON position. Do not start the engine.
- Plug the tool’s connector into the DLC.
- Wait while the tool identifies the vehicle, then review the Quick Test results.
- Press the Select key to open the Diagnostic Menu.
Once you know how to use Actron CP9670, you will see it power on by itself, since it draws power through the DLC. Pin 16 carries battery power and pins 4 and 5 are the grounds, according to the CP9670 user guide. If the connector is not under the dash, look for a label that shows where it is.
Step 2: Choose the Vehicle
The first setting in how to use Actron CP9670 is vehicle selection. The tool tries AutoID first, which covers 2000 and newer vehicles, and falls back to manual choices for 1999 and older cars.
| Option | Use it when | What happens |
|---|---|---|
| AutoID | The vehicle is model year 2000 or newer | The tool reads the VIN and shows the vehicle for you to confirm |
| Manual | The vehicle is 1999 or older, or AutoID does not work | You pick the region and vehicle from menus |
| Prev | You are testing the last vehicle again | The tool keeps the stored data for that vehicle |
Some 2000 to 2004 vehicles do not support AutoID, so pick Manual for them. If the tool asks you to confirm, turn the key off for 10 seconds, turn it back on, and press Enter.
The tool keeps data for one previous vehicle. Selecting a different car overwrites the old one in Review Data, so run the functions again for the new vehicle.
How to Use Actron CP9670 to Read Trouble Codes
Choose Read Codes from the Diagnostic Menu, or hold the Read key for 2 seconds when its icon shows, to list the codes the vehicle has stored.
- Select Read Codes in the Diagnostic Menu.
- If more than one module is present, choose Engine, ABS or All of the Above.
- Scroll with the arrow keys and write down each code, its type and its module.
- Press Back to return to the Diagnostic Menu.
If the vehicle has no stored codes when you learn how to use Actron CP9670, the screen reads “System Pass: No Faults Detected.” Read Codes works with the key on and the engine off or running.
What the code letters mean
Each DTC has five characters, and reading that format correctly is part of how to use Actron CP9670 well. The first letter is B for body, C for chassis, P for powertrain or U for network communication. P0xxx and P2xxx codes are generic SAE codes, while P1xxx codes belong to the manufacturer. P0101, for example, points to a mass or volume air flow circuit range or performance problem.
The DTC type adds context. Confirmed codes mean a component reported a fault, and Pending codes are still maturing. Permanent codes cannot be erased by the tool, and a code marked MIL is the one that turned on the warning lamp.
Erase Codes Safely
Within how to use Actron CP9670, Erase Codes deletes stored trouble codes and resets I/M monitor data. Write every code down first, and run it with the key on and the engine off. A similar tool is described in Innova code reader instructions.
- Read the codes and write each one down.
- Select Erase Codes in the Diagnostic Menu.
- Choose Yes at the confirmation prompt, or No to cancel.
- If more than one module is listed, select it and wait for the Command sent message.
- Press Back to return to the Diagnostic Menu.
Erasing may also remove freeze frame data and some test results, depending on the vehicle. The guide warns that a code that returns means the problem is not fixed or another fault is present.
Permanent codes are the exception to how to use Actron CP9670 for erasing, because the vehicle clears them itself once the fault is gone. Erasing also sets every monitor to inc, so drive the vehicle before you judge the repair.
Live Data, Freeze Frame and Recording
In how to use Actron CP9670, View Data shows live sensor readings, View Freeze Data keeps the conditions recorded when a fault set, and Record Data captures frames before and after a trigger. Use the tool on a real case with Elantra warning light causes.
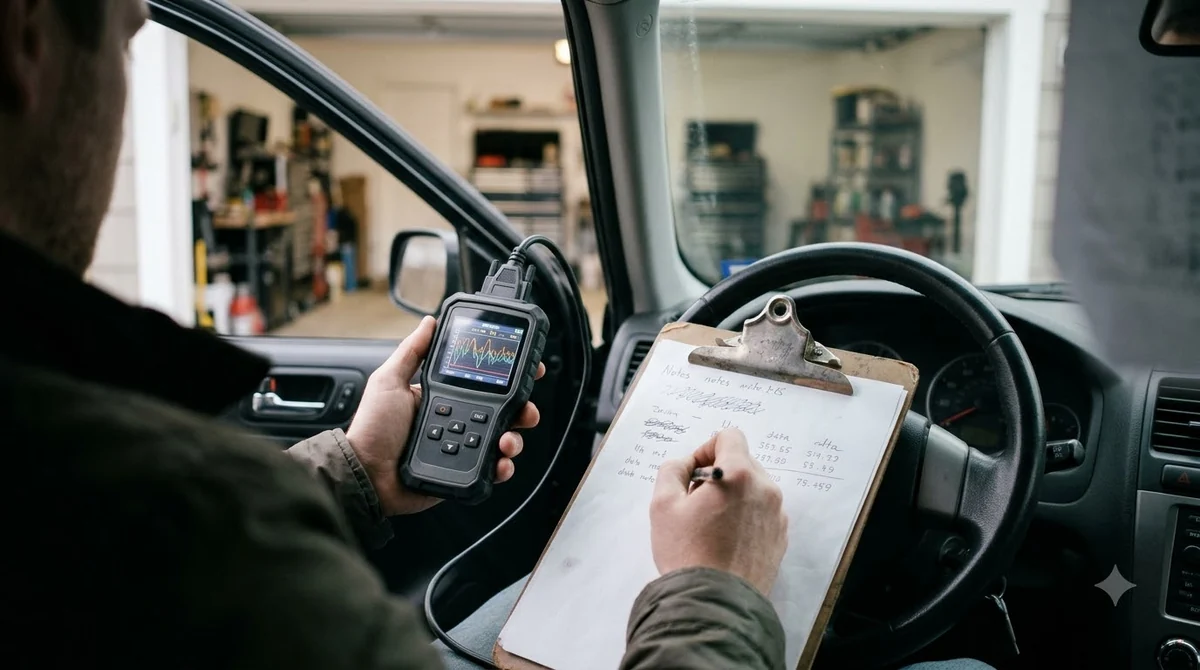
- View Data: live PID readings, with a graph for values that support one
- View Freeze Data: a snapshot taken when an emission-related fault set
- Record Data: one recording at a time, with frames before and after the trigger
For how to use Actron CP9670 on driveability faults, the guide calls View Data the most useful function apart from Read Codes. Choose Entire Data List to see every PID the vehicle supports, and press the graph key when the graph icon appears to plot a value.
A newer fault can overwrite freeze frame data, and erasing codes may remove it. Record Data keeps only one recording, so review an old one before you make a new one. Two people should be in the vehicle during a drive, one to drive and one to run the tool.
Check Monitors and MIL Status
Monitors matter in how to use Actron CP9670 because I/M monitors show whether the emission system has finished its self-tests, marked ok, inc or n/a. MIL Status shows whether the check engine lamp is on.
| Status | Meaning | What to do |
|---|---|---|
| ok | The vehicle has been driven enough to complete the monitor | No action for that monitor |
| inc | The monitor is incomplete because the vehicle was not driven enough | Refer to the service manual for the drive cycle, then check again |
| n/a | The vehicle does not support that monitor | Ignore it for that vehicle |
I/M Monitors has two views, Since DTCs Cleared and This Drive Cycle. State OBD Check, read with the engine running, shows the MIL status, the codes found and the counts of ok, inc and n/a monitors on one screen. Erasing codes or losing module power resets monitors, so an inc status after a repair is expected.
System Setup and Tool Information
Part of how to use Actron CP9670 is System Setup, which changes units and language, turns long PID names on or off, and runs the display, keypad and memory tests. The tool information screen shows the serial number and software ID that support staff ask for.
English is the default unit, and you can switch to Metric in System Setup or inside View and Record Data. The language options are English, Espanol and Francais, and text without a translation appears in English.
The Display Test cycles solid red, green and blue screens to find missing pixels. The Memory Test can take several minutes, and it is worth running if playback or code definitions fail. Software updates come from actron.com/updates-downloads, and the Scanning Suite PC app is not needed to run the tool.
Troubleshooting Common Problems
When how to use Actron CP9670 fails to connect, most problems come from the ignition position, a dirty DLC or low battery voltage, so check those first. Another option is Innova scan tool with app support. If your car is a Chrysler product, AlfaOBD connection and license guide offers a vehicle-specific approach.
| Symptom | What to check |
|---|---|
| Error message when connecting | The ignition is in ON, not ACCESSORIES, and the DLC cable is fully seated |
| Tool does not power up | Clean the DLC pins, reseat the connector, and check that battery voltage is at least 8.0 V |
| Vehicle communication fault | Turn the key off, wait 10 seconds, then press Enter |
| Dashes replace data on screen | A module has stopped responding, so select No to try to reconnect |
| Playback or code definitions fail | Run the Memory Test in System Setup |
With the engine off, check the DLC for cracked, bent or recessed pins, and check the vehicle fuses. If the problem continues, contact Actron technical support at 1-800-228-7667 or [email protected] with the tool information ready.
Frequently Asked Questions
Does the Actron CP9670 need a computer to work?
No. Learning how to use Actron CP9670 does not require a computer, because the vehicle powers the tool once it is connected to the DLC. A USB cable links it to a PC only for PC power or software updates, and the Scanning Suite app is not required to operate the tool.
Does the CP9670 work on every car?
It is built for OBD II vehicles, which covers US cars sold from 1996 on. Use AutoID for model years 2000 and newer, and Manual for 1999 and older. Some 2000 to 2004 vehicles do not support AutoID, so choose Manual if the tool cannot identify the car.
Why does the tool show No DTC Definition Found?
The code is not in the definitions stored in the tool. The user guide says to check the vehicle service manual for what the code means. Enter the code one character at a time in Code Lookup, because every character must be entered.
Can disconnecting the battery clear codes?
Yes, on some vehicles. The user guide says disconnecting the battery or a discharged battery may erase DTCs and clear monitor status, depending on the vehicle. Write down the codes and the monitor status before you disconnect anything.
Can I run the tool with the engine running?
Yes, for several functions. When you run how to use Actron CP9670 for monitors, Read Codes, I/M Monitors and State OBD Check can all run with the key on and the engine running. Erase Codes must be run with the key on and the engine off, so do not start the engine during that step.
A careful approach to how to use Actron CP9670 is to erase codes only after the repair is checked and every code is written down. A code that returns means the problem is not fixed, and the vehicle may need a drive cycle before its monitors show ok.