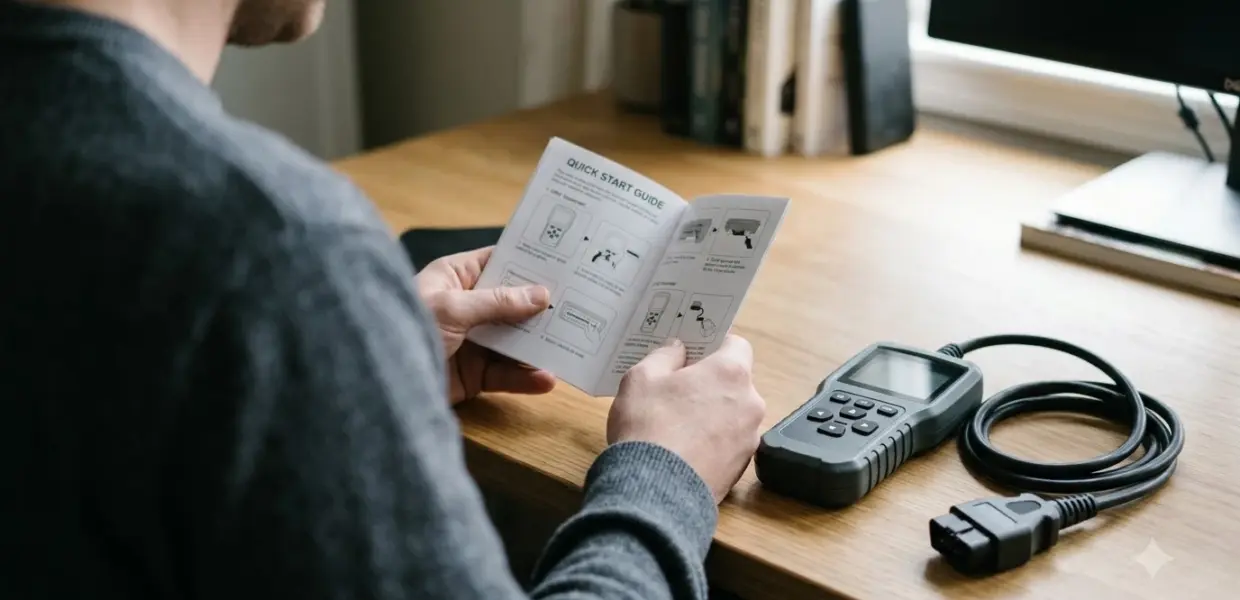

The short answer to how to use AutoEnginuity is to install the Windows software, plug in the adapter before you open it, activate it with your codes, and then connect to the car. Most setup problems come from mismatched codes or the wrong software version.
AutoEnginuity is a PC-based OBD-II scan tool, so it needs a Windows laptop and a compatible adapter. Check the serial number and software version first, because the activation codes depend on both.
How to use AutoEnginuity: what you need before you start
You need a Windows PC running Windows Vista through Windows 11, a ProLine VCI or VCI+ adapter with a USB cable, and activation codes that match the adapter serial number.
The Diesel Laptops AutoEnginuity install guide lists those requirements and applies the same serial number rule to every version. Confirm the serial printed on your adapter before you download anything, because the correct installer and codes depend on it.
The guide covers Windows only, so how to use AutoEnginuity on a Mac or a tablet is a different matter. Check your operating system first.
If you are new to diagnostics, read the whole process before you start, because each step depends on the one before it. A clear plan makes how to use AutoEnginuity far less frustrating on the first session.
- Windows Vista, 7, 8, 8.1, 10 or 11
- A ProLine VCI or VCI+ adapter connected by USB cable
- Activation codes that match the adapter serial number
Install the software and plug in the adapter first
To set up how to use AutoEnginuity, remove older AE ScanTool versions, run the current installer as administrator, and plug the adapter in before you open the software. The order matters, and skipping a step makes the activation harder to diagnose.
The guide asks you to uninstall every older AE ScanTool version from Control Panel before you run SETUP. Follow the steps in this order every time you set up how to use AutoEnginuity on a new computer.
- Uninstall all older AE ScanTool versions from Control Panel.
- Download the current installer and run SETUP.
- Set the Giotto app to run as administrator for all users.
- Plug the adapter in by USB before you open the software, and wait for a solid blue light on the adapter.
- Open the software. It may activate on its own.
To set administrator mode, right-click the Giotto icon, choose Properties, open the Compatibility tab, click Change settings for all users, tick Run this program as an Administrator, and click OK.
If a User Account Control prompt appears during activation, the guide suggests setting UAC to Never Notify for a short time. Restore your normal setting afterward, because that change lowers a security protection.
Written steps like these are the fastest way to learn the install without guessing. Keep a note of the version you installed, since the guide ties activation to that version.
Activate AutoEnginuity with your codes
Activation runs under Help and then Feature Activation, where you enter the four activation code blocks for your serial number and restart the program. Open that screen first to see whether your add-ons already show as Active.
If they do not, click Activate, enter the four code blocks, and restart when the program asks. Letter case does not matter in the code fields, so type the codes as printed.
A message that says hardware not detected can appear during activation, and the guide says it can be normal. Keep following the steps and recheck the status after the restart.
Activation is the step most readers underestimate when they learn how to use AutoEnginuity, so give it the same care as the install.
If activation fails, the guide names the wrong software version or the wrong activation codes as the most common causes. Check that the adapter serial, the version and the codes all match, and contact support if they do not.
Connect to the car and read trouble codes
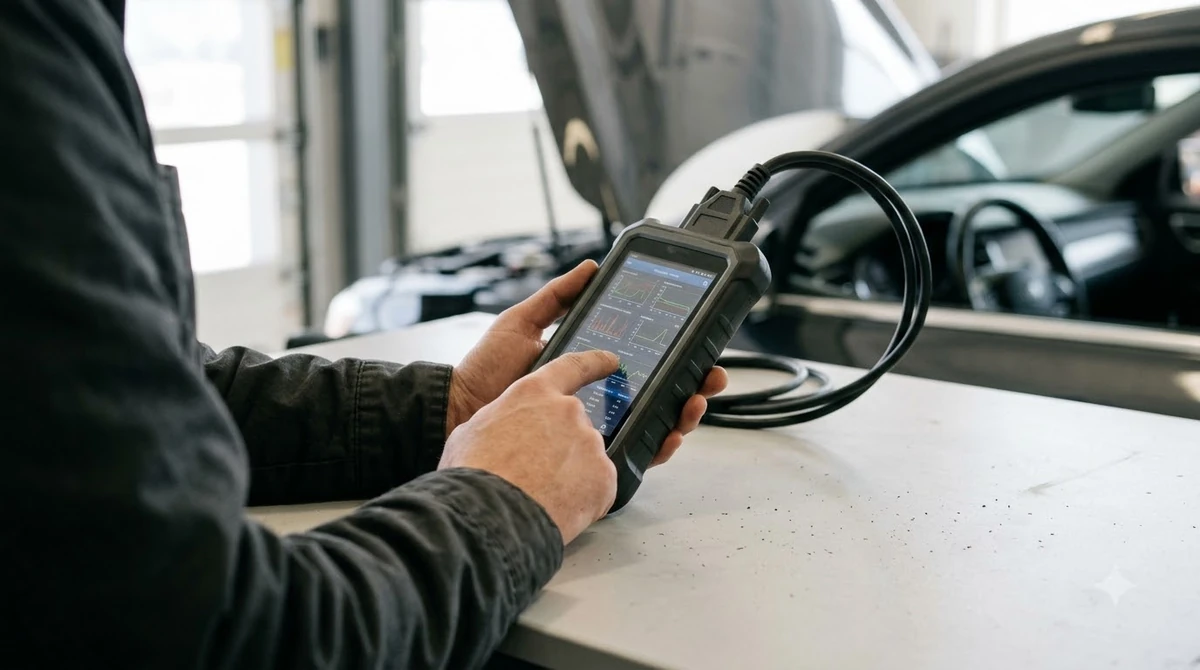
Product listings describe the tool as able to read trouble codes and live sensor data, and some vehicle-specific features need an expansion package. Once the software is active, those are the first functions to test on your car.
Connecting is where how to use AutoEnginuity becomes practical, because the live data and code readings only matter once the car responds. Start with a simple code read before you try any advanced test.
Plug the adapter cable into the car diagnostic port, turn the ignition on, and open the connection in the software. The guide does not list screens for every make, so use the user guide that ships with the product for exact menu steps. That guide matters most when you need how to use AutoEnginuity on a specific vehicle.
One Garage Journal forum user reported that a Nissan expansion setting had to be changed before the tool would connect. Another found that leaving the initialization mode on the wrong setting caused an error. Those are user reports, so check your own make and mode setting first.
Common problems and how to avoid them
The install guide names the wrong software version or wrong activation codes as the most common cause of activation failure. Most of the fixes below follow from those two checks.
- Wrong version: match the installer to the serial number before you install.
- Wrong codes: compare each code block with the serial number, since case does not matter.
- Adapter plugged in too late: plug in before you open the software, and wait for the blue light.
- Admin rights missing: set the program to run as administrator for all users.
Problems that persist after these checks belong to support, not guesswork. The guide advises contacting support to confirm the codes and version when the serial and the software do not match.
Following the steps in order is the surest way to avoid repeat errors when you learn how to use AutoEnginuity.
Keep a short record of each error message and the step where it appeared. That note makes any support request faster to act on, and it helps you spot whether the same step fails each time.
Is AutoEnginuity easy to learn for beginners?
Some buyers report a learning curve with how to use AutoEnginuity on the generic version, and forum users say the interface takes time to understand. Expect a slow first session if you have not used a PC scan tool before.
Forum posts describe a steep first session and a slow start to connection. Those are user reports rather than measured results, and they vary by setup. One forum user said support helped once the software was explained.
The trade-off is control versus convenience. A PC-based tool gives you a full screen and logfile collection on a laptop. It needs a Windows laptop in the car or on the bench, and it takes longer to set up than a handheld reader. For a buyer comparing options, learning how to use AutoEnginuity is a fair test: if the setup feels like too much work, a handheld reader may suit you better.
It suits someone who already works on a Windows laptop and is willing to handle software and activation. It suits someone who wants a plug-in reader that works straight away much less.
Related Guides
Frequently Asked Questions
Does AutoEnginuity work on a Mac?
The Diesel Laptops install guide lists Windows Vista through Windows 11 only, so it does not cover macOS. Check the current system requirements with the seller before you buy.
Where do I enter the activation codes?
Open Help, then Feature Activation, and click Activate. Enter the four code blocks, restart when prompted, and recheck the status under the same menu.
Why will the tool not connect to my car?
User reports point to an expansion setting or initialization mode that does not match the make. Check those settings, confirm the adapter shows a solid blue light, and try again.
Is the hardware not detected message a sign of failure?
The install guide says the message can be normal during activation. Continue the steps, restart, and check Feature Activation again before assuming a fault.
Do I need an expansion package for my car?
Product listings and user reports say vehicle-specific features need expansion packages. Check your make against the package list before you buy, and before you learn how to use AutoEnginuity on a specific car.
How do I learn how to use AutoEnginuity step by step?
Start with the install guide from Diesel Laptops and the user guide that ships with the product. Finish the install and activation before you try a connection, and contact support if the codes do not match.
Keep the serial number, software version and activation codes together before you start, since a mismatch is the most common blocker. For exact screens and features in how to use AutoEnginuity, the user guide that ships with the product is the primary source.