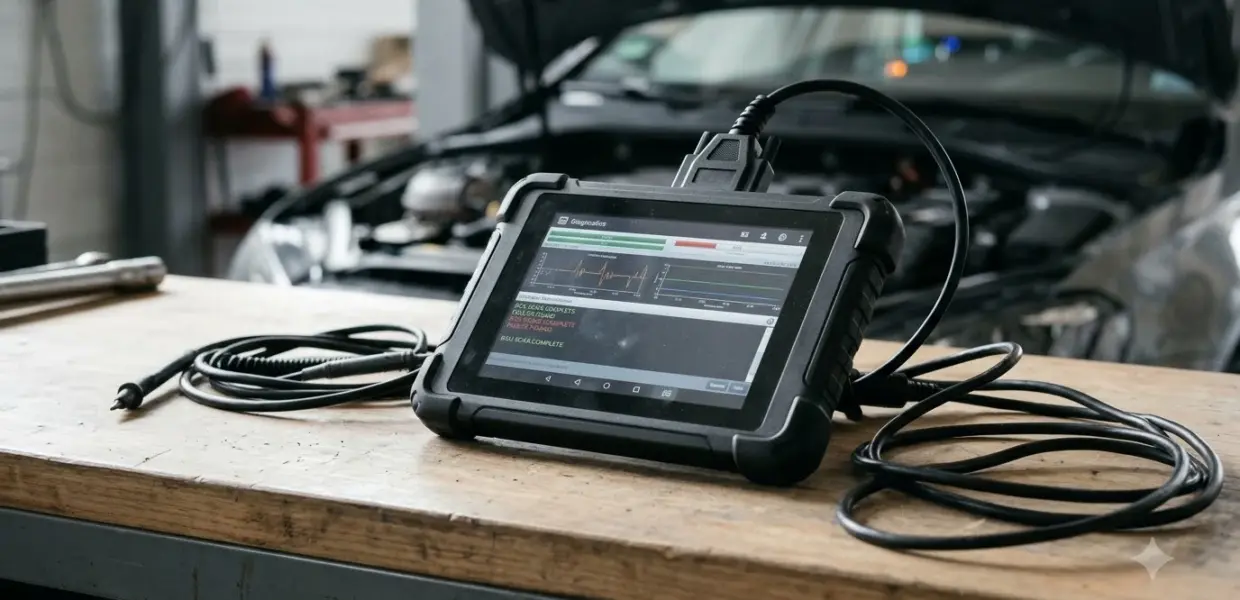

To learn how to use GM MDI 2, start with a wired connection from the interface to a PC, 12 volt power, and the MDI Manager software. GM bulletin PIC6552E gives the Ethernet setup steps and a fixed IP address for the interface.
The steps below on how to use GM MDI 2 follow GM’s technician bulletins. Use them to understand the setup, and leave any reprogramming to a qualified shop.
This article explains GM bulletin steps and does not replace GM service information. Electrical power and reprogramming can damage vehicle modules if done wrong, so follow the official procedure or a qualified technician.
How to Use GM MDI 2: What the Interface Does
The GM MDI 2 is a multiple diagnostic interface that links a PC to a vehicle, and GM’s bulletins show it connecting by USB or wired Ethernet. It works with GM’s MDI Manager software.
The MDI 2 is a professional interface, not a handheld code reader. GM bulletin PIC6552E describes it as a device you connect to a PC, which then runs the software. When you learn how to use GM MDI 2, most of the work happens on that PC side.
Many owners confuse the MDI 2 with a plug-in OBD2 scanner. A plug-in scanner reads trouble codes from the vehicle port and shows them on its own screen. The MDI 2 depends on the PC and GM’s software, so it needs a setup step before any reading or programming can start.
Because the device connects through USB or Ethernet, the setup decides whether the software can see it at all, which is why how to use GM MDI 2 starts with the link. Check the link type first, because how to use GM MDI 2 depends on it. If the link is wrong, nothing else in this guide will work.
What You Need Before You Connect
Before you learn how to use GM MDI 2, you need a PC with MDI Manager, a USB cable, an RJ45 Ethernet cable, and 12 volts of power before you start. A USB-Ethernet adapter can stand in if the PC has no Ethernet port.
- A PC with the MDI Manager software installed
- A USB cable for the first connection to the MDI 2
- An RJ45 Ethernet cable between the MDI 2 and the PC
- A USB-Ethernet adapter, only if the PC has no Ethernet port
- 12 volts of power from the self-test adapter or the vehicle Data Link Connector
Install and open the software before you plug anything in, since how to use GM MDI 2 starts from that window. GM’s bulletin starts from an open MDI Manager window, so the software must already be on the PC. If it is missing, get it from the official source for your tool kit rather than an unknown download site.
How to Set Up the GM MDI 2 Ethernet Connection
For how to use GM MDI 2 over Ethernet, GM’s setup connects USB and RJ45 at the same time, then sets a static address of 169.254.1.100 with subnet 255.255.0.0 in MDI Manager. You disconnect USB at the end.
To learn how to use GM MDI 2 over Ethernet, follow the steps in GM bulletin PIC6552E. The bulletin is written for technicians, so read every step before you start.
- Plug the USB cable into the PC and the MDI 2.
- Plug an RJ45 Ethernet cable between the MDI 2 and the PC. A USB-Ethernet adapter can be used if the PC has no Ethernet port.
- Apply 12 volts to the tester through the self-test adapter or the vehicle Data Link Connector.
- Start the MDI Manager software by clicking its icon.
- On the MDI Explorer tab, select the MDI 2 and click Connect. A check mark appears over the MDI 2 icon, and by default the connection is over USB.
- Select the Network Setup tab, then the wired connection sub-tab, and click enable wired connection.
- Click use following address, then enter IP address 169.254.1.100 and subnet mask 255.255.0.0.
- Click Apply, then choose Yes when asked to save the changes.
- Return to the MDI Explorer tab and hover the mouse over the MDI. It should show both USB and Ethernet connections.
- Disconnect the USB cable. The MDI 2 is now set up for Ethernet, and you may need to reconnect it through MDI Manager for the change to take effect.
Step 9 is the check that matters most when you follow how to use GM MDI 2 for the first time. If only USB shows, the Ethernet setting did not take, so go back to the Network Setup tab before you continue. Do not move on until both connections appear.
The IP address and subnet mask are fixed values in the bulletin. Entering a different address changes the link, so do not guess a number that looks close. Copy the values exactly as the bulletin shows them.
How to Power the MDI 2 and Connect It to the Vehicle
For power, GM’s bulletin says to apply 12 volts to the MDI 2 through the self-test adapter or the vehicle Data Link Connector. The software shows a check mark once the connection is made.
| Step | What GM lists | Practical note |
|---|---|---|
| Power | 12 volts through the self-test adapter or the Data Link Connector | Use the route your kit supports, and do not improvise a power source |
| Software connection | MDI Explorer tab, select the MDI 2, click Connect | Wait for the check mark before going on |
| Link type | USB by default, Ethernet after setup | Confirm which link is active before you start a job |
| Vehicle side | Vehicle Data Link Connector | Follow the vehicle state that your service procedure asks for |
When you learn how to use GM MDI 2, connect the interface to the vehicle only after the software is open and the link is set. That order makes each step easy to check, and it keeps a failed link from hiding behind a half-finished setup.
The vehicle state, such as ignition position and accessories, is defined by GM service information for each job. This guide does not set that state, so check the procedure for your vehicle before you start.
Keeping the Software and Battery Ready for Reprogramming
For reprogramming, GM’s 2013 service bulletin says to update the MDI to the latest software and to keep battery voltage between 12 and 15 volts during programming. An approved battery maintainer is used for that step.
That GM service bulletin 12262 covers one seat memory module, so its vehicle steps do not carry over. Its rules about the MDI are still useful checks before any reprogramming job. Read the procedure for your own vehicle every time.
- Confirm the MDI runs the latest software version before you reprogram.
- Verify the battery holds 12 to 15 volts before you start.
- Use an approved battery maintainer, or an equivalent, during programming.
- Get calibration numbers through TIS2WEB instead of guessing them.
- Call the Techline Customer Support Center if TIS2WEB access fails.
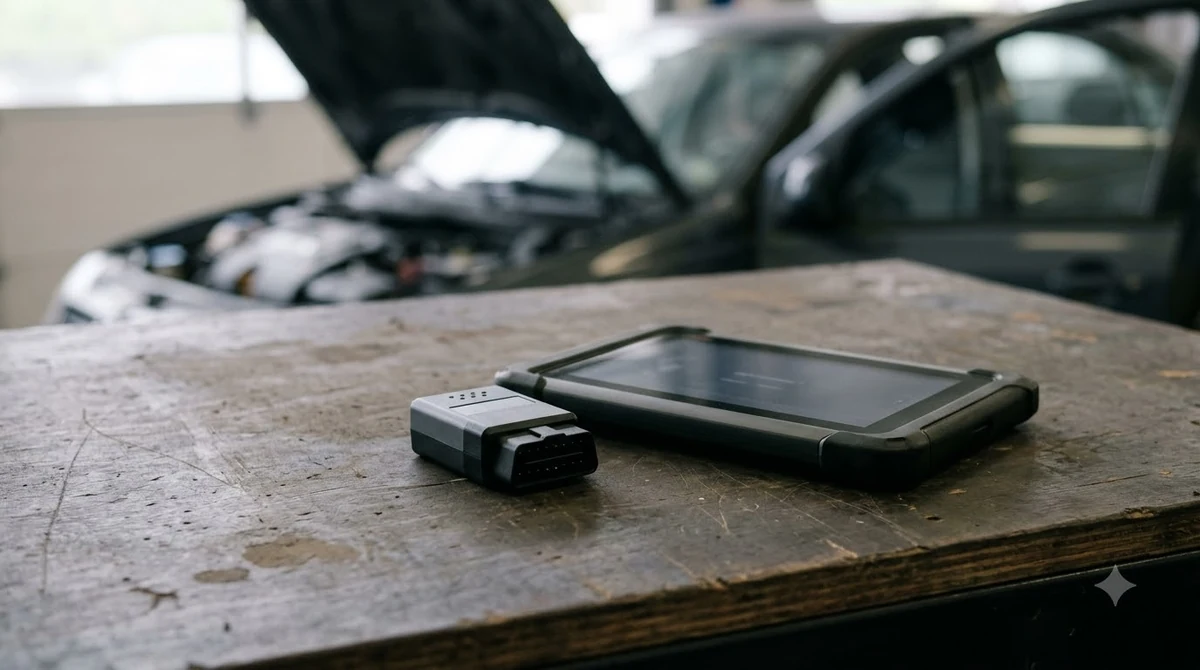
Battery condition is the step most often skipped in how to use GM MDI 2 for reprogramming. A weak battery can drop voltage in the middle of an update, which is why the bulletin asks for a maintainer rather than a plain charger.
Common Setup Problems and What to Check
Most setup problems in how to use GM MDI 2 come from the link type, the IP settings, or the power source, so check those three first. Write down each change you make so you can undo it if needed.
| Problem | What to check | Why it matters |
|---|---|---|
| Only USB shows, no Ethernet | Repeat Network Setup and the Apply step | The bulletin expects both connections to show |
| No check mark after Connect | Power source and the USB or Ethernet cable | The software needs a live link |
| Link does not change after setup | Disconnect and reconnect through MDI Manager | GM says the change may need a reconnect |
| Address does not match | 169.254.1.100 and 255.255.0.0 entered exactly | The bulletin lists these exact values |
| Programming stops partway | Battery voltage and the maintainer | Voltage drops can interrupt programming |
These checks follow the bulletin steps for how to use GM MDI 2. They do not cover every error message, so use the message on screen and GM service information for anything not listed here.
Who Should Learn How to Use GM MDI 2 and When to Stop
Learning how to use GM MDI 2 suits technicians who follow GM service information, not owners who only want a quick code check. Stop when the screen does not match the steps or when the battery will not hold voltage.
- Use it only with a PC and software set up for the job.
- Stop if the screen does not match the bulletin steps.
- Stop if the battery will not hold 12 to 15 volts.
- Use a plug-in OBD2 scanner for a quick code read, since that is a simpler job.
This article covers how to use GM MDI 2 setup steps from GM bulletins only. It does not cover every MDI 2 model, software release, or vehicle program, so check the current GM service information for your job.
Related Guides
Frequently Asked Questions
Is the GM MDI 2 the same as an OBD2 code reader?
No. A code reader plugs into the vehicle port and shows codes on its own screen. The MDI 2 connects to a PC and needs GM’s MDI Manager software before it can work, so the setup steps are longer.
Do I need an Ethernet cable to use the GM MDI 2?
GM’s bulletin uses a wired Ethernet setup with an RJ45 cable. A USB-Ethernet adapter works if the PC has no Ethernet port. USB is the default connection before the setup is complete.
What IP address does GM list for the MDI 2?
GM bulletin PIC6552E lists 169.254.1.100 with subnet mask 255.255.0.0 in the Network Setup tab. Enter those values exactly as the bulletin shows, then click Apply.
Why does the battery matter during programming?
GM’s 2013 bulletin asks for 12 to 15 volts and an approved battery maintainer, because voltage drops can interrupt programming. Check the voltage before you start any update.
Can a home owner learn how to use GM MDI 2?
The MDI 2 is a professional interface tied to GM software and service information. A home owner can read the setup steps to understand them, but reprogramming should go to a qualified technician.
Before you go further with any MDI 2 job, confirm that both connections show and that the battery holds voltage. A qualified technician can check the setup against the current GM service information and decide whether the work belongs in a shop.