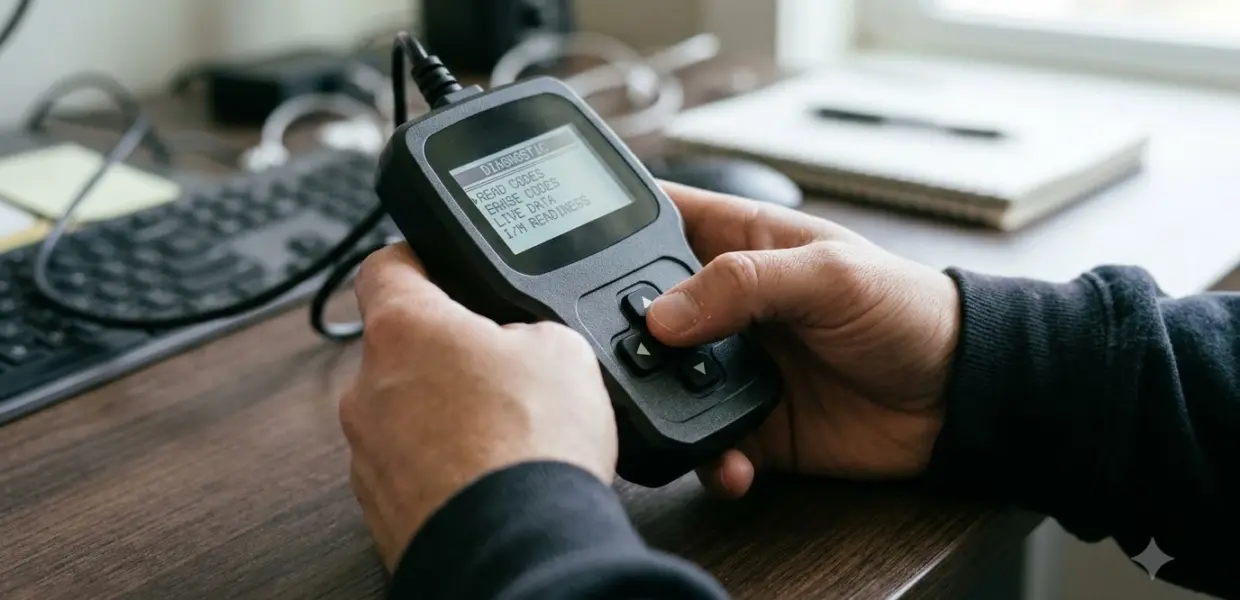

Learning how to use Foxwell NT680 Pro starts with power. Connect the diagnostic cable to the vehicle’s data link connector and switch the ignition to ON, and the scanner boots on its own. The rest runs through menus: identify the vehicle, choose a control module, then read codes, clear codes or view live data.
This guide explains how to use Foxwell NT680 Pro with the NT680 Series user manual (V1.01), the manual file for the NT680Pro found online. Menu names can change with software updates, so match each screen to what your unit shows. If you are still comparing models, see our guide to bidirectional scan tool picks for the garage.
The safety notes in this article come from the manufacturer manual. Follow the vehicle maker’s test procedures and your shop’s safety rules before you start any test.
How to Use Foxwell NT680 Pro: What You Need
You need the scanner, its diagnostic cable, a vehicle with an OBD-II data link connector and a safe place to work. The manual’s accessory list also includes a quick start guide, a USB cable, a warranty card and a storage case.
The data link connector, or DLC, is generally located under the dash on the driver side of the vehicle. Before you connect anything, read these safety points from the manual:
- Park an automatic car in park, or a manual in neutral, and block the drive wheels before testing with the engine running.
- Route the test cable so it does not interfere with driving controls.
- Wear ANSI-approved goggles to protect your eyes from flying objects and hot or caustic liquids.
- Keep sparks, flames and smoking away from the battery and fuel vapors.
- Keep a dry chemical fire extinguisher rated for gasoline, chemical and electrical fires in the work area.
- Stay clear of rotating parts when the engine runs, and do not touch hot engine components.
- Do not use the scanner in pits or confined areas where explosive vapor may collect.
Connect the Scanner, Power It On and Learn the Menus
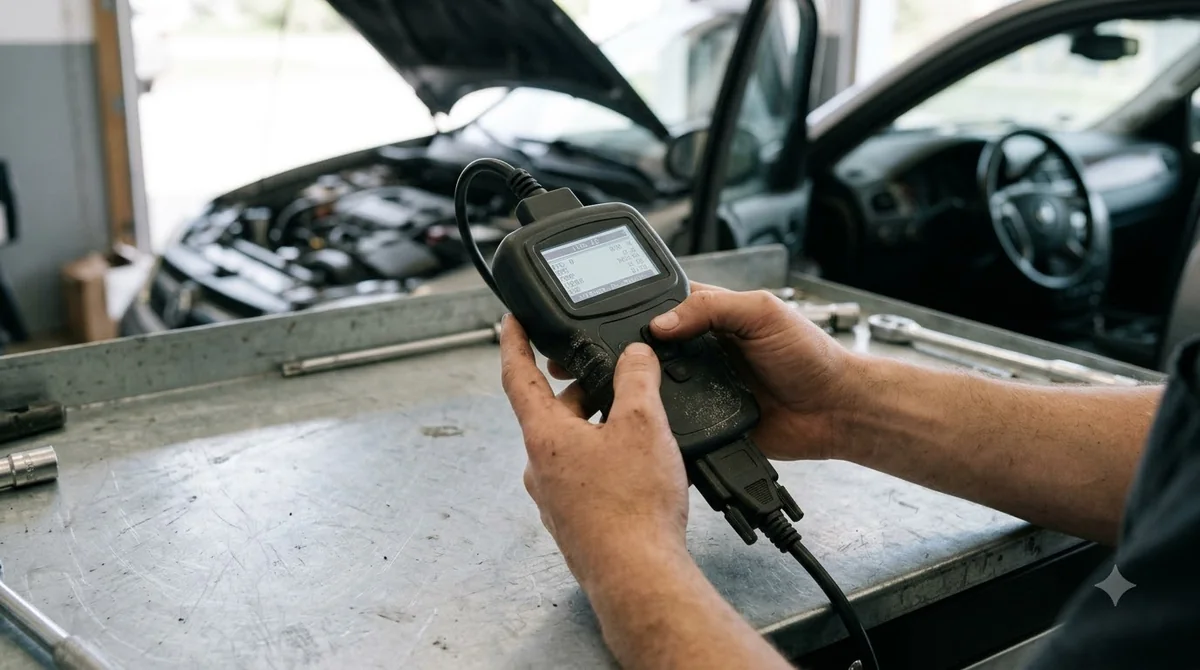
Connect the cable to the scanner, plug the matching adapter into the vehicle’s DLC and turn the ignition to ON. The scanner boots automatically once it receives power from the vehicle, so how to use Foxwell NT680 Pro always begins with a safe connection. That connection step is the first part of how to use Foxwell NT680 Pro on any car.
- Attach the diagnostic cable to the scanner and tighten the captive screws so the connection is secure.
- Select the adapter that matches the vehicle being serviced and plug it into the DLC.
- Switch the ignition key to the ON position.
- Wait for the Home screen to open. It lists every application on the unit.
Never power the scanner from its USB port while it is communicating with a vehicle. The USB connection is for software updates and printing stored data, as the manual explains. For the full connection checks, the Foxwell official website lists the company’s support resources.
The Home screen shows these applications:
- Auto VIN, which identifies a car by reading its VIN.
- OBDII/EOBD, which leads to the nine generic OBD system tests.
- Diagnostic, which covers trouble codes, live data and ECU information.
- Maintenance, which holds the most frequently required service features.
- Settings, for language, units, beep and display tests.
- Data Manager, for saved data records, and Update, for software updates.
Three function keys sit beside the screen and change with each screen. The direction keys scroll through menus, ENTER selects, BACK returns to the previous screen and HELP shows helpful information. When a screen asks for text, press the Keyboard function key and confirm each character with ENTER. Press Completed when the entry is finished. If the scanner freezes, hold the power switch for five seconds to force a reboot.
Identify the Vehicle with Auto VIN or SmartVIN
Before a single code is read, the Foxwell NT680 Pro needs to know which car it is talking to. Auto VIN reads the vehicle identification number from the car’s control module and then asks you to confirm it before the scanner continues. Answer YES if the vehicle specification or VIN is correct, and a list of controllers appears.
If the automatic read takes too long, press Cancel and type the 17-digit VIN by hand. Press the Keyboard function key to open the virtual keyboard, enter the VIN and press Completed to start the identification.
SmartVIN is reached from the Diagnostic menu. Choose the manufacturer area, then the make, then SmartVIN. If you answer NO to the VIN check, enter the VIN manually. Manual Selection is the last option: you pick model year, engine type and similar choices, one screen at a time. Autel’s MX808 also offers Auto VIN identification, shown in identifying a car with the Autel MX808.
Run a Quick Scan or Pick a Control Module
In how to use Foxwell NT680 Pro, a Quick Scan finds the control modules installed on the vehicle and gives a DTC overview for each one. It may take 10 minutes or longer, depending on how many modules the car has.
- Highlight Quick Scan in the menu and press ENTER to start.
- Press the function key that shows Pause on the screen if you need to stop the scan.
- When the scan ends, review the list of installed controllers and their code counts.
- Press Report to view the code details, or Erase to clear them from that module.
- Press function key F1 to save the trouble code information.
To test one system instead, choose Control Modules, select the system and wait for the Function Menu to open. A controller that appears in the list does not prove that the car has it installed, so rely on the scan result for that. A smaller Foxwell handheld is covered in Foxwell NT201 code reader basics.
Read Codes and Freeze Frame Data
In how to use Foxwell NT680 Pro, Read Codes shows the trouble codes stored in a control unit, and each code carries a status that tells you how serious and how current the fault is. The manual describes three main statuses.
| Code status | What the manual says |
|---|---|
| Present, permanent or current | Codes that have occurred a set number of times and point to a problem that needs repair. |
| Pending | Intermittent faults that clear from memory if they do not recur within a set number of drive cycles. |
| History | Past intermittent codes that are not active at the moment. |
Use the up and down arrow keys to move through the code list, and the left and right keys to move between screens of data. Press Freeze Frame to view freeze frame data, which is a snapshot of critical operating conditions recorded when the code set. Press Save to store the freeze frame information, or BACK to exit.
Clear Codes Without Hiding the Problem
The last step in how to use Foxwell NT680 Pro codes work is Clear Codes, which erases all current and stored codes from the selected control module, along with temporary ECU information such as freeze frame data.
Switch the ignition to ON with the engine off before you clear codes. The manual states that clearing codes does not fix the problem that caused them, so erase codes only after the underlying condition is corrected.
After clearing, read the codes again. If any codes remain, repeat the Clear Codes steps and answer the on-screen questions about the vehicle.
Read Live Data and Save Recordings
For how to use Foxwell NT680 Pro live data, Live Data shows real-time parameter readings from one control module. The menu typically offers a Complete List and a Custom List, and the Complete List shows all live data for the selected system.
Expert Reviews reports that the NT680 Pro has a 16GB microSD card built in, which stores data you can view on a laptop.
Maintenance Functions and Known Limits
Expert Reviews lists oil service reset, electronic parking brake service, diesel particulate filter regeneration and battery registration among the NT680 Pro’s functions. The manual’s Maintenance menu covers service features in general, but the steps for each service were not in the manual sections read for this guide.
Before you run any reset, check the Maintenance menu on your unit and the vehicle’s own service information. A reviewer on Expert Reviews’ full review called the printed manual in the box useless, described the coding ability as limited, and said updates require a Windows PC. For a tablet-style scanner with similar service menus, see Autel MaxiCOM tablet connection steps. Another tablet tool with its own functions and limits is explained in the xTool X100 PAD functions and first connection.
Frequently Asked Questions
Where is the data link connector on most vehicles?
The manual says the DLC is generally located under the dash on the driver side. Plug the matching adapter into it and turn the ignition to ON. The scanner normally powers on whenever it is connected to the DLC.
Can I power the NT680 Pro through USB while testing?
No. The manual says never to power the scanner from its USB connection while it is communicating with a vehicle. USB power is for software updates and printing stored data, so use the USB cable with a computer for those tasks only.
Should I clear codes right after a repair?
Clear codes only after the cause is fixed, because the manual says clearing does not fix the problem. Afterward, read the codes again and repeat the steps if any remain. Save the freeze frame data first, since clearing erases it.
What if automatic VIN reading fails?
Press Cancel and enter the 17-digit VIN by hand with the Keyboard function key, then press Completed. If the VIN shown is wrong, answer NO and type the correct one. Manual Selection is the fallback when neither VIN method works.
How long does a Quick Scan take?
The manual says a Quick Scan may take 10 minutes or longer, depending on how many control modules the vehicle has. You can pause it with the function key that shows Pause on screen. The scan ends with a list of installed controllers and their DTC overview.
Does the NT680 Pro need a Windows computer for updates?
Expert Reviews says updates require a Windows PC, so check that before you plan an update. The manual confirms the USB port connects the scanner to a computer for software updates. Confirm the current update steps on the official Foxwell website before starting.
Is the manual in the box enough to learn the tool?
A reviewer at Expert Reviews called the printed manual in the box useless. The NT680 Series manual file that this guide follows covers connection, vehicle identification, codes and live data in more detail. Menu names may differ slightly on your unit, so use the manual alongside the screens on the scanner.
Treat every code as a lead, not a verdict. The manual notes that test results do not necessarily indicate a faulty component or system. Record the codes and freeze frame data first, then compare them with live data for the same module. Confirm a suspected fault with the vehicle’s service information before you replace parts or clear codes.