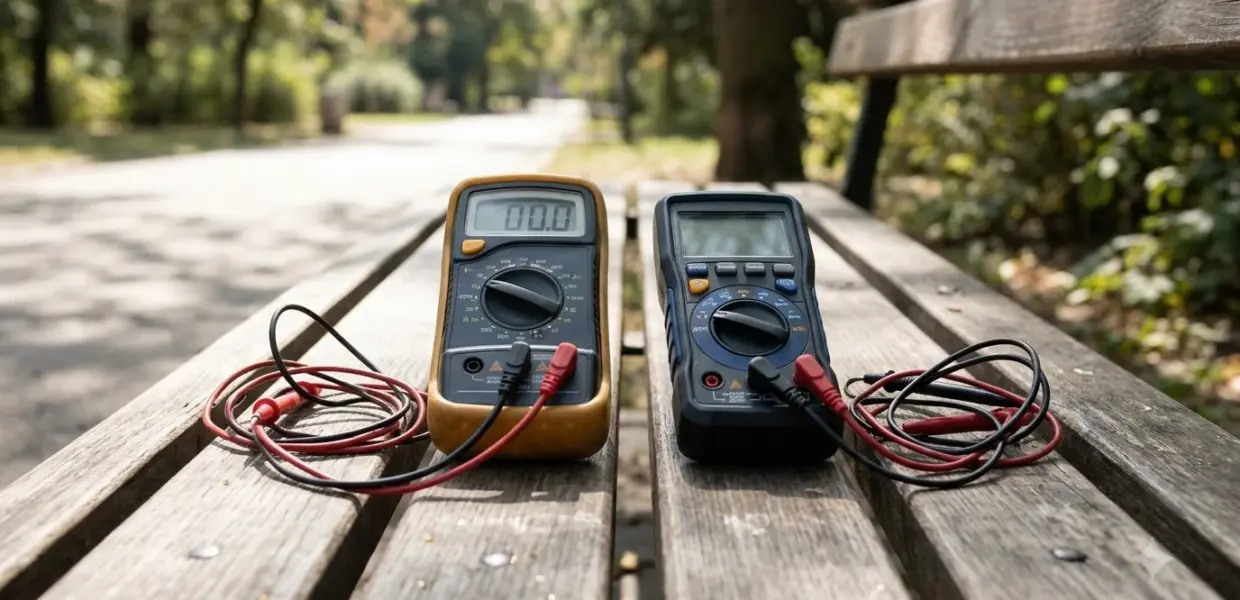

To learn how to test a camshaft position sensor, start with the trouble codes, then check the sensor’s resistance, signal and wiring before you buy a replacement part. The right test depends on the sensor type, because an inductive sensor and a Hall-type sensor are checked in different ways.
The steps for how to test a camshaft position sensor use a multimeter for resistance and an oscilloscope for the signal. A scan tool reads the codes and handles any learning step after a replacement.
What the Camshaft Position Sensor Does
The camshaft position sensor measures where the camshaft sits in its rotation, and the engine computer uses that reading with crankshaft data to time fuel injection and ignition. According to NGK’s sensor guide, the sensor is mounted near the camshaft, in or near the cylinder head. With crankshaft position sensor testing covered separately, the pair lets the computer know each cylinder’s stroke.
NGK names two common designs, the inductive sensor and the Hall-type sensor, and says the Hall type is installed in almost all modern engines.
Inductive vs Hall-Type Sensors
How to test a camshaft position sensor starts with its type: an inductive sensor is checked by its internal resistance, so a multimeter is the first tool. A Hall-type sensor is judged by its output signal, which is why NGK recommends an oscilloscope for that design.
Symptoms That Point to a Bad Sensor
A failing camshaft position sensor commonly causes rough idling, stalling, reduced power and poor acceleration, and it can turn on the check engine light. NGK also lists reduced fuel economy among the effects, so a drop in mileage with no other cause is worth a closer look.
- Rough idling
- Stalling
- Reduced power under load
- Poor acceleration
- Reduced fuel economy
- A check engine light
Engines with variable camshaft timing will not run properly when this sensor fails. In many cases the engine computer still keeps the engine running, so a car can stay drivable while the fault remains stored, which is why an early test pays off. Once the symptoms show up, here is how to test a camshaft position sensor in a sensible order: codes first, then resistance, signal and wiring.
Symptoms Can Overlap With Other Faults
Rough idling and stalling also come from vacuum leaks, worn spark plugs and fuel delivery problems. Before you decide that a camshaft position sensor has failed, use the codes and the tests below to narrow the cause.
Read the Trouble Codes First
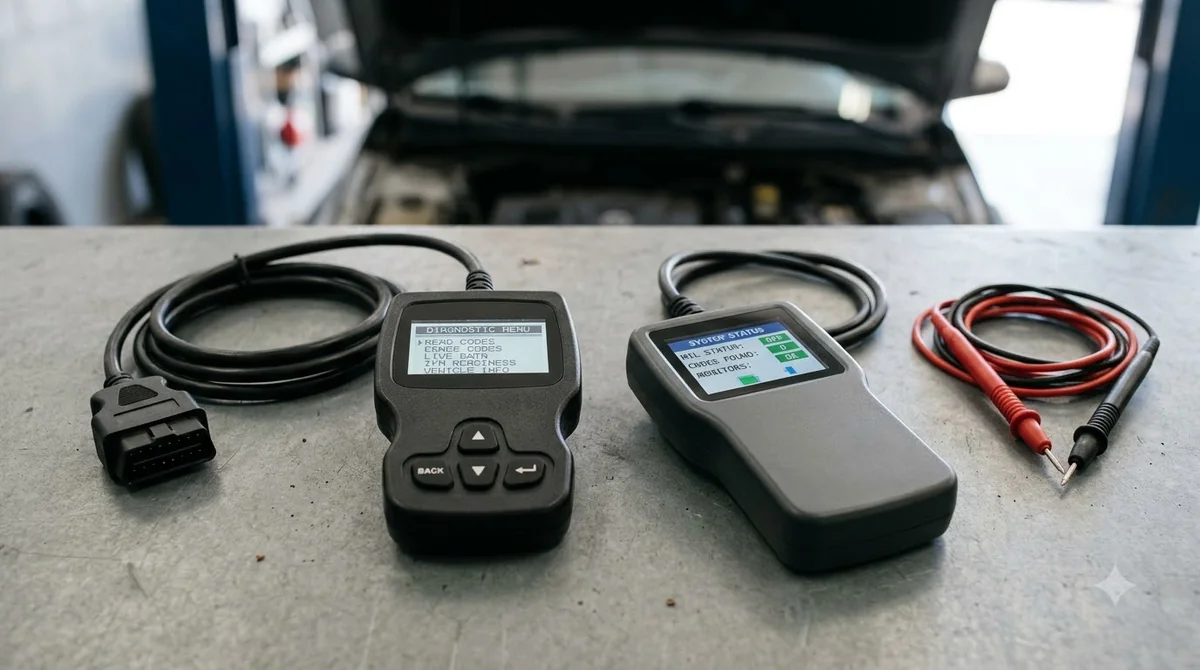
Pull the stored codes first, because they shape how to test a camshaft position sensor by pointing you to the bank and the circuit. NGK lists P0340 and P0011 for a camshaft position sensor on Bank 1, and P0021 for Bank 2.
| Code | Meaning in the source | Source |
|---|---|---|
| P0340 | Camshaft position sensor circuit, Bank 1 Sensor 1 | VW reference document |
| P0341 | Camshaft position sensor circuit range or performance | VW reference document |
| P0011 | Camshaft position sensor, Bank 1 | NGK |
| P0021 | Camshaft position sensor, Bank 2 | NGK |
Code-specific guides explain each fault in more depth, including the P0340 code, the P0341 code and the P0011 code. Sensor labels differ from one maker to another, so a name such as Sensor A or Sensor 1 may mean something different on your vehicle. A VW reference specification book lists P0340 and P0341 with its own naming, so check your vehicle’s service information before you rely on a label.
How to Test a Camshaft Position Sensor With a Multimeter
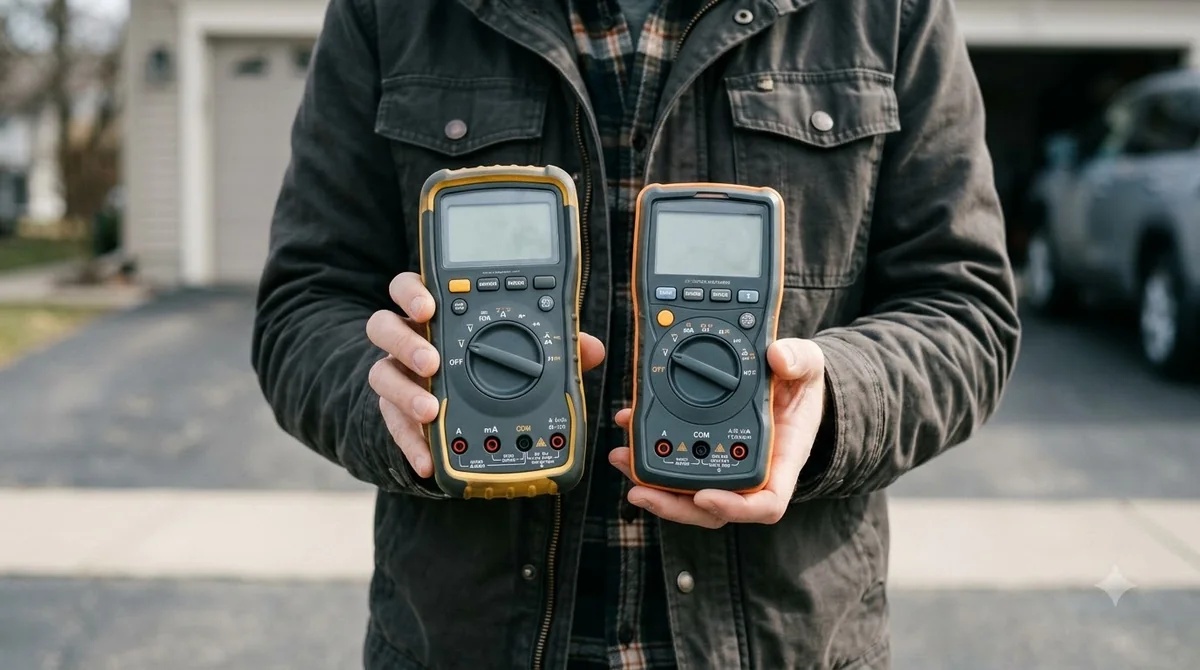
For an inductive camshaft position sensor, NGK gives a nominal internal resistance of 500 to 1500 ohms, and a reading outside that range suggests the sensor may be defective. Here is how to test a camshaft position sensor with the engine off and the vehicle in a safe, stable state.
- Turn the ignition off, then locate the sensor on the cylinder head or near the camshaft.
- Unplug the sensor’s electrical connector. Some connectors have a locking tab that must be pressed before the plug releases.
- Set the multimeter to ohms and touch the probes to the sensor’s two terminals.
- Compare the reading with the 500 to 1500 ohm range that NGK gives for inductive sensors.
- Check the exact specification in your vehicle’s service information, because values differ between sensors and models.
This resistance check applies to inductive sensors only. NGK says Hall-type sensors need an oscilloscope, so a resistance reading alone does not clear a Hall-type sensor.
How to Test a Camshaft Position Sensor: Reading the Result
A reading far outside the range, whether very high or near zero, suggests the sensor is faulty. Either result justifies a closer look at the sensor and its wiring before you order a part.
Check the Signal With an Oscilloscope
An oscilloscope shows the output of a camshaft position sensor over time, and NGK recommends it for Hall-type sensors and for a proper diagnosis of inductive sensors. Here is how to test a camshaft position sensor with a scope: connect it to the signal wire as your service information describes. Then run or crank the engine while you watch the pattern.
A steady, regular pattern points to a healthy signal. A missing or erratic pattern points to the sensor, its wiring or the trigger it reads, so you should not replace the sensor until you have checked the wiring. NGK gives no voltage values for a camshaft position sensor, so the expected waveform must come from your service information.
Inspect the Wiring and Connector
Water in the connector, a broken wire and age are the common causes of camshaft position sensor failure, according to NGK. Many faults that look like a bad camshaft position sensor start in the harness. For that reason, how to test a camshaft position sensor properly includes the wiring, so inspect that side before you trust the sensor’s test result.
- Look for water, corrosion or bent pins inside the connector.
- Check the wire between the sensor and the engine computer for cuts, chafing or heat damage.
- Confirm the connector is fully seated and its locking tab has clicked.
- Repeat the sensor tests after any repair.
NGK also says the sensor has no dedicated replacement interval, so age alone does not decide the question. Test the sensor and its wiring first, then replace the part only when the results point to it.
When to Replace and What Comes Next
Replace the camshaft position sensor when the tests point to it, and plan for a learning step afterward. The table below turns each result of how to test a camshaft position sensor into a next step. NGK says many vehicles need a learning period after a new sensor is fitted, and this may require a scan tool.
| Result | What it suggests | Next step |
|---|---|---|
| Inductive reading outside 500 to 1500 ohms | Sensor may be defective | Compare with the service specification, then replace if it is out of range |
| Resistance in range, but no clean signal on the scope | Wiring or connector fault is possible | Repair the harness and retest before buying a part |
| Codes return with a good connector and wiring | Sensor fault is likely | Replace the sensor, then run the learning step and clear the codes |
How to Test a Camshaft Position Sensor After Replacement
After the new camshaft position sensor is in, clear the codes, run the engine and check that the check engine light stays off. If the codes return, go back to how to test a camshaft position sensor from the wiring and signal checks rather than replacing parts again. Typical costs are covered in the camshaft position sensor repair cost guide.
Work Safely Around the Engine
Keep hands, hair and loose clothing clear of belts and fans while you follow how to test a camshaft position sensor with the engine running. Let a hot engine cool before you reach the sensor, since it sits in the cylinder head area.
Frequently Asked Questions
What are the symptoms of a bad camshaft position sensor?
Rough idling, stalling, reduced power, reduced fuel economy and poor acceleration are the symptoms NGK lists. The check engine light usually comes on too. Pull the codes before you assume the sensor is at fault, then follow how to test a camshaft position sensor above.
Does a camshaft position sensor need a scan tool after replacement?
Many vehicles need a learning period after a new sensor is installed, and NGK says this may require a scan tool. Follow your vehicle’s procedure for the learning step, then repeat how to test a camshaft position sensor to confirm the repair before you rely on the car.
What does P0340 mean?
P0340 is a camshaft position sensor circuit fault for Bank 1 Sensor 1, according to a VW reference document hosted on the NHTSA site. Other makers use different wording for the same fault, so check the code definition and the Bank and Sensor labels in your own service information.
Can I drive with a bad camshaft position sensor?
Often yes, because the engine computer usually keeps the engine running when the sensor fails. Engines with variable camshaft timing may not run properly, so get the fault checked soon rather than leaving it stored. Stalling or a loss of power while driving is a reason to stop and have the car looked at.
Does a camshaft position sensor have a replacement interval?
No set interval exists. NGK says the sensor has no dedicated exchange interval, and the usual failures come from water in the connector, a broken wire or age. Inspect the connector and wiring first if the check engine light comes on.
That is how to test a camshaft position sensor in order: codes, resistance, signal and wiring, before you buy a part. A clean result on each step means the fault probably lies elsewhere, so keep testing rather than replacing the sensor by guesswork.