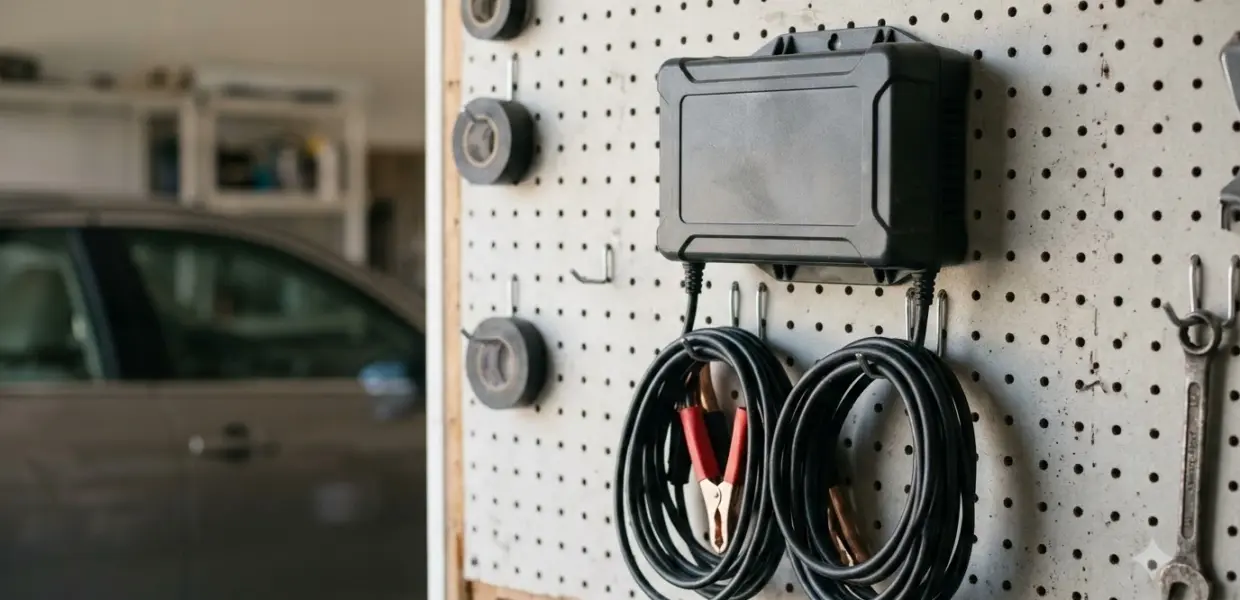

Learning how to use NOCO Genius 5 comes down to four steps: connect the clamps in the correct order, choose the charge mode that matches your battery, watch the charge LEDs, and disconnect in reverse.
The charger handles 6V and 12V lead-acid batteries and 12V lithium batteries with a battery management system, up to 120 Ah. Confirm your battery voltage and chemistry before you pick a mode in how to use NOCO Genius 5.
Lead-acid batteries release explosive gases and the charger carries live current, so follow the battery maker’s warnings and the charger’s safety section at all times, which is the first habit of how to use NOCO Genius 5 safely.
What Batteries the GENIUS5 Can Charge
The GENIUS5 charges 6V and 12V lead-acid batteries, plus 12V lithium-ion batteries that have a built-in battery management system (BMS), up to 120 Ah. Read the compatibility section of the official GENIUS5 user guide before your first charge.
- Wet cell (flooded), gel cell, enhanced flooded (EFB), maintenance-free (MF) and calcium lead-acid batteries, at 6V or 12V
- AGM (absorbed glass mat) batteries, at 12V
- Lithium iron phosphate (LiFePO4) batteries at 12V, only with a BMS
- Batteries with a capacity up to 120 Ah
The guide says not to use the product with any other battery type, and to contact the battery maker before charging if you are unsure. A 24V battery is outside the charger’s stated 6V and 12V range. For a larger 10 amp model with more modes, see NOCO Genius 10 battery compatibility.
Before You Start: Safety and Setup
Set up the GENIUS5 in a dry, ventilated spot, and keep the charger and battery between -4°F and 104°F (-20°C and 40°C), because the guide rules out operating outside that range.
- Wear eye protection and protective clothing when you work near a battery.
- Keep metal tools, watches and jewelry away from the battery terminals, since a dropped tool can spark or short the battery.
- Keep sparks, flames and smoking away from the work area while the charger runs.
- Do not charge a frozen battery, and stop using the charger if the battery becomes excessively warm.
- Do not pull on the cables to unplug the charger, and do not use it if the cord or casing is damaged.
Plan the position before you learn how to use NOCO Genius 5 in practice. The DC cable is about 77.7 inches (1973.6 mm) long, and the guide recommends leaving about 12 inches (304 mm) of slack between connections. Do not set the battery on top of the charger.
How to Use NOCO Genius 5: Connect Step by Step
Connect the red clamp to the positive terminal first, then the black clamp to the negative terminal, and plug the charger into the wall last.
- Make sure the charger is unplugged from the wall outlet before you start.
- Connect the positive (red) eyelet terminal connector to the positive (POS, P, +) battery terminal.
- Connect the negative (black) eyelet terminal connector to the negative (NEG, N, -) battery terminal.
- Check that both clamps grip their terminals firmly, with no loose contact.
- Plug the charger into a suitable outlet last, and do not face the battery while you make that connection.
The guide says not to connect the AC power plug until all other connections are made. That order keeps the live charger off the clamps while you are still positioning them, and it is the most important rule in how to use NOCO Genius 5.
Choose the Right Charge Mode
Select the charge mode that matches your battery’s voltage and chemistry, because the guide says not to operate the charger until you confirm the mode, which is the core of how to use NOCO Genius 5.
Here is how to use NOCO Genius 5 across its seven modes: Standby, 12V, 12V AGM, 12V Lithium, 6V, Repair and Force. Press the mode button to toggle between the standard modes. Some modes must be pressed and held for three to five seconds to enter, which is why the guide calls them advanced charge modes.
| Mode | Battery it is for | What the guide says |
|---|---|---|
| Standby | No charging | No power to the battery; orange Standby LED |
| 12V | 12V wet, gel, EFB, MF and calcium | Standard 12V lead-acid charging; white 12V LED |
| 12V AGM | 12V AGM | Charges AGM batteries; white AGM LED |
| 12V Lithium | 12V lithium iron phosphate with BMS only | Charges at 14.6V; blue Lithium LED |
| 6V | 6V wet, gel, EFB, MF and calcium | Press and hold 3 seconds; white 6V LED |
| Repair | 12V lead-acid only | Recovery for sulfated or stratified batteries; red LED flashes |
| Force | Batteries below 1V | Press and hold 5 seconds; runs for 5 minutes |
Force Mode and Repair Mode
Force Mode is for batteries whose voltage is too low for the charger to detect. Press and hold the mode button for five seconds, then select the mode. The guide says Force Mode runs for five minutes, then returns to normal charging.
The guide warns that Force Mode disables safety features and leaves live power at the connectors, so make every connection before you enter it. Repair Mode, an advanced option, can take up to four hours and may apply up to 16.5V, so check its caution before you use it on any battery with sensitive electronics.
Lithium mode needs the same care. The guide says to use it only with a battery that has a built-in BMS, and to ask the battery maker for recommended charging voltages first, so check that before you learn how to use NOCO Genius 5 on a lithium pack. The charger also has auto-memory, so it returns to the last mode you used when you reconnect it. A maintainer-style charger with fixed stages is explained in the guide to Battery Tender Junior charging stages.
Reading the Charge LEDs
Reading the charge LEDs is the final check in how to use NOCO Genius 5, and they show how far the battery is charged, from a slow pulse below 25% to solid green at 100%. Each LED lights in order as the battery gains charge.
- 25% LED: slow pulse while the battery is below 25%, then solid red at 25%
- 50% LED: slow pulse while the battery is below 50%, then solid red at 50%
- 75% LED: slow pulse while the battery is below 75%, then solid orange at 75%
- Pulsing green: bulk charge complete, and the charger is optimizing the battery
- Solid green: battery at 100%
After the battery is full, the charger keeps monitoring it and provides ongoing maintenance. The 100% LED pulses slowly during these maintenance cycles. The guide also lists separate error LED patterns, so compare any unusual flashing with the troubleshooting table below.
How to Disconnect the Charger Safely
Unplug the charger from the wall first, then remove the negative clamp before the positive clamp. The guide asks you to reverse the connection order when you disconnect, and that habit is part of how to use NOCO Genius 5 safely.
- Unplug the charger from the wall outlet.
- Remove the black (negative) clamp from the negative terminal first.
- Remove the red (positive) clamp from the positive terminal.
- Keep the two clamps apart so they do not touch each other or any metal part of the vehicle.
Store the charger on a flat, secure surface in a dry place, away from dust. If you are choosing between chargers, general car battery charger safety explains the shared rules. The guide gives a storage range of -22°F to 140°F (-30°C to 60°C) and says never to let the product exceed 175°F (80°C).
Common Problems and Fixes
Most problems people hit when they learn how to use NOCO Genius 5 come from reversed clamps, a voltage mismatch or a battery that will not hold a charge, and the guide lists a fix for most of them.
| Problem | Cause listed in the guide | Fix listed in the guide |
|---|---|---|
| Reverse polarity indicator | Clamps are on the wrong terminals | Reverse the battery connections |
| Battery voltage too high for the mode | Selected mode does not match the battery | Check the battery and select the correct mode |
| Battery will not hold a charge | Possible battery short or failing battery | Have the battery checked by a professional |
| Charger too hot | Internal temperature too high | Charger resumes once its temperature drops |
| Charger too cold | Ambient temperature too low | Charger resumes once the ambient temperature rises |
| Standby light with no charge | Battery voltage too low for the charger to detect | Use Force Mode with extreme care, after all connections are made |
If the charger still does not work after you learn how to use NOCO Genius 5 and check these points, do not open or repair it. The guide says to stop using a damaged product and contact NOCO.
Frequently Asked Questions
Can the GENIUS5 charge a lithium battery?
Yes, but only a 12V lithium iron phosphate battery with a built-in BMS, using the 12V Lithium mode. The guide says to consult the battery manufacturer and check the recommended charging voltage before you charge.
Does the GENIUS5 remember the last mode?
Yes. The charger has auto-memory and returns to the last charge mode when you reconnect it. Press the mode button to change the mode at any time.
What is Force Mode for?
Force Mode is for batteries whose voltage is below 1V, which is too low for the charger to detect. It runs for five minutes and then returns to normal charging. Use it with extreme care, because the guide says it disables safety features.
Can it charge a 24V battery?
No. The guide lists only 6V and 12V lead-acid batteries and 12V lithium batteries with a BMS. Check the battery voltage on its label before you connect the clamps.
How long does a charge take?
The guide does not give a fixed charging time. The time depends on battery size and state of charge, so watch the LEDs to track progress while you learn how to use NOCO Genius 5.
Always confirm your battery’s voltage and chemistry before you select a mode in how to use NOCO Genius 5. If you are unsure, check the battery owner’s manual or contact the battery maker first.