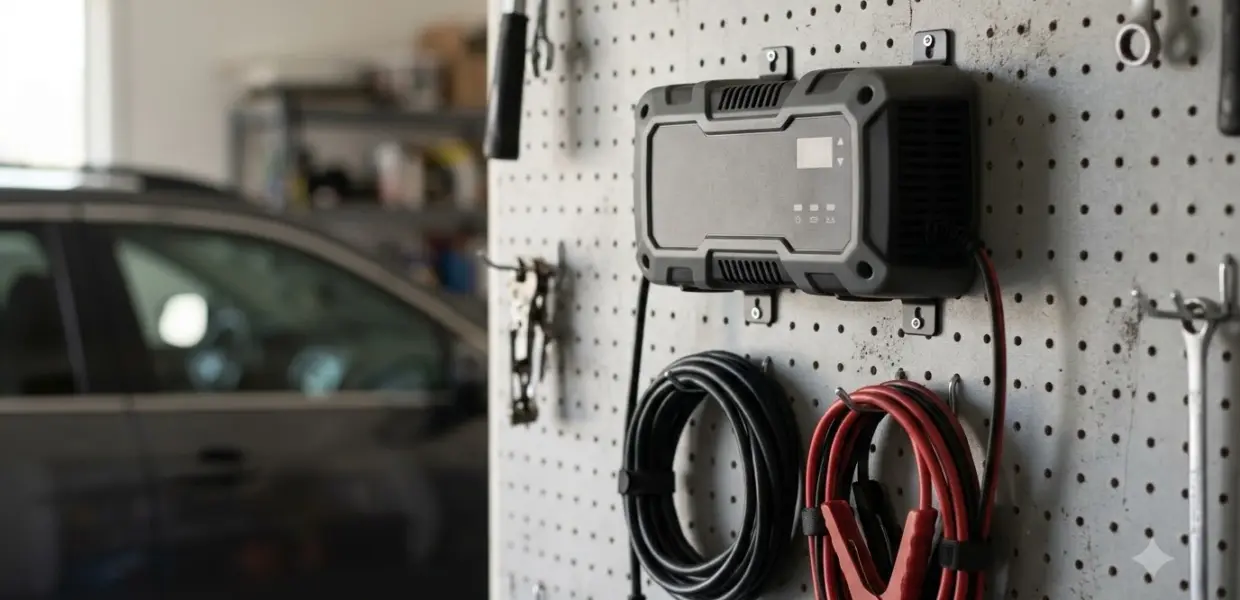

To learn how to use battery tender junior, identify your model first, then connect the clamps in the right order and plug the charger in last. Battery Tender’s own FAQ and blog give the stage and connection facts used below.
The Junior moves through checks, bulk, absorption and float, and its lights show where it is. Learning how to use battery tender junior safely starts with reading the label on your unit.
This article explains manufacturer guidance for charging lead-acid and similar batteries. Batteries can release gas and cause sparks, so follow your charger manual and local safety rules.
Identify Your Battery Tender Junior Model
The Battery Tender Junior comes as a 750 mA model and as selectable 800 mA or 1 A models, so the label on your charger decides the current and the charge times. Check the label before you use any time estimate for how to use battery tender junior.
When you learn how to use battery tender junior, the printed current matters more than the family name. Brand pages and retailer listings do not always agree on output, so the charger itself is the reference.
| Model label | Current | What it means for you |
|---|---|---|
| Junior 750 mA | 0.75 A bulk stage, per the Battery Tender FAQ | Use the 16 hour and 8 hour examples in the charge time section |
| Selectable Junior 800 mA | Labeled 800 mA on some listings | Check the manual before you set any battery type |
| Selectable Junior 1 A | Labeled 1 A on some listings | Use the times in your manual, not the 750 mA figures |
A matched model gives matched times. A 750 mA charger takes longer than a 1 A charger on the same battery, so do not copy another model’s estimate onto your unit.
Battery Tender also sells models aimed at lithium batteries. Lithium batteries need their own charging profile, so confirm the battery type in the manual before you connect one to any Junior.
What the Junior Does at Each Charging Stage
Knowing how to use battery tender junior starts with its stages. The Junior runs initialization checks first, then delivers a constant bulk current of 0.75 A, moves to absorption, and switches to float maintenance on its own.
For how to use battery tender junior, the FAQ is the official reference. According to the Battery Tender FAQ, the charger first conducts a number of checks during initialization mode. Those checks run before the full charge starts, so the early minutes are not a sign of a fault.
- Initialization: the charger runs a number of checks.
- Bulk: the charger delivers a constant current of 0.75 A on the 750 mA model.
- Absorption: the charger holds the battery while the current tapers.
- Float or maintenance: the Junior switches to float once the current drops or the timer expires.
For how to use battery tender junior, the bulk stage does most of the work and the float stage holds the battery. Unplugging early leaves the battery partly charged, so wait for the lights to show the full state.
How to Use Battery Tender Junior: Connecting the Clamps
Connect the red positive clamp to the positive terminal first, then the black negative clamp, and plug the charger in last. Battery Tender’s blog gives this order for its chargers, including the Junior family.
When you learn how to use battery tender junior on a battery in a vehicle, the order stays the same. The Battery Tender blog guide notes one exception: if the battery is hard to reach, the negative clamp can go on an unpainted frame bolt as a ground.
- Unplug the charger from the wall.
- Clamp the red positive lead to the positive terminal first.
- Clamp the black negative lead to the negative terminal, or to an unpainted frame bolt if the battery is hard to reach.
- Plug the charger in last.
Never connect or disconnect the clamps while the charger is plugged in. The blog says doing so can create a spark near battery gases, which is the reason the plug-in step comes last.
Keep the same order every time, since it is the core of safe use.
Reading the Lights and Estimating Charge Time
A red light means the charge is in progress, and a green light means the battery is full and in float maintenance. Reading the lights is part of how to use battery tender junior, and the lights tell you more than a timer does.
| Light or case | Meaning | What to do |
|---|---|---|
| Steady red | Charge in progress through initialization, bulk and absorption | Leave the charger connected |
| Steady green | Battery full, charger in float maintenance | The blog says it can stay connected in this stage |
| Alternating red and green | Usually a connection problem, or a battery too low to start | Check the clamps, and load test the battery if it reads below 3 V |
Charge time in how to use battery tender junior is simple arithmetic. Multiply the battery’s amp-hours by its depth of discharge, then divide by the charger current. The blog uses this method for the Junior family.
For how to use battery tender junior on a 750 mA model with a 12 Ah battery that is fully discharged, the result is about 16 hours. At 50 percent discharge, the same battery takes about 8 hours.
These are planning estimates, not guarantees. Battery age, temperature and state of charge all change the real time, so use the number as a starting point and read the lights for the final answer. The NOCO Genius 2 charger guide covers a similar charger.
Disconnecting the Charger Safely
Unplug the charger from the wall first, then remove the negative clamp, then the positive clamp. Disconnecting is the other half of how to use battery tender junior, and it follows the reverse order.
The blog gives this disconnect order for its chargers, and it is the second half of how to use battery tender junior, and it matches the spark rule from the connection steps. Keep the charger unplugged while you handle the clamps.
When you finish a charge with the Junior, follow the same rule every time. Store the clamps somewhere dry so the cable and terminals stay clean for the next charge.
Safety Checks Before You Start
Lead-acid batteries can release hydrogen while charging, so charge in a well-ventilated space and keep sparks and flames away from the battery. Clean corroded terminals with baking soda and water before you connect.
- Charge in a well-ventilated space, not a sealed box or closed cabinet.
- Keep sparks, flames and smoking away from the battery.
- Clean corroded terminals with a baking soda and water solution.
- Confirm the battery type before you use battery tender junior on it.
- Check the cables and clamps for damage before every use.
The blog names hydrogen as the gas released by lead-acid batteries during charging. That is why ventilation is a real requirement, not a suggestion, for any charging session.
The blog also warns that the wrong chemistry profile can cause early battery failure. Confirm the battery type on its label before you connect, especially on a selectable model. The Plus line follows the same clip-first, AC-cord-last habit, as shown in the Battery Tender Plus connection order.
Checking the Battery After Charging
Checking the battery is the last step of how to use battery tender junior. Measure a lead-acid or AGM battery 30 minutes after you remove the charger, and a reading of 12.6 to 12.8 volts is typical.
| Reading | Meaning | Next step |
|---|---|---|
| 12.6 to 12.8 V | Typical at rest for lead-acid or AGM | Use the battery normally |
| Below 12.4 V | Suggests reduced capacity | Check the battery further |
| Below 3 V | The blog says to have the battery load-tested | Have a shop or tester check it |
This is a resting-voltage check, not a load test. It shows the battery at rest, and it does not show how the battery performs under a starter load.
For lithium batteries, the range is different. The blog gives 13.2 to 13.6 volts at rest for LiFePO4 batteries, so compare against the matching range rather than the lead-acid numbers.
Related Guides
Frequently Asked Questions
Can I use the Battery Tender Junior on a lithium battery?
Only if your model and manual support lithium. The blog says lithium batteries need a lithium profile, and the wrong profile can cause early failure. Check the label and manual before you connect.
How long should the charger stay connected?
Until the charge is complete. The blog says a green light means the battery is full and the charger is in float, where it can remain connected. Charge time depends on battery size and how far it was discharged.
What do alternating red and green lights mean?
The blog says this usually points to a connection problem, or to a battery too low for the charger to start. Check the clamps first. If the battery reads below 3 V, have it load-tested.
Should I connect the charger before the clamps when I learn how to use battery tender junior?
No. Connect the clamps first and plug the charger in last. Connecting or disconnecting clamps while the charger is plugged in can create a spark near battery gases.
Is it safe to leave the Junior connected?
The blog says the charger can remain connected in float once the green light shows. Keep the area ventilated, check the clamps, and follow your manual for your model.
Before you finish with how to use battery tender junior, check the label, the battery type and the lights. A charger and a battery carry shock and gas risks, so a qualified shop should check any battery that does not hold a reading.