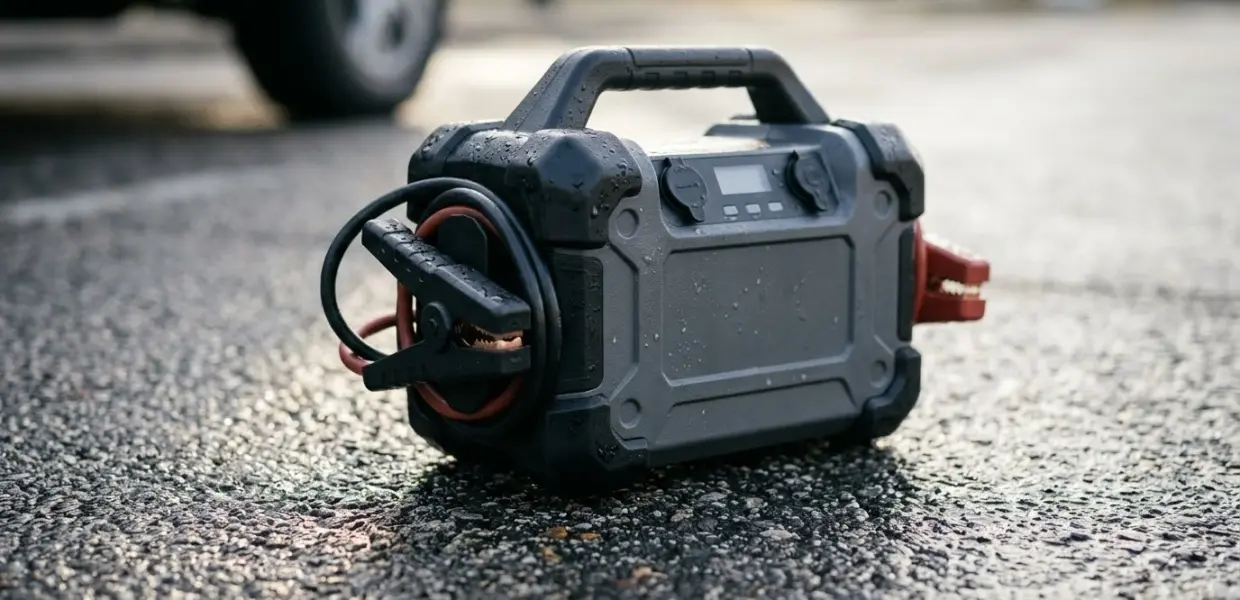

The short answer to how to use noco gb150 is to charge the unit fully, clamp the red cable to positive and the black cable to negative or chassis, press Power, then start the engine. The GB150 is made for 12-volt lead-acid batteries only.
The NOCO GB150 is a lithium jump starter. Check your battery type and terminal polarity before you connect anything, because a reversed connection stops the unit.
How to use NOCO GB150: check the battery before you connect
The GB150 works only on 12-volt lead-acid batteries, so confirm the battery type and voltage in your owner’s manual before you connect the clamps. The NOCO GB150 user guide says the unit is not suitable for any other battery type.
Find the positive and negative terminals first. The guide says the positive terminal is typically marked POS, P or plus, and the negative terminal is marked NEG, N or minus. Keep the clamps away from the carburetor, fuel lines and thin sheet metal parts.
The guide gives its instructions for a negative ground system, which is the most common setup. A positive ground vehicle is very uncommon, and the guide says to reverse the order for those.
Learning how to use NOCO GB150 safely starts with the battery check, not with the clamps. Confirm the voltage and polarity before any step that follows.
Before the first charge, read the battery label and your car manual, so you know the voltage and chemistry of the battery you plan to jump, which is the first rule of how to use NOCO GB150.
- A 12-volt lead-acid battery, confirmed in the battery owner’s manual
- Terminals identified as positive (POS, P, +) and negative (NEG, N, -)
- All vehicle loads off, including headlights, radio and air conditioning
Charge the GB150 before you need it
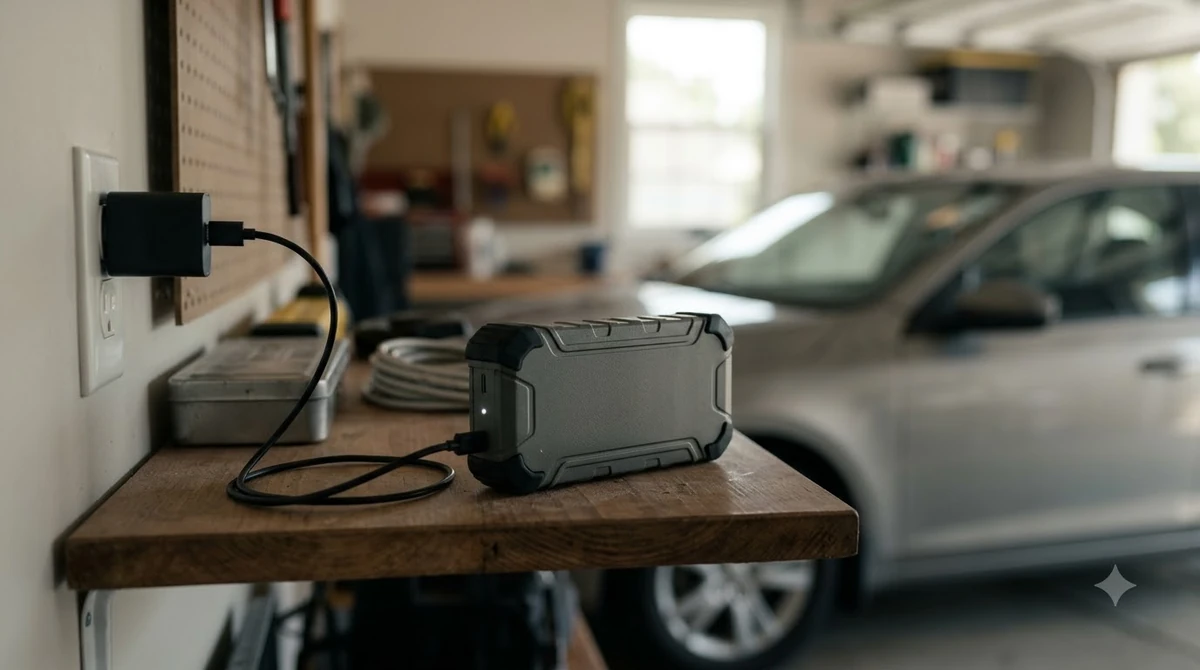
The GB150 arrives partially charged, so the first step in how to use NOCO GB150 is a full charge. A 12V fast charge at 60W takes about 2 to 3 hours in the guide’s charging table, while USB charging at 2A takes about 11 hours.
- Connect the 12V cable to the 12V IN port on the GB150.
- Plug the other end into a powered 12V socket, such as the cigarette lighter port.
- Charge until the green 100% LED stays solid.
For USB charging, use the included micro USB cable in the USB IN port and a powered USB source rated at 2.1A. The guide advises against charging and discharging the unit at the same time.
If the red LED blinks while the cables are connected, the internal battery is too hot, so let the unit cool before you try again.
Charging it before a trip means you are not learning how to use NOCO GB150 at the roadside.
Connect the clamps in the right order
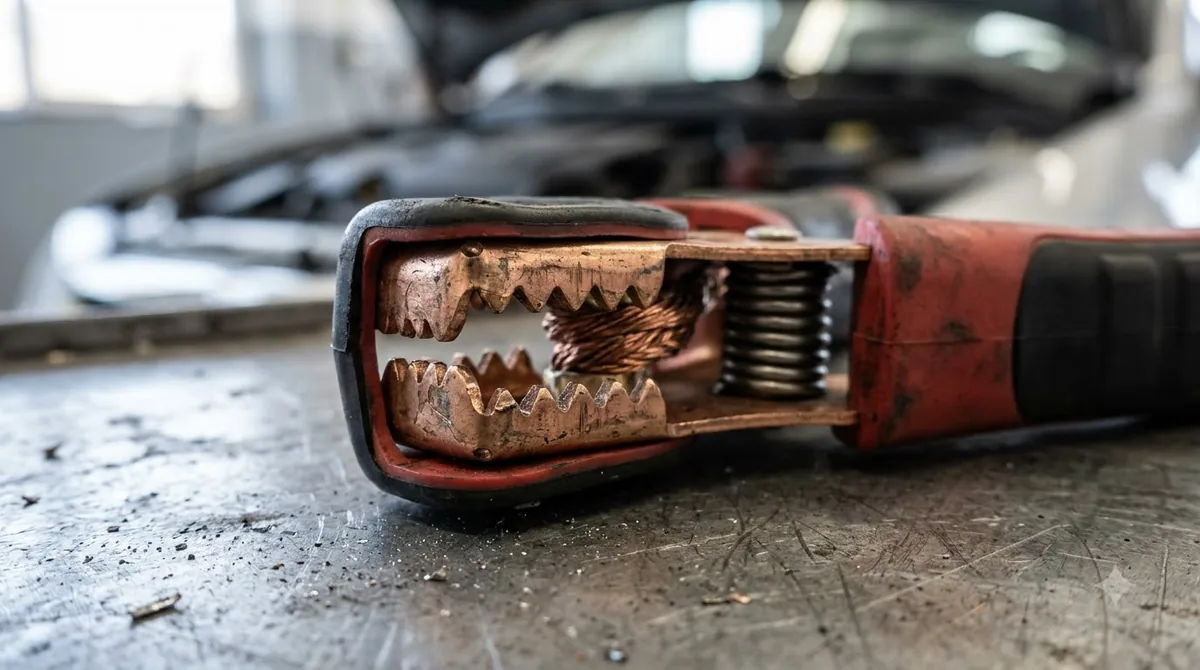
Clamp the red HD cable to the positive terminal first, then clamp the black cable to the negative terminal or a bare metal chassis point. The guide gives this order in its connection steps, and it matters for safety.
Getting the connection right is the most important part of how to use NOCO GB150, so check each clamp before you press Power.
- Connect the positive red HD battery clamp to the positive battery terminal.
- Connect the negative black HD battery clamp to the negative terminal or the vehicle chassis.
When you disconnect, reverse the sequence and remove the negative clamp first. If the clamps are reversed, the red error LED lights up, so reverse the connections to clear the error and try again.
A clear routine for how to use NOCO GB150 also helps the next person who borrows the unit, because the clamp order is the same every time.
Jump start the engine step by step
Press the Power button after the clamps are set, then wait for the white Boost LED to light before you try to start the vehicle. Most vehicles start right away once the unit is ready.
- Make sure all loads are off, including headlights, radio and air conditioning.
- Confirm the clamps are on the correct polarity terminals.
- Press the Power button. All LEDs flash, then the white Boost LED lights when the unit is ready.
- Try starting the vehicle. Some vehicles need the unit connected for up to 30 seconds first.
- After the engine runs, turn the GB150 off, disconnect the clamps in reverse order and remove the unit.
If the vehicle does not start right away, wait 20 to 30 seconds and try again. The guide says not to attempt more than five consecutive jump starts within fifteen minutes, and to rest the unit for fifteen minutes before the next attempt.
This guide covers the jump starter only, not the car charging system or a battery that will not hold a charge. Those problems need a separate check. For a refresher on the basics, read the jump starter basics step by step.
Keep this sequence in mind for how to use NOCO GB150 on any vehicle with a 12-volt lead-acid battery, and check the car owner’s manual for its own precautions.
Low-voltage batteries and Manual Override mode
Manual Override forces the jump start on for a battery below 2 volts, but it also disables the spark proof and reverse polarity protection. Use it only with extreme care and only on 12-volt lead-acid batteries.
A battery below 2 volts leaves the Boost LED off because the unit cannot detect it. In practice, how to use NOCO GB150 on a deeply drained battery depends on that feature. To use the feature, confirm the clamps are on the correct polarity, then press and hold the Manual Override button for three seconds until the white Boost LED flashes on and off.
The guide warns that the clamps must never touch each other in this mode, and that it can draw very high current, up to 3000 amps. If you are unsure about using this mode, do not attempt it and seek professional help, because guessing is not a safe part of how to use NOCO GB150. The official 2025 guide adds that Manual Override disables all safety measures, and that you should not jump start a frozen or damaged battery.
What the LED lights and error signals mean
The GB150 shows its state through LEDs, so read them before you assume the unit has failed. Reading the lights first is faster than guessing when you learn how to use NOCO GB150 for the first time. The guide’s error table covers the three signals most people see when a jump start does not work.
| Signal | What it means | What to do |
|---|---|---|
| Solid red error LED | Reverse polarity on the clamps | Reverse the battery connections |
| Blinking red error LED with cables connected | Internal battery is too hot | Allow the unit to cool in a cooler place |
| Boost LED does not come on with cables connected | Battery is below 2 volts | Remove all loads and try again, or use Manual Override |
The four charge LEDs show the level at 25, 50, 75 and 100 percent. A pulsing LED means that level is not yet reached, and a solid green 100% LED means the unit is fully charged. Another brand signals its status differently, and the GOOLOO GP4000 smart cable light guide explains that version.
Related Guides
Frequently Asked Questions
Can I use the GB150 on a lithium car battery?
The guide says the GB150 is for 12-volt lead-acid batteries only and is not suitable for any other type of battery. Check your battery owner’s manual for its chemistry before you connect the clamps.
How many jump starts can I get from one charge?
Published specs name a peak current rating of 3000 amps, but the guide gives no fixed number of jump starts per charge. Results depend on the vehicle, its battery and the charge level, so keep a charge in reserve, because knowing how to use NOCO GB150 does not help if the unit is flat.
Why is the white Boost light not coming on?
A battery below 2 volts or reversed clamps can keep the light off. Remove all loads and try again, or use Manual Override mode for a battery below 2 volts, following its caution. Checking the polarity first is the quickest fix in how to use NOCO GB150.
How long does a full charge take?
The guide’s charging table lists about 2 to 3 hours on a 12V fast charge at 5A and about 11 hours on USB at 2A. Charging times vary with the discharge level and the power source.
Can I charge the GB150 while I use it?
The guide advises against charging and discharging the unit at the same time. Charge it fully before a trip, then keep it for the jump start.
Is it hard to learn how to use NOCO GB150?
No, the basic steps are short: charge the unit, clamp in order, press Power, then start the engine. The guide adds warnings for error lights and Manual Override, so read those sections before your first jump.
Before any jump start, read your car owner’s manual too, since the GB150 guide points to the vehicle manual for specific precautions. Following the clamp order and the wait times in the guide is the surest way to put how to use NOCO GB150 into practice safely.