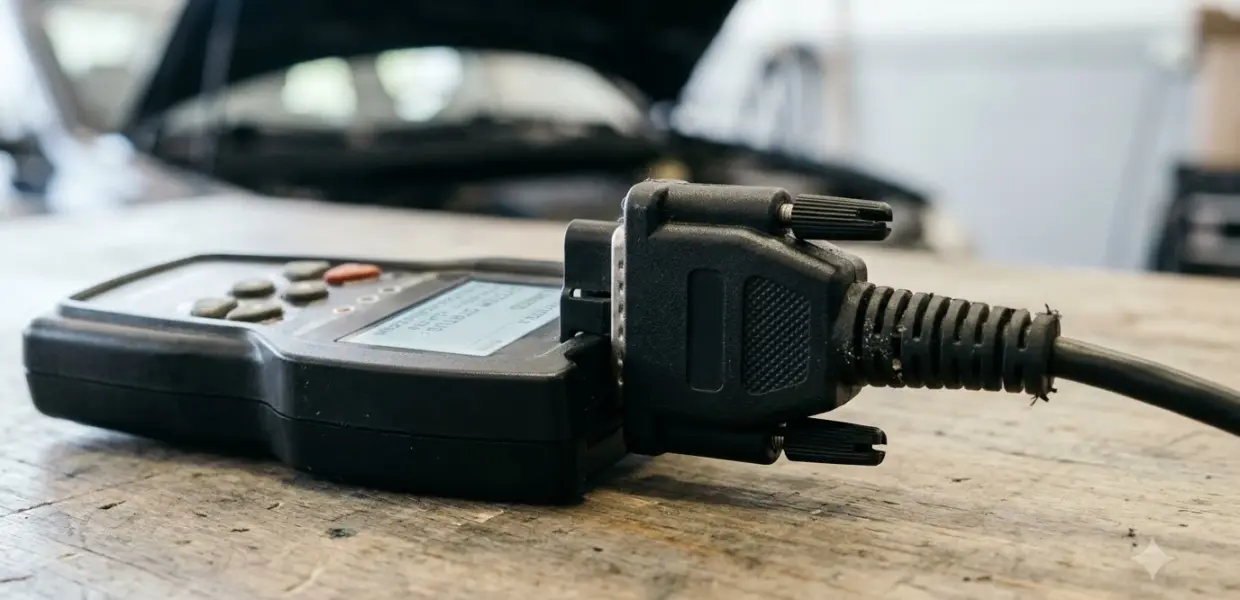

How to use GM Tech 2 starts with the connection. On OBD II vehicles the unit draws its power through the DLC cable, so plug it in first, then turn the unit on with PWR. The menus handle the rest of the work.
Learning how to use GM Tech 2 well starts with knowing it is a GM service tool, and its results depend on current software and a correctly updated PCMCIA card. Check those two items before you rely on any reading, and confirm the vehicle details before each session.
What You Need Before You Use GM Tech 2
Before you learn how to use GM Tech 2, you need the unit, its DLC cable, a PCMCIA card with current updates, and a power source if the vehicle is not OBD II. The General Motors Tech2 User Guide, read here as a third-party copy and not an official GM download, lists the DLC cable among its relevant components, along with a 32 MB PCMCIA card and a J1962 16/19-pin adapter.
- The Tech 2 unit and its DLC cable, which connect the scan tool to the vehicle.
- A PCMCIA card with proper updates, which the guide calls essential for successful vehicle diagnoses.
- A J1962 16/19-pin adapter for the vehicle’s connector, listed in the same component list.
- An external power source, such as a cigarette lighter connection, for vehicles that are not OBD II.
- An active TIS2Web subscription for software updates, covered later in this article.
Check the card and its updates first. The guide ties diagnostic accuracy to them, so a unit with an out-of-date card puts the whole session at risk. Anyone learning how to use GM Tech 2 should update the card before any repair work, not during it. A Ford dealer-level counterpart is covered in Ford IDS VCM setup and sessions.
Connecting the Tech 2 to the Vehicle
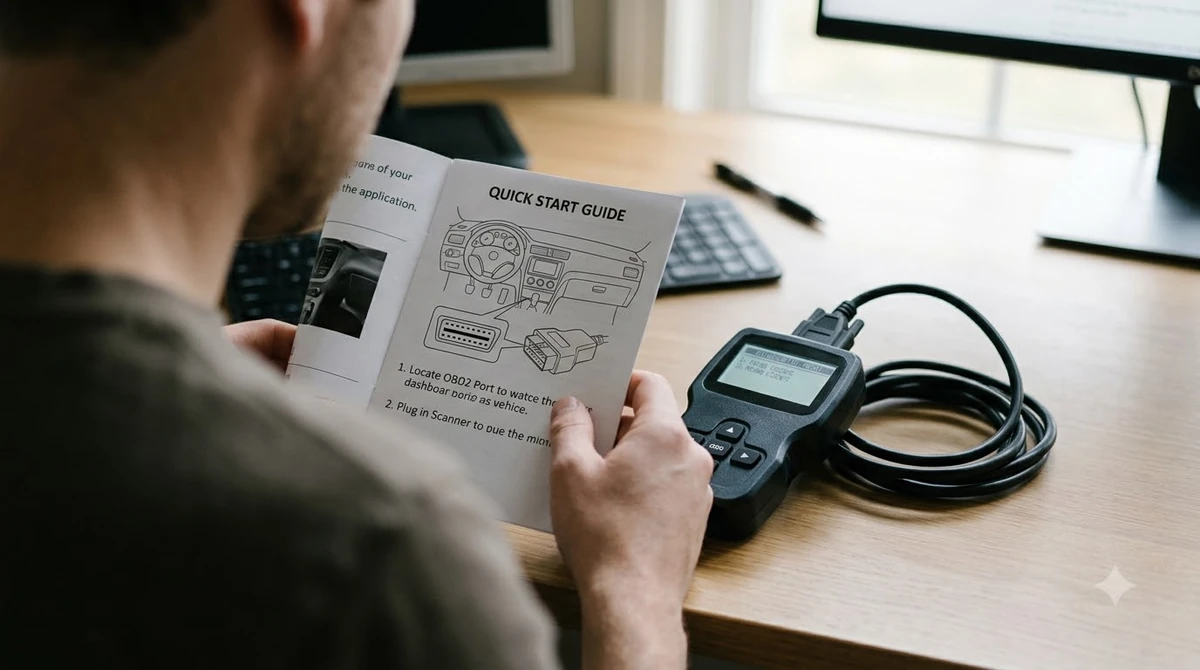
On OBD II vehicles, the Tech 2 gets its power through the DLC cable, so the connection and the power-on steps happen together. Follow this order each time you learn how to use GM Tech 2 on a new vehicle, so the unit starts in a known state.
- Plug the DLC cable into the Tech 2.
- Plug the other end of the cable into the vehicle’s diagnostic link connector.
- Press PWR and wait for the green status light above the key to show the unit is operational.
- Choose Diagnostics from the main menu once the unit has started.
For vehicles without OBD II, the guide says an external power source such as a cigarette lighter must be used. Keep the cable seated for the whole session, because a loose connection can interrupt communication and leave you with partial data.
How to Use GM Tech 2 Keypad
The keypad has four soft keys under the screen, four arrow keys, action keys for YES, NO, ENTER and EXIT, and function keys F0 to F9. Most of the work in how to use GM Tech 2 is done with the arrows, ENTER and the soft keys, so learn those first.
| Key | What it does |
|---|---|
| PWR | Turns the Tech 2 on or off. The status light above it glows green when the unit is operational. |
| SHIFT with up or down arrow | Adjusts screen brightness and contrast. |
| Soft keys | Select the labels shown at the bottom of the screen. |
| Arrow keys and ENTER | Move the highlight and activate a selection. |
| YES and NO | Answer the on-screen yes or no questions. |
| EXIT | Leaves the current screen and returns to the previous one. |
| F0 to F9 | Start a specific function, or enter numbers on some screens. |
| ? | Opens the help screen at any time. |
The guide notes that the soft key labels can change from screen to screen, which is a common stumbling block in how to use GM Tech 2. Read the label above each key before you press it, because the same key can start a different function on the next screen.
Running a Diagnostic Session
A diagnostic session in how to use GM Tech 2 starts in Diagnostics, where you enter the model year, the vehicle type and the system to test. The guide sets this order, and each step narrows the menu that follows.
- Press F0 to open Diagnostics from the main menu.
- Select the model year of the vehicle.
- Select the vehicle type: passenger car, LD truck, MPV or incomplete, or medium duty truck and Saturn.
- Select the system: F0 Powertrain, F1 Body, F2 Chassis or F3 Diagnostic Circuit Check.
Picking the wrong model year or vehicle type sends the session down the wrong system path, so check the vehicle’s details before you start how to use GM Tech 2 on a job. A mistake here wastes time, and it can make a correct code look like a fault in a different system. For a Chrysler-family option, see AlfaOBD fault code reading steps.
Reading Codes and Captured Data
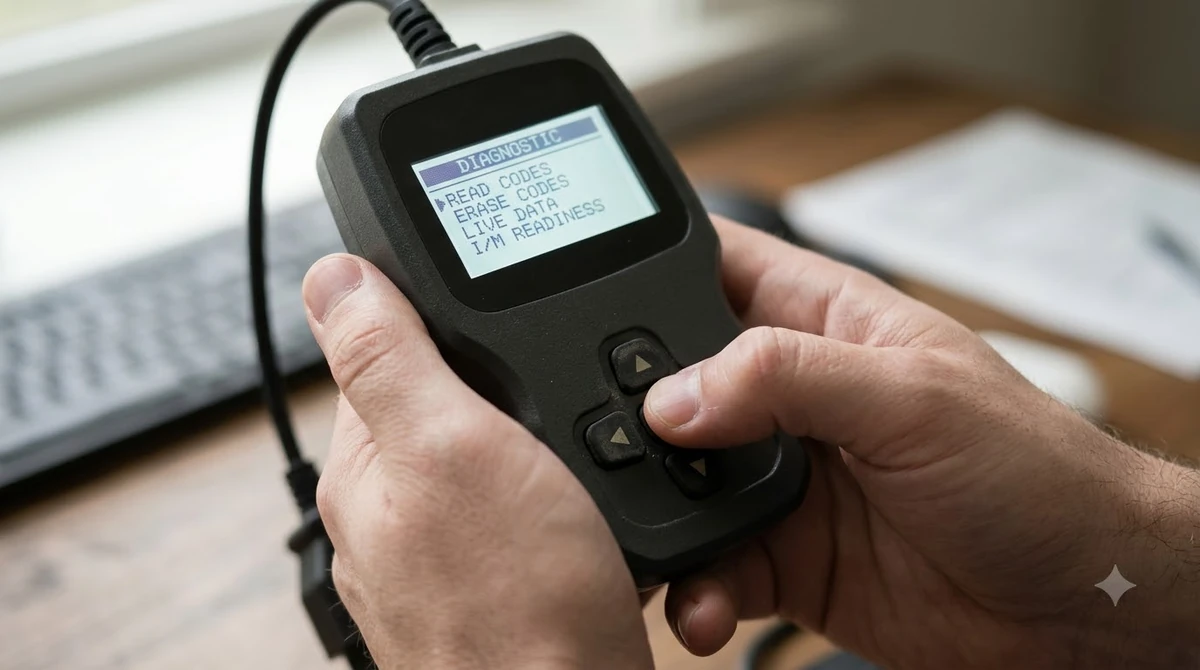
For how to use GM Tech 2 in practice, View Captured Data holds DTC information, freeze frame and failure records, snapshots and live plots in one menu path. A DTC, or diagnostic trouble code, tells you which system set a fault, so start here when a session returns codes.
- DTC Information (F0) lists the trouble codes stored by the vehicle.
- Freeze Frame and Failure Records (F1) show the conditions recorded when a fault set.
- Snapshot lets you select items and step through recorded frames.
- Live Plot graphs values as they change, with Change Min/Max and Zoom In/Out controls.
The guide lists frame controls such as First Frame, Trigger Frame, Last Frame, Previous Frame and Next Frame. Stepping through the recorded data in order is part of how to use GM Tech 2 well, so use them rather than reading a single frame in isolation.
Tool Options and PCMCIA Updates
Tool Options is where how to use GM Tech 2 handles setup: the clock, units, self test, language and the Programming Tech2 step that keeps the unit’s software current. Open it when the unit needs setup, a self test, or a card update.
| Option | Use |
|---|---|
| Set Units | Switches between metric and English units. |
| Self Test | Runs the unit’s self test. |
| Programming Tech2 | Handles the card update that the guide calls essential for diagnoses. |
| Make Duplicate PCMCIA Card | Copies the PCMCIA card. |
| CANdi Diagnostics | Runs diagnostics for the CANdi module, which the guide covers in its own section. |
The guide also lists Set Clock, Set Language, Set Communication By-Pass Mode and Set Training Center Mode, which lets the unit be set to instructor or student use. Work through the update steps before any diagnostic session when you learn how to use GM Tech 2, not after a result looks wrong.
TIS2Web Subscription and Support
For how to use GM Tech 2 on current software, TIS2Web is an internet-based subscription for GM calibrations, GDS 2 and Tech 2 software updates, according to the iATN review of ACDelco TIS2Web. The review lists annual subscription options and says Tech 2 software updates are included. It does not list which Tech 2 models are compatible or which vehicle years are covered. The review page was last updated in March 2016, so treat its package list as dated.
The Tech 2 guide says independent customers with an authorized TIS2Web purchase can contact the ACDelco Aftermarket Support Center for help with the application. As of 2026-11-04, this article does not list any subscription price, so confirm current terms with ACDelco before you buy.
Vehicle Coverage and Known Limits
The guide copy does not list model-year coverage for the Tech 2, and published sources disagree on its start and end years. Confirm the model year and software coverage for your exact vehicle before you plan a session with how to use GM Tech 2.
Some forum posts say the Tech 2 does not communicate with newer Global A vehicles and that GDS 2 is used on those instead. Treat that as unverified until you check GM documentation for the specific vehicle, because the claim does not come from an official source. Toyota’s equivalent is covered in Techstream access and first session.
Frequently Asked Questions
Is the GM Tech 2 the same as a generic OBD2 code reader?
The Tech 2 guide describes GM-specific menus for Powertrain, Body and Chassis systems, plus service programming and CANdi diagnostics. Learning how to use GM Tech 2 means checking the card and its software before each session, because results depend on current PCMCIA updates.
Does the Tech 2 need the vehicle to power it?
On OBD II vehicles, the Tech 2 receives power through the DLC cable. Vehicles that are not OBD II need an external power source, such as a cigarette lighter connection, according to the guide. Plan the power source before you start the session in how to use GM Tech 2, so the unit does not drop out halfway through.
Do I need a subscription to use the Tech 2?
Software updates come through TIS2Web, which an iATN review describes as an annual subscription. The review does not list current prices, so check ACDelco’s terms before you buy. Independent customers with an authorized purchase can contact the ACDelco Aftermarket Support Center for help.
What should I check first if the results look wrong?
Start with the PCMCIA card and its updates, since the guide calls proper updates essential for successful vehicle diagnoses. Then confirm the model year, vehicle type and system you selected in Diagnostics, because a wrong menu choice can send the session to the wrong system.
Can I change the screen brightness on the Tech 2?
Yes. In how to use GM Tech 2, press SHIFT once, use the up and down arrow keys to raise or lower brightness and contrast, then press SHIFT again when the level is right. The guide says the unit returns to normal operation after these steps, so no other setting needs to change.
If your Tech 2 has current software, a valid card and an active subscription where needed, the how to use GM Tech 2 steps above should match what you see on screen. If any of those is missing, stop and check the official GM or ACDelco documentation before you rely on a reading.