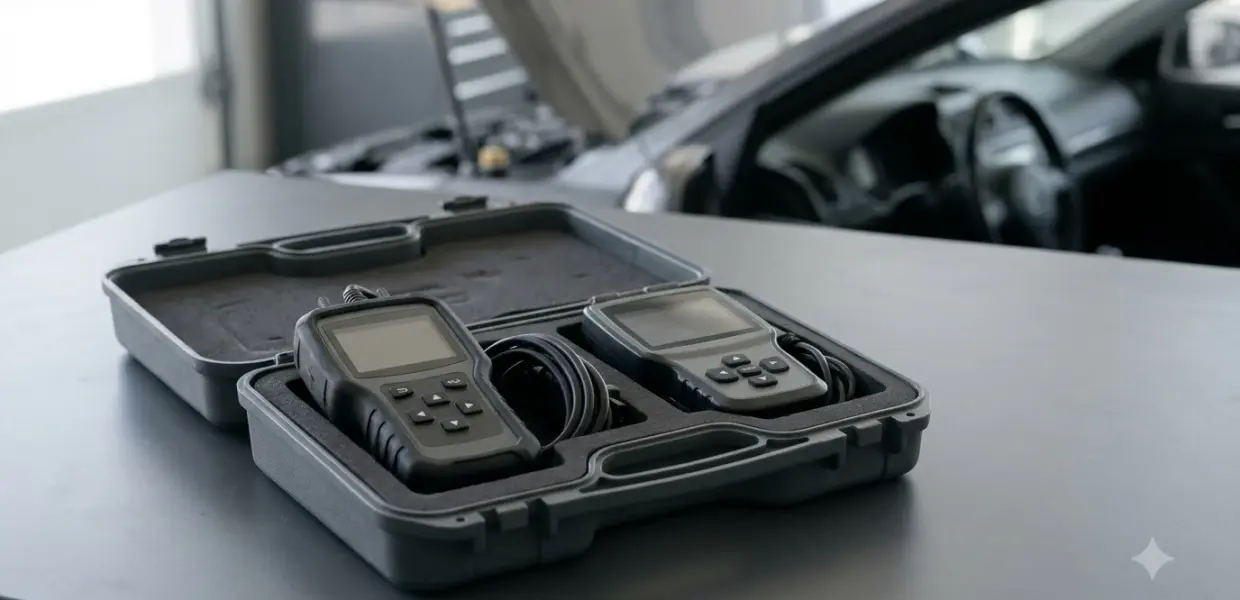

To learn how to test a MAF sensor, read its live airflow with a scan tool, then check its voltage or resistance with a multimeter. The MAF, or mass airflow, sensor reports how much air enters the engine, and the engine computer uses that reading to set fuel delivery.
Reference values differ by make, model and year, so treat the numbers below as general checkpoints. If readings stay outside range after cleaning, plan for a replacement.
The readings in this guide on how to test a MAF sensor come from two repair guides and are general reference points only. Your vehicle service manual gives the exact values and safety precautions for your car.
What a MAF Sensor Measures
A MAF sensor measures how much air enters the engine and sends that signal to the engine computer, which uses it to set fuel delivery.
Because the engine computer sets fuel from this signal, a wrong reading can show up as lean or rich fuel trim codes, which is why the symptoms below can point to the sensor rather than the fuel system alone.
Some vehicles use a hot wire element, and the resistance check in this guide applies only to that design. Vane-type sensors use a potentiometer instead, so that check does not cover them. Your sensor design decides which steps in how to test a MAF sensor apply.
Signs Your MAF Sensor May Be Failing
A failing MAF sensor often sets codes P0100 to P0104 (our guides to the P0101 code and the P0102 code cover two of them), and common symptoms include rough idle, hard starting and poor fuel economy. Check the codes and symptoms together before you decide the sensor is at fault, then use the steps for how to test a MAF sensor below to confirm it.
Repair guides link these signs to the MAF circuit:
- Check engine light with codes P0100 to P0104
- Lean or rich codes such as P0171 to P0174 (for example, the P0171 code)
- Hard starting
- Rough idle (see our rough idle guide)
- Poor acceleration
- Poor fuel economy
- Black exhaust smoke
A vacuum leak can cause similar lean codes, so check for leaks before you condemn the sensor.
Tools You Need Before You Start
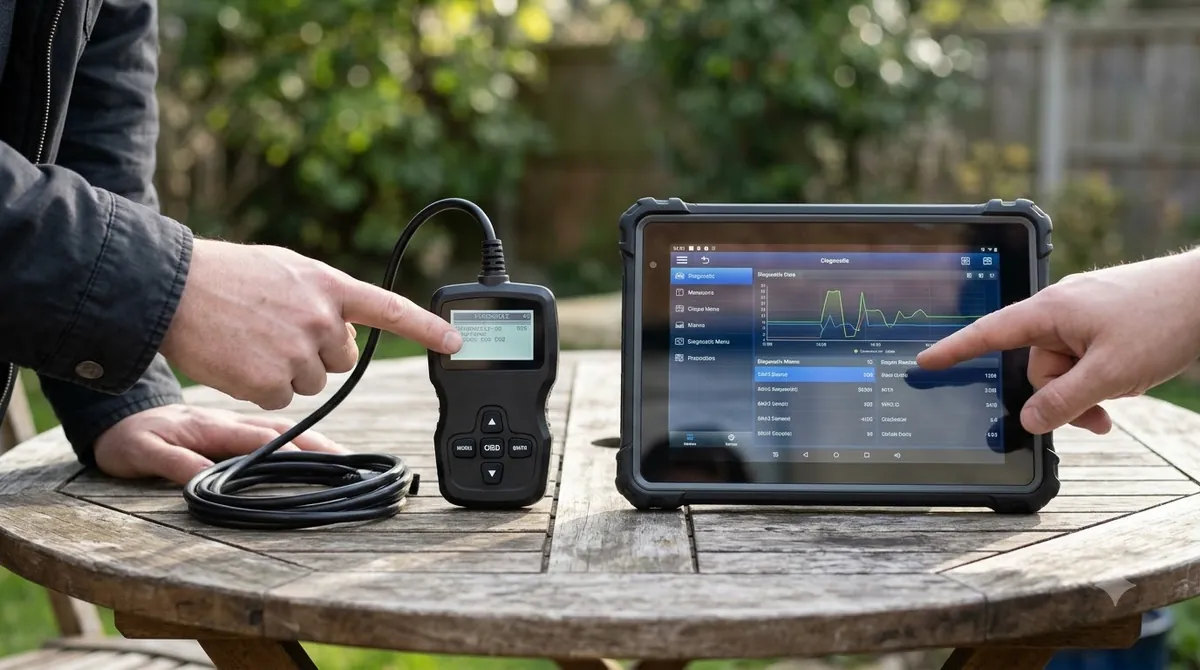
For how to test a MAF sensor at home, you need a multimeter that reads volts, ohms and frequency, an OBD-II scan tool with live data, and an aerosol cleaner made for MAF sensors. Gather these before you start.
- Digital multimeter that reads volts, ohms and frequency
- OBD-II scan tool that reads codes and live MAF values
- Aerosol cleaner designed for MAF sensors
- Screwdriver to open the air box and remove the sensor
Use only a cleaner designed for MAF sensors, and see our automotive multimeter guide if you have not used the meter’s frequency setting before.
Step-by-Step: How to Test a MAF Sensor With Live Data
With the engine running, a healthy MAF sensor should read about 2 to 7 g/s at idle and 15 to 25 g/s at 2,500 RPM, depending on engine size. These baseline ranges come from Innova’s live data guide.
- Plug the scan tool into the OBD-II port and open the live data view for the MAF value.
- Start the engine and let it idle. The reading should be about 2 to 7 g/s.
- Raise engine speed to 2,500 RPM. The reading should be about 15 to 25 g/s, depending on engine displacement.
- Press the accelerator. The reading should rise sharply, higher at 2,500 RPM than at idle and lower than at 4,000 RPM.
- If the numbers do not follow this pattern, the sensor may be dirty or failed, or a vacuum leak may be skewing the reading.
Innova’s live data procedure describes this exact pattern. Record the idle value first, since a baseline is the easiest way to spot a change when you repeat how to test a MAF sensor later.
How to Test a MAF Sensor With a Multimeter: Voltage, Frequency and Resistance
When you test a MAF sensor, a multimeter can confirm supply power, signal voltage, frequency and hot wire resistance against reference ranges. Pin positions change by vehicle, so check the wiring diagram before you connect any lead. Identifix’s MAF testing procedure covers these four checks in order, and each one is part of how to test a MAF sensor with a multimeter.
Power supply check (10 to 12 V)
With the ignition on and the connector unplugged, set the multimeter to volts. Connect the red lead to the pin that leads to the computer and the black lead to ground. Expect 10 to 12 V. Below 10 V means the connector is not supplying enough power.
Signal voltage check (0.5 to 5 V)
With the connector plugged in, back-probe the signal wire with the positive lead and the ground wire with the negative lead. Start the engine and let it idle. Expect 0.5 to 5 V, and expect a slightly higher idle on some vehicles.
Frequency check (about 30 Hz)
Use the same connections as the voltage check, with the multimeter set to frequency. At idle, expect about 30 Hz, and the frequency should climb as engine speed rises. If it does not climb, the sensor has likely failed.
Hot wire resistance check (200 to 600 ohms)
With the ignition off and the connector unplugged, set the multimeter to ohms. Connect the positive lead to the signal pin and the negative lead to ground. Expect 200 to 600 ohms. An open circuit with no reading means the hot wire is damaged.
A signal that does not respond to RPM changes points to a failed sensor, which is the clearest result in how to test a MAF sensor. An erratic response often points to a dirty sensor first, so clean it before you condemn it.
Cleaning the Sensor and Retesting
If the sensor is dirty, spray 12 to 15 bursts of MAF cleaner onto the wire or plate, let it dry completely, then clear codes and retest. Cleaning only helps when contamination is the cause, so confirm that with the live data first.
- Locate the air box, open it with a screwdriver, and carefully pull the sensor from the air duct.
- Disconnect the electrical connector, and avoid touching the sensor wires during removal.
- Spray 12 to 15 bursts of MAF cleaner onto the wire or plate. Do not scrub, because you can damage the wire or the plate.
- Let the sensor dry completely, then reinstall it by reversing the removal steps.
- Clear the codes with the scan tool, then drive about 75 miles of mixed town and highway traffic.
If the check engine light stays off and the symptoms are gone, the sensor was most likely dirty. If the light returns or the symptoms continue, move on to the replacement checks, because the retest is the proof that matters. Treat the retest as the final step in how to test a MAF sensor.
When to Replace the Sensor
Replace the MAF sensor when cleaning does not clear the codes or the readings stay outside the reference ranges, because the sensor cannot be recalibrated. Identifix states that replacement is the remedy once cleaning fails, so this is the last step in how to test a MAF sensor.
Before you replace the sensor, check for vacuum leaks before you buy a new one, since unmetered air causes similar symptoms. Use the table below to match each result to the next step.
| Result | What it suggests | Next step |
|---|---|---|
| Supply below 10 V | Connector or supply problem | Repair the wiring before replacing the sensor |
| Signal does not change with RPM | Sensor has failed | Replace the sensor |
| Erratic signal that improves after cleaning | Sensor was dirty | Keep the cleaned sensor and retest |
| Hot wire resistance shows an open circuit | Hot wire is damaged | Replace the sensor |
| Codes return after cleaning and a drive | Fault remains | Replace the sensor, then check the live data again |
Frequently Asked Questions
Can I learn how to test a MAF sensor without a scan tool?
Yes. A multimeter alone can check supply power, signal voltage, frequency and resistance, so a scan tool is not required for the electrical checks. A scan tool is still the easiest way to see live airflow in grams per second and read the codes that point to the MAF circuit.
Will a bad MAF sensor always set a code?
Not always. Codes P0100 to P0104 point to the MAF circuit, and lean or rich codes can also appear with a MAF problem. Live data is the best route for how to test a MAF sensor when no code is stored, because it confirms the sensor before you replace anything.
Can a vacuum leak look like a bad MAF sensor?
Yes. Unmetered air from a vacuum leak can cause the same symptoms as a faulty sensor, so Identifix recommends checking for leaks first. Inspect the intake hoses and connections as part of how to test a MAF sensor properly.
Is how to test a MAF sensor the same on every car?
The checks work similarly across vehicles, but the reference values change with make, model and year. Your service manual gives the exact numbers, and the ranges in this guide are only a starting point for judging readings.
Does cleaning a MAF sensor damage it?
Cleaning with a cleaner made for MAF sensors is a common repair step when you avoid scrubbing the wire or plate, and it fits best once your test shows contamination. Let the sensor dry completely before you reinstall it, and keep your fingers off the sensor wires during removal.
How far should I drive after cleaning?
Innova suggests about 75 miles of mixed town and highway driving after clearing the codes, which is the final check in how to test a MAF sensor. If the check engine light returns or the symptoms continue, replace the sensor.
If your MAF sensor test gives mixed results, or the codes come back after cleaning, have a qualified shop check the sensor and wiring against factory service information. Start with the simplest checks in how to test a MAF sensor, and replace the sensor only when the readings confirm the fault.