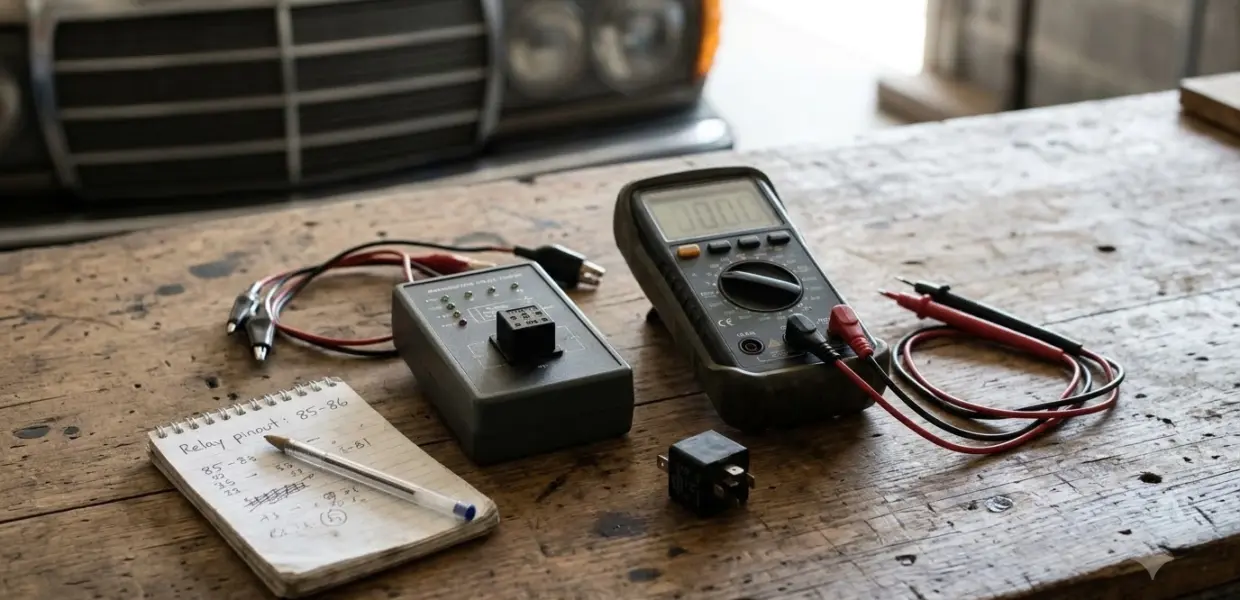

Knowing how to test a crankshaft position sensor starts with the connector and wiring, not the part itself. Most faults in this circuit come from the harness, so check it first. Then the sensor type decides which reading you need.
Magnetic sensors show resistance and AC output while the engine cranks. Hall effect sensors need power and ground before they produce any signal. Check your engine’s service manual for exact values before you replace a part.
This is general diagnostic information, not a replacement for your vehicle’s service manual. Electrical tests can injure you or damage parts, so stop if a reading makes no sense.
What a Crankshaft Position Sensor Does
A crankshaft position sensor reports the crankshaft’s position and speed to the engine computer, which uses that signal to time spark and fuel. A weak or missing signal can cause misfire, stalling or a no-start.
Most engines use one of two designs. A magnetic, or inductive, sensor reads slots on a reluctor ring and produces an AC signal. A Hall effect sensor reads a notched interrupter ring or shutter blade and needs power to produce a signal. If you want to learn how to test a crankshaft position sensor, identify the design first.
On 1996 and later vehicles, the same sensor also feeds misfire detection. A bad reading can therefore switch on the check engine light or the service engine soon light, even when the engine still runs. Knowing how to test a crankshaft position sensor helps you separate a sensor fault from a wiring fault.
Tools and Safety Before You Test
You need a digital multimeter with ohm and AC voltage ranges, plus the specification for your engine, to test a crankshaft position sensor safely. The Fluke 117 multimeter guide shows how to switch between ohms and AC volts.
- A digital multimeter with ohms and AC volts.
- The sensor specification from your engine’s service manual, because values vary by engine.
- An analog voltmeter if you check a Hall effect sensor, since its needle shows each signal pulse.
- An oscilloscope, optional, to view the square-wave signal of a Hall effect sensor.
- Secondary ignition voltage can shock you, so never hold or touch a spark plug wire while cranking.
Keep the test leads clear of belts, fans and other moving parts while the engine cranks. If you cannot find the specification for your engine, stop and look it up rather than guess. Repair prices are a separate topic, covered in the crankshaft position sensor replacement cost guide. The same tools work for how to test a crankshaft position sensor on most engines.

How to Test a Crankshaft Position Sensor Step by Step
Start with the connector and harness, because wiring causes most crank sensor faults, then measure the sensor itself. Following this order helps you learn how to test a crankshaft position sensor without replacing good parts.
Check the Connector and Wiring
Unplug the sensor and inspect both connector halves for bent, spread, broken, unseated or corroded pins. Look for moisture and wire damage near the plug as well. For a heavy-duty Detroit Diesel engine, the Detroit Diesel service bulletin for code SPN 636 also checks harness resistance: the harness side of the sensor should read above 10K ohms across its two pins, and each sensor wire should read under 5 ohms to its module pin. Those values belong to that engine family only, so use the manufacturer data for a car or light truck. This harness check is an early part of how to test a crankshaft position sensor on heavy-duty engines.
Measure Resistance on a Magnetic Sensor
Unplug the magnetic sensor and measure across its terminals with the multimeter on ohms. A reading of zero ohms, a short, or infinite ohms, an open, means the sensor has failed. A good reading falls inside the range in the manufacturer’s specification. AA1Car gives 500 to 900 ohms as an example for a GM 2.3L Quad 4, but that range does not apply to your engine. The Detroit Diesel bulletin uses 774 to 946 ohms for its own sensor. Replace the sensor when the reading falls outside the spec for your engine. Resistance is the most direct part of how to test a crankshaft position sensor of this type.
Check the AC Signal While Cranking
A magnetic crankshaft position sensor is probably good when it produces at least 20 mV on the AC scale while the engine cranks. This check tells you whether the sensor is generating a signal at all, which is central to how to test a crankshaft position sensor.
- Set the multimeter to the AC voltage scale with the sensor still connected.
- Place the leads on the sensor terminals at the module, as the AA1Car guide describes.
- Crank the engine and read the AC voltage. At least 20 mV means the sensor is probably good.
- If the reading is low, remove the sensor, clean any rust or debris from its tip, check the air gap, and retest.
The 20 mV threshold comes from the AA1Car crankshaft and camshaft sensor guide, which also gives the air gap limit: the magnetic sensor must sit within .050 in. of the reluctor. If the output stays low after cleaning and gap correction, replace the sensor. If the output is at least 20 mV, suspect the module, coil, wiring or computer instead. Knowing how to test a crankshaft position sensor also means knowing when to stop testing it.
Test a Hall Effect Sensor
A Hall effect crankshaft position sensor has three terminals: feed, ground and signal. It needs power and ground before it can output a signal, so those two checks come first.
| Check | Magnetic sensor | Hall effect sensor |
|---|---|---|
| Main test | Resistance, then AC output while cranking | Supply voltage and ground, then signal output |
| Good reading | At least 20 mV AC while cranking | Voltage and ground present, with a needle jump or a square wave on a scope |
| Typical tool | Multimeter on ohms and AC volts | Analog voltmeter or oscilloscope |
| Resistance value | Set by the manufacturer; 500 to 900 ohms is one example | None given in the AA1Car guide |
Start by checking supply voltage and ground with an analog voltmeter. To check the signal, the AA1Car method says the needle should jump each time a shutter blade passes the Hall switch while the engine cranks, and an oscilloscope should show a square wave whose frequency changes with speed. Keep the sensor aligned with its interrupter ring, because rubbing can cause rough idle and damage the sensor. Hall effect sensors follow a different path in how to test a crankshaft position sensor, so confirm the design first.
Use a No-Spark Check to Narrow the Fault
If the engine cranks but has no spark, check ignition coil positive voltage with the key on, because voltage present points to the trigger side, which includes the crank sensor.
- Confirm there is no spark by grounding a plug wire or plug tester to the engine and cranking.
- Check coil positive voltage with the key on. Voltage present points to the trigger side, and no voltage points to the supply side.
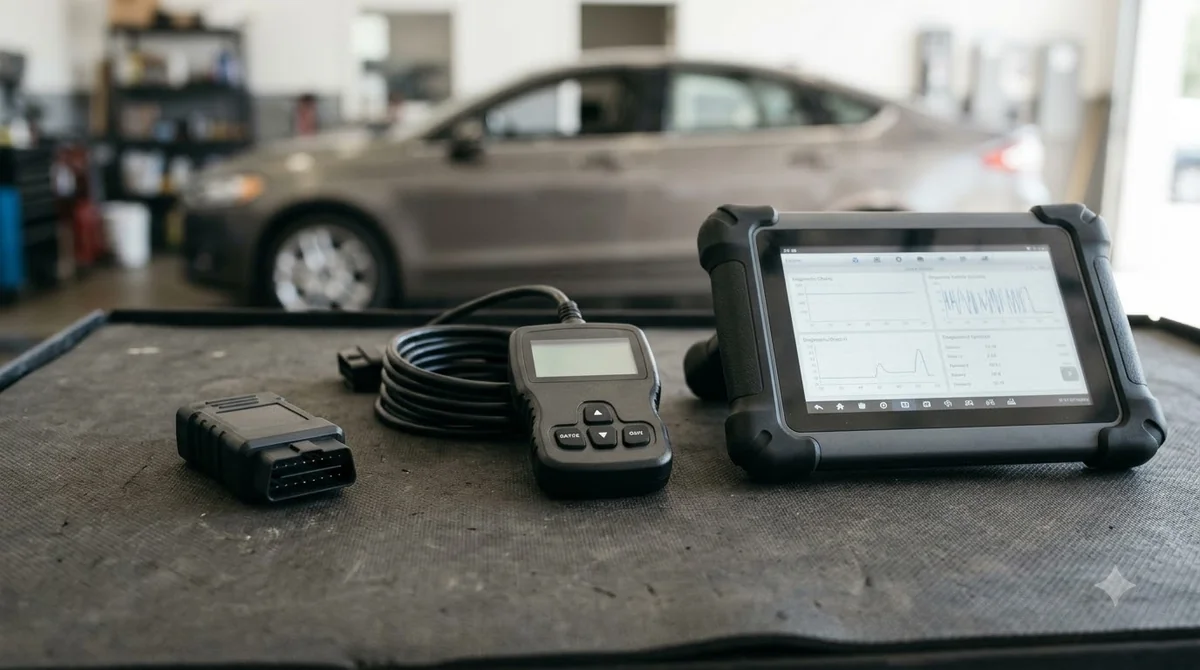
- Read the scan tool while cranking. No rpm signal points to a bad crank sensor on a non-distributor engine, or to a wiring fault.
- Connect a halogen headlamp to the module-to-coil terminals and crank. A flashing lamp means the module and crank sensor circuit work.
If the lamp does not flash, AA1Car says the problem is most likely in the crank sensor circuit. Codes P0335 to P0339 point to the crank circuit (the P0335 crankshaft position sensor A circuit code explains the first code in that range), while P0340 to P0349 cover the cam circuit. Follow the manufacturer’s flow chart before you replace parts, because without one there is no way to know whether the module, coil, computer, wiring or ignition switch is at fault. A no-spark check also shows whether the fault sits in the sensor or elsewhere during how to test a crankshaft position sensor.
Related Guides
Frequently Asked Questions
Can a crankshaft position sensor cause a no-start?
Yes. A missing or weak signal can leave the engine cranking with no spark. The same symptom can come from the module, coil, wiring or computer, so follow the no-spark steps in order. Knowing how to test a crankshaft position sensor helps you separate it from those parts.
Which fault codes point to the crank sensor circuit?
Codes P0335 to P0339 cover the crank circuit, and P0340 to P0349 cover the cam circuit. On 1996 and later vehicles, the sensor also feeds misfire detection, so a fault can switch on the check engine light. Use these codes as a starting point for how to test a crankshaft position sensor, not as a final diagnosis.
Can a crankshaft position sensor fail while driving?
Yes, a weak or erratic signal can cause misfire or stalling while you drive. Check the connector and harness first, because AA1Car says most faults trace to the wiring rather than the sensor itself. Learning how to test a crankshaft position sensor properly means checking the wiring first.
What if the sensor tests good but the engine still will not start?
A good AC reading of at least 20 mV points away from the sensor, toward the module, coil, wiring or computer. Check coil positive voltage and run the headlamp test next, and use the manufacturer’s flow chart rather than guessing. Good habits in how to test a crankshaft position sensor start with reading the flow chart.
Is a cheap no-name crank sensor a fair replacement?
AA1Car advises against bargain no-name sensors, which it describes as cheaply made knock-offs. Choose a sensor that matches your engine’s specification, and confirm the connector and air gap fit before you install it. A new part should pass the same checks you used in how to test a crankshaft position sensor.
Crank sensor readings only make sense for the sensor type and engine you own. Keep your service manual open while you test, because how to test a crankshaft position sensor depends on your exact engine. Write down each reading with the engine cranking or running, so you can compare results. If readings are unclear or the wiring looks damaged, have a qualified shop test the circuit before you replace parts.