

How to use Klein MM600 starts with three choices: the function on the selector switch, the lead jacks, and the reading on the auto-ranged display. These steps follow the Klein MM600 instruction manual.
The meter is rated for voltage up to 1000 V and current up to 10 A, so check the jack and the setting before every test. Most mistakes come from a lead left in the wrong jack.
Electrical testing can cause shock or arc flash. Follow the manual’s lead and shield rules, and do not test circuits you are not trained to work on.
What the Klein MM600 measures
The Klein MM600 is an auto-ranging multimeter that measures AC and DC voltage, AC and DC current, and resistance. It also measures temperature, capacitance, frequency, duty cycle, diodes and continuity. According to Klein’s MM600 instruction manual, voltage is rated up to 1000 V, current up to 10 A, and resistance up to 40 MΩ.
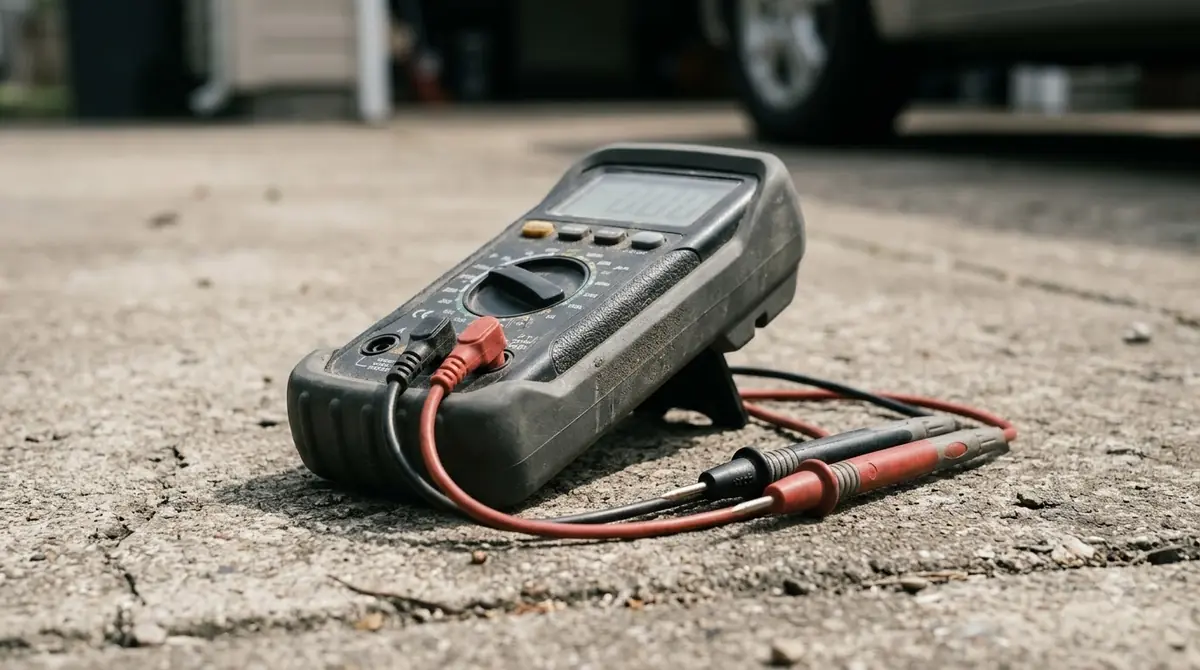
Auto-ranging means the meter picks the measurement range for you. You only need the range button when you want to force a specific range, and the manual says to hold it for more than a second to return to auto-ranging. Auto-ranging is what makes how to use Klein MM600 easier for a beginner than on a manual-range meter.
How to use Klein MM600 with the right function and leads
Before you learn how to use Klein MM600 on a circuit, set up the meter first. The manual uses the red lead in the VΩ jack and the black lead in the COM jack for voltage and continuity, and the function selector decides which mode the meter runs in.
- Insert the red lead into the VΩ jack and the black lead into the COM jack.
- Push both leads in firmly, because loose leads can cause unstable readings.
- Turn the function selector to the setting you need.
- Check the display and the jack markings before you touch the circuit.
Part of how to use Klein MM600 safely is the lead shield. For tests in CAT III or CAT IV locations, keep the test lead shield pressed firmly in place, and check the manual for what is allowed in lower-category locations.
How to use Klein MM600 for AC and DC voltage
Voltage tests are the most common job in how to use Klein MM600. The SEL button toggles between AC and DC. The AC or DC icon on the display shows which one is active, so check it before you read the number.
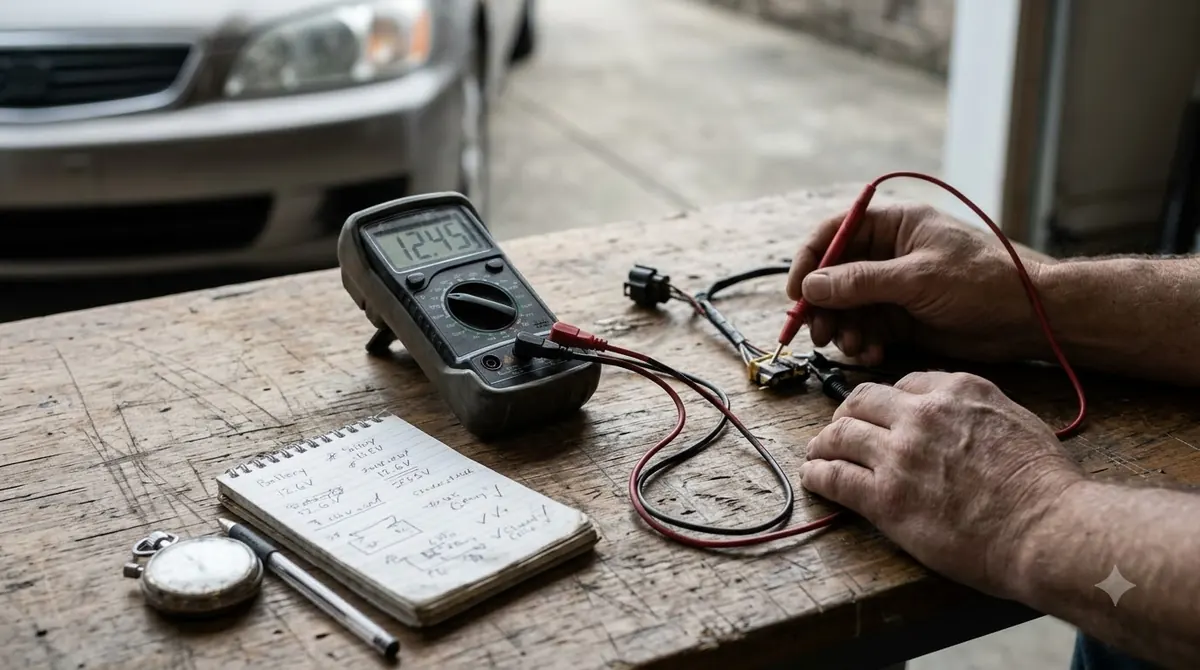
- Set the function selector to the voltage setting, and keep the leads in the VΩ and COM jacks.
- Press SEL if you need DC, and confirm the DC icon on the display.
- Touch the leads to the circuit points you want to measure.
- Read the value. The meter auto-ranges to show the best scale.
A minus sign on the display means the leads are reversed, so swap them to get a positive reading. With the leads open, small readings in the millivolt range can appear, and the manual calls this normal noise. Touching the leads together should show zero volts. If you also own a Fluke, the Fluke 117 usage guide covers the same lead habits.
How to use Klein MM600 for continuity and resistance on a dead circuit
Continuity is the first test many people try when learning how to use Klein MM600, and it is the quick check for a closed path. The manual says the meter beeps when the resistance is below 50 Ω, and it shows a resistance value with the signal. If the circuit is open, the display shows OL. A continuity check also helps rule out a damaged wire before you pay for a knock sensor, and the knock sensor replacement cost breakdown explains why the wiring is worth checking first.
- Turn the selector to the Continuity, Resistance or Diode setting.
- Confirm the continuity icon is showing, or press SEL until it does.
- Remove power from the circuit before testing.
- Touch the leads across the conductor and listen for the beep.
Do not measure continuity on a live circuit. Use the SEL button to move from continuity to resistance when you need a number instead of a beep. Use the diode setting to test a diode, which the manual rates at an open circuit voltage of 3.0 V DC with a maximum of 1.5 mA.
Hold, min/max and relative readings on the Klein MM600
The buttons that matter most in how to use Klein MM600 are the ones that help you read values that change. HOLD freezes a reading on the display, MAX/MIN records the highest and lowest values as the meter keeps sampling, and REL sets a reference point so you see the difference between two measurements.
- HOLD: press once to freeze the display, press again to release it.
- MAX/MIN: press to show the maximum, press again for the minimum, and hold for more than one second to exit.
- REL: take a first reading, press REL to set the reference, then take the second reading.
- RANGE: press to pick a range manually, or hold for more than a second to return to auto-ranging.
The meter powers off by default after about 30 minutes of inactivity. Press any button to wake it. Holding HOLD for more than a second turns the backlight on or off, and the backlight shuts off by itself after three minutes.
How to use Klein MM600 to measure current safely
Current tests are where most damage happens, so the steps for how to use Klein MM600 in current mode need extra care, the right jack and a clear limit. The manual says to remove power from the circuit, open it at the test point, connect the meter in series with the test leads, and then apply power again.
- Remove power from the circuit and open it at the measurement point.
- Put the red lead in the 10 A jack for currents above 400 mA and below 10 A, or in the mA/µA jack for smaller currents.
- Connect the meter in series, then apply power to the circuit.
- Read the value, and do not attempt to measure more than 10 A.
When a current reading goes above 6 A, the manual recommends a measurement time of 30 seconds followed by 10 minutes of recovery time. Allow the recovery time between long readings, and keep the leads away from moving parts while the circuit is powered.
When the Klein MM600 is the wrong tool
Knowing how to use Klein MM600 includes knowing its limits. It is not a substitute for a test that needs a higher voltage category, a live continuity check, or a measurement outside its rated input. Use the table below to decide when to stop, and read the manual’s current and category notes before you take on a new kind of test. A meter from another brand, the Fluke 115, is explained in the Fluke 115 voltage and continuity steps.
| Situation | Why it is a problem | What to do |
|---|---|---|
| Continuity check on a live circuit | The manual says not to test continuity on a live circuit | Remove power first, then test |
| Current above 10 A | The manual says not to measure more than 10 A | Use a tool rated for the current |
| Long current reading above 6 A | The manual recommends rest time to recover | Use 30 seconds on, then 10 minutes off |
| Leads not pressed in | Readings can jump because the connection is intermittent | Reseat the leads firmly and read again |
Frequently Asked Questions
Why does the Klein MM600 turn off by itself?
By default, it powers off after about 30 minutes of inactivity. Press any button to wake it. The manual explains how to turn the feature off.
What does OL mean on the display?
OL means the reading is outside the meter’s range or the circuit is open. In continuity mode, OL means there is no continuity between the leads.
Why is there a small reading with the leads open?
The manual calls small millivolt readings with open leads normal noise. Touch the leads together, and the meter should read zero volts.
Can I measure current on a live wire?
The manual describes current measurement with power removed, the meter connected in series, and then power applied. Do not clip the meter onto a live wire this way, because that is the step in how to use Klein MM600 where most damage happens.
What does the backlight do?
Hold HOLD for more than one second to switch the backlight on or off. The backlight turns off by itself after three minutes of inactivity.
Use what you learned about how to use Klein MM600 as a checking routine, and keep its manual with it, because the jack and setting rules matter more than any single reading. Note each reading with its setting and jack, so a repeat test can be compared. When a result does not make sense, stop and check the leads before testing again.