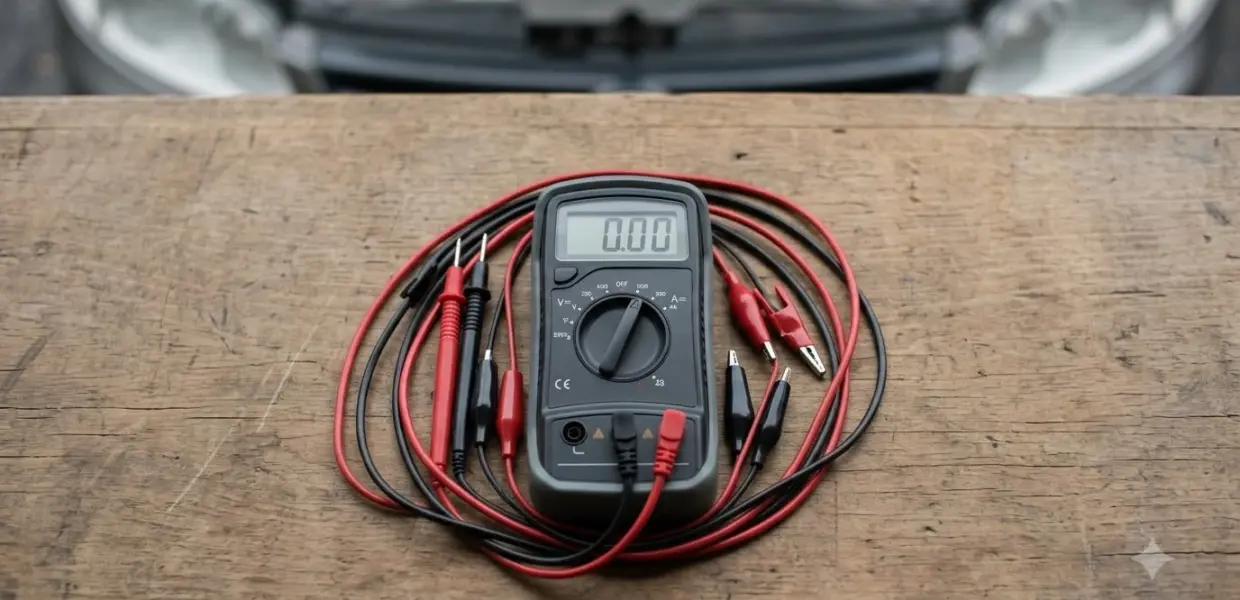

Learning how to use Fluke 115 comes down to three steps: pick the function on the dial, plug the leads into the right jacks, and read the display only after the meter has settled.
The Fluke 115 is a compact true-RMS multimeter for voltage, resistance, continuity, diodes and more. Its rating and the lead setup matter as much as the dial position, so check both before you touch a live circuit.
This guide on how to use Fluke 115 is general usage guidance for an electrical test tool. It does not replace the Fluke manual, your employer safety rules or the work of a licensed electrician.
What the Fluke 115 Measures
Before you learn how to use Fluke 115 in practice, know its range. It measures AC and DC voltage up to 600 V, current up to 10 A, resistance up to 40 MΩ, capacitance, frequency and diodes. It also has a continuity setting with an audible beeper. The current ranges allow a 20 A overload for 30 seconds at most, so do not treat that as a normal operating range. The box includes the meter, a holster and test leads, and the specifications list an operating temperature of -10 to 50 degrees C.
Fluke’s official product page for the Fluke 115 lists the full spec table, including a 6,000-count display and a 33-segment bar graph.
The meter is backlit and offers min, max and average readings with elapsed time, which helps when a value wanders. Knowing how to use Fluke 115 features like these saves time on repeat checks.
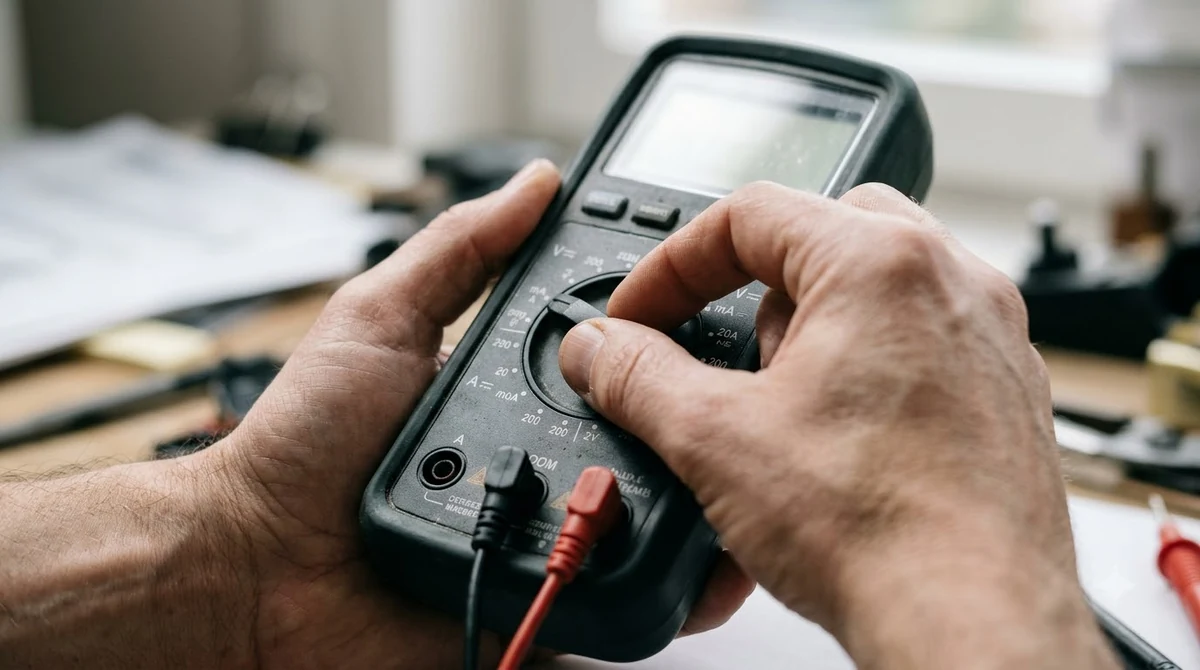
Before any session, read the front panel labels and the jack markings. A quick check now prevents most beginner mistakes when you learn how to use Fluke 115 on a real circuit.
Safety Rating and Setup Before You Measure
The Fluke 115 is rated CAT III 600 V under IEC 61010, which sets the highest voltage it is designed to handle in its category. Never test above the rating printed on the meter, and never assume a circuit is dead until you have measured it.
- Inspect the test leads for cracked insulation or exposed metal before use.
- Set the dial to the function you need before connecting the leads to the circuit.
- Plug the black lead into the COM jack and the red lead into the V jack for voltage and resistance.
- Check the 9 V battery and replace it when the display dims or the meter behaves oddly. The automotive multimeter guide explains the same habits for car circuits.
- Work with dry hands and a stable footing, away from water.
Keep the meter and leads in good condition, because good habits here matter more than any single step in how to use Fluke 115. A damaged lead can fail under load, so retire any lead that shows wear rather than repairing it with tape.
How to Use Fluke 115 to Measure Voltage
To measure voltage, turn the dial to the voltage position, choose AC or DC as needed, and touch the probes across the two points of the circuit you want to read.
- Turn the rotary dial to the voltage position and choose AC or DC with the mode button.
- Plug the black lead into COM and the red lead into the V jack.
- Touch the black probe to the reference point, usually neutral or ground for mains.
- Touch the red probe to the point you want to test, keeping your fingers behind the probe guards.
- Read the display after the reading settles, and compare it with the expected value.
Why the Reading May Wander
Some circuits fluctuate, so the first reading can change for a second or two. Watch the bar graph or the min and max values to see the true range before you decide anything.
New users should know that a reading of zero does not always mean the circuit is dead. Check that the probes are making firm contact, then compare with a known source before you rely on the result. Heater resistance on an oxygen sensor is one place this habit pays off, and the O2 sensor signal and heater tests list the readings to take.
How to Use Fluke 115 for Resistance and Continuity
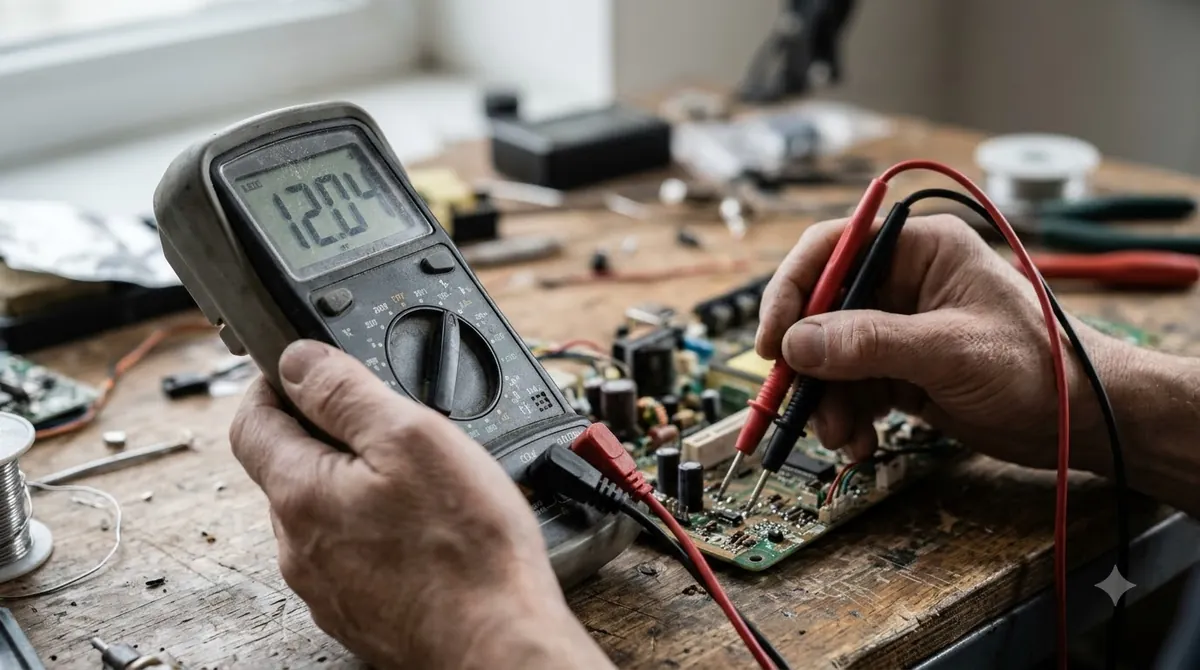
Resistance and continuity checks need the circuit powered off, and that rule is part of how to use Fluke 115 for these tests. Turn the dial to the ohms setting, or to continuity for a quick check, and touch the probes across the part you are testing.
- Switch off power to the circuit and confirm it is dead with a voltage check first.
- Turn the dial to the resistance or continuity position.
- Touch the probes across the component or the wire you want to check.
- Read the value on the display, or listen for the beeper in continuity mode.
- Disconnect the component before testing if other paths could affect the reading.
What the Continuity Beeper Tells You
The beeper sounds when the resistance is low, and the Fluke 115 specifications list the beeper on at 250 Ω. A beep means a closed path, but it does not prove the wire will carry load.
The diode test uses a 2.00 V range, so it works for quick checks of a diode in or out of a circuit. Read the result on its own rather than as a full component test.
Min, Max and Average Readings in Daily Use
A practical part of how to use Fluke 115 is the min, max and average function, which records a signal over time, which helps when a voltage or resistance shifts during a test. Use it to see the true range of a reading instead of a single snapshot.
The display updates four times per second and the bar graph updates faster, so give the reading a moment to settle. For very small or very large values, check the unit shown on the display, since the decimal point moves as the range changes. Check the manual for how your unit selects its range.
- Use min and max when a reading changes during a test.
- Read the unit on the display before you record a value.
- Confirm the dial is still on the function you intended after each test.
Common Mistakes and Scope Limits
The most common mistake, even for experienced users, is leaving the leads in the wrong jack after a current check. Current ranges on this meter are measured in amps up to 10 A, so a lead left in the current jack while you test voltage can cause a dangerous short.
Beginners learning how to use Fluke 115 also make another frequent error: measuring resistance on a live circuit. The meter reads a resistance only when the circuit is off, so a reading taken on a powered circuit is not meaningful and can damage the meter.
Scope boundary: this guide on how to use Fluke 115 covers basic voltage, resistance, continuity and diode checks with the Fluke 115. It does not cover mains installation work, panel testing or high-energy systems that need trained personnel and specialist equipment. Another handheld multimeter with different jacks is covered in the AstroAI DM6000AR lead and jack steps.
Related Guides
Frequently Asked Questions
Can I use this Fluke 115 guide for automotive work?
Yes, the steps for how to use Fluke 115 carry over to many basic checks, such as battery voltage and wire continuity, provided you follow the safety rules. Automotive circuits can have high current, so check the rating and use the correct leads before testing a live system.
Does the Fluke 115 measure milliamps?
The published current ranges are in amps, with a 10 A range listed in the specifications. Confirm the range on your unit before connecting leads for any current measurement.
What does the continuity beeper mean?
The beeper sounds when the resistance is low, which indicates a closed path. It is a quick check for continuity, but it does not confirm that a wire will carry a full load.
How long does the battery last?
Fluke lists a 9 V alkaline battery with about 400 hours of typical use without the backlight. Real use depends on the mode and how often you turn on the backlight, so replace the battery when the display dims.
Is the Fluke 115 good for beginners who want to learn quickly?
It is a practical choice for beginners because the dial has clear functions and the display is easy to read. Learn the safety rules and the lead setup first, and practice on known circuits before testing live equipment. Once you know how to use Fluke 115 for voltage and continuity, the other functions follow the same pattern.
Set the function, check the leads and confirm the circuit state before you measure, because that routine is the core of how to use Fluke 115 safely. Use the Fluke 115 within its CAT III 600 V rating, and call a qualified person for anything beyond basic checks.