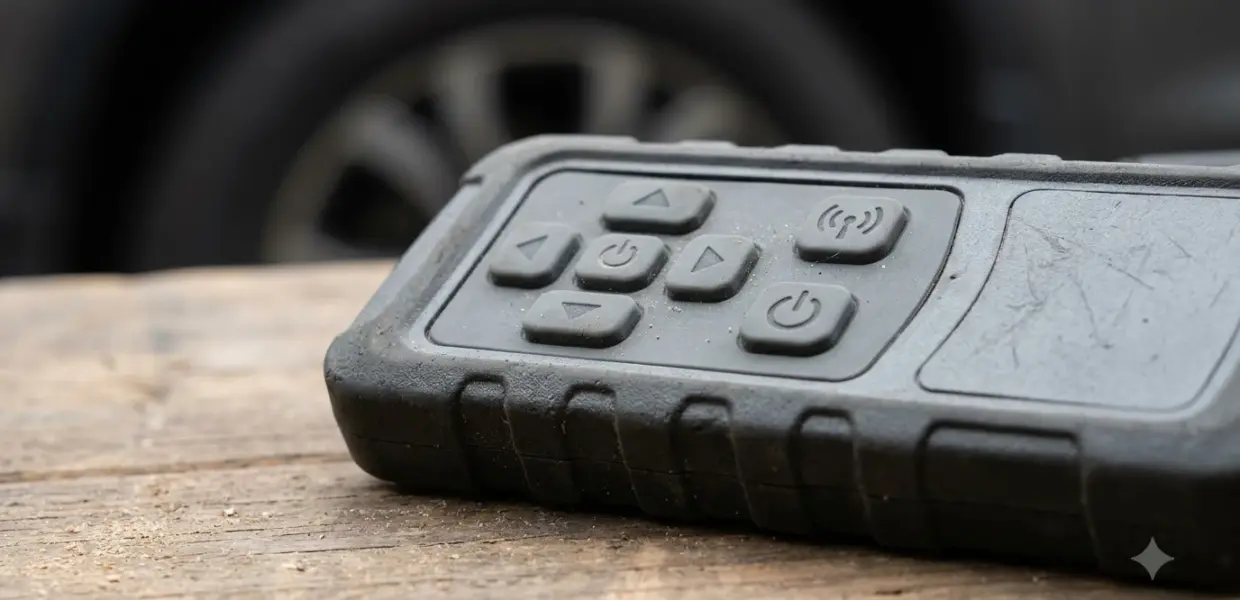

How to use Autel TS508WF comes down to choosing the vehicle, scanning the existing sensors, then programming or relearning as the job requires. As of 2026-11-05, the steps below follow the TS508WF user manual.
Programming works only with Autel MX-Sensors, so confirm the sensor type before you start. Keep one sensor near the tool at a time, or the tool cannot tell which sensor to read.
What the Autel TS508WF does
To understand how to use Autel TS508WF, start with the hardware: it is a tire pressure monitoring service tool. It has a 320 x 240 color display, a power button, Test and Y buttons for selections, and an OBD II connector that links it to the vehicle’s data port. A USB port handles charging and software updates from a computer.
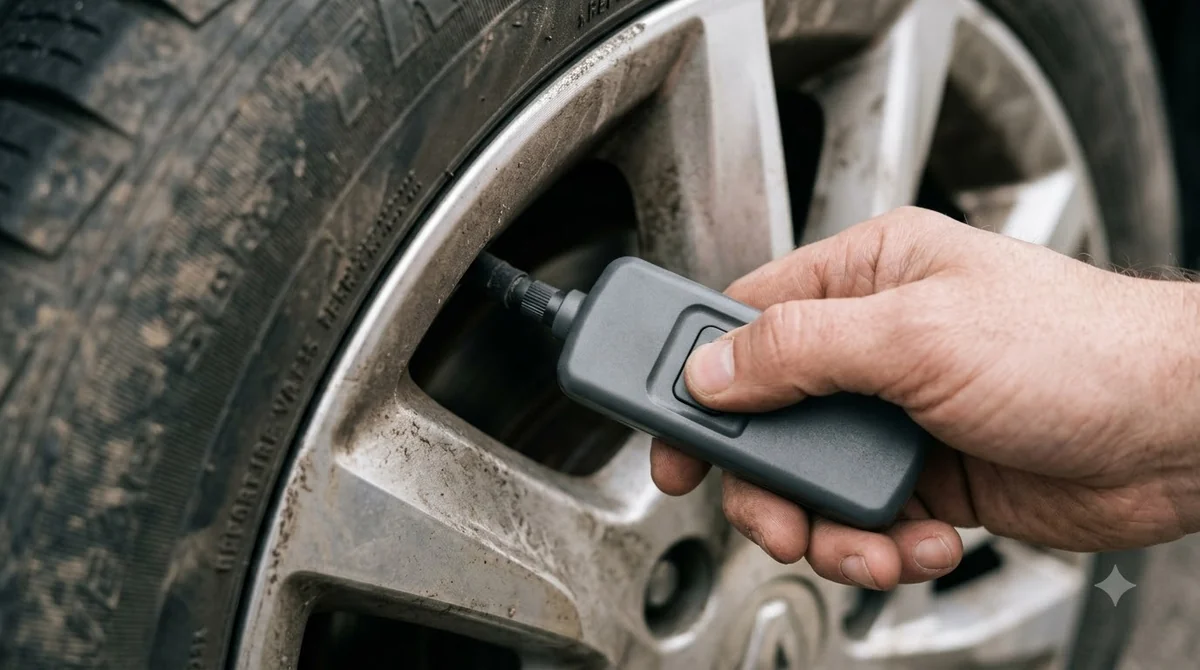
According to Autel’s TS508WF kit page, the tool can update its software over Wi-Fi, and programming is limited to Autel MX-Sensors. The kit page also lists the tool as capable of reading, activating and relearning sensors, plus a TPMS system status screen.
Pick the service mode and vehicle
Learning how to use Autel TS508WF starts on the Home screen, where you choose a TPMS service mode. Quick mode covers the everyday jobs, and Advanced mode adds TPMS diagnosis and position relearn.
- Long press the power button to turn the tool on, then open the TPMS service session.
- Choose Quick mode for scan, program, relearn and sensor information, or Advanced mode for diagnosis and position relearn.
- Select the vehicle by model, then by year.
- Follow the on-screen message for the vehicle, since indirect and direct TPMS systems use different relearn steps.
The manual treats indirect and direct TPMS as separate paths, and the on-screen steps change with the type. Advanced mode also lists a Position Relearn that is separate from the Quick mode relearn, so when you learn how to use Autel TS508WF, check which mode the job calls for before you start.
How to use Autel TS508WF to scan a sensor
Scanning is the safest first step in how to use Autel TS508WF, because it reads a sensor without changing anything. Hold the tool close to the sensor, or close to the tire sidewall right above the sensor, then press Y or the Trigger button to read it.
- Open Scan Sensor from the service menu.
- Hold the tool close to the sensor or the tire sidewall above it.
- Press Y or Trigger to read the sensor.
- Check the ID, pressure, temperature and voltage on the screen before you go further.
If the screen shows no reading while you practice how to use Autel TS508WF, keep the tool closer to the sensor, confirm the vehicle selection, and try the trigger again. The manual says the tool shows the sensor ID, pressure, temperature and voltage once the trigger succeeds. Write these numbers down before you program anything, since the ID is the value you need to copy to a new sensor.
How to use Autel TS508WF to program an MX-Sensor
How to use Autel TS508WF for programming depends on the method, and Program Sensor offers four. Choose the one that matches the job: Copy by OBD reads the ID from the vehicle, Copy by Activation reads it from the original sensor, Copy by Manual Input lets you type the ID, and Auto Create makes new unique IDs for one to sixteen sensors.
| Method | What it does | When to use it |
|---|---|---|
| Copy by OBD | Reads the sensor ID saved in the vehicle computer, then writes it to an MX-Sensor | The vehicle is connected and the ID is stored in the ECU |
| Copy by Activation | Triggers the original sensor, reads its ID, then writes that ID to the new MX-Sensor | The original sensor is still on the wheel or nearby |
| Copy by Manual Input | Lets you enter the original ID digit by digit, with Trigger selecting each number and N deleting one | You already have the ID written down |
| Auto Create 1-16 Sensors | Creates new unique IDs in one to sixteen MX-Sensors | You need fresh IDs rather than a copy |
For Copy by Activation, the manual steps are to trigger the original sensor, confirm that its ID shows on the screen, press Trigger again, and then press Y to write the original ID into the MX-Sensor. Place the new MX-Sensor near the top of the tool before you press Y.
Two messages come up most often. “No sensor detected” means the tool cannot reach a sensor, and the manual asks you to update the software. “Multiple sensor detected” means more than one sensor is close to the tool, so move the others away and try again. A failure message also shows a fault number that Autel technicians can use.
Run the relearn and check TPMS faults with OBD II
In how to use Autel TS508WF, a new sensor does nothing until the vehicle learns its ID, so the tool includes a Relearn Procedure after programming. Read the procedure on screen before you start, because the steps differ by vehicle.
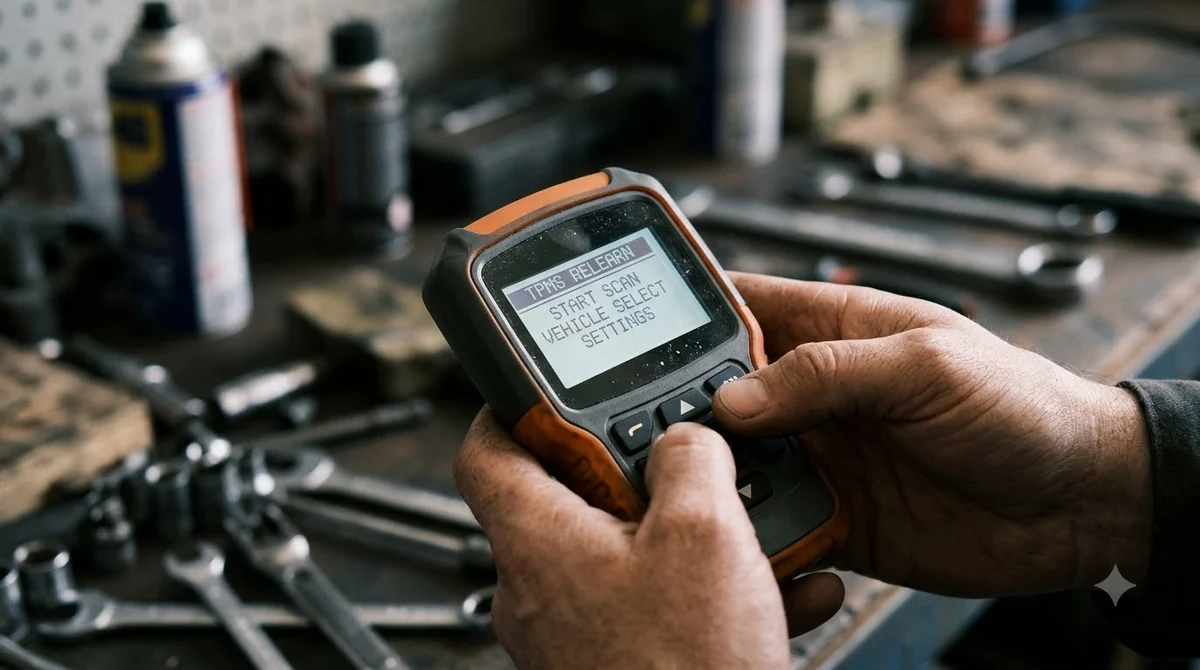
For a TPMS check, connect the OBD II cable, turn the ignition on, and let the tool read the sensors and any DTCs in the ECU. The manual then shows a Sensor Status screen with position, sensor ID, tire pressure, tire temperature and battery level.
- Green signal and OBD II icons: the ECU ID matches the sensor ID.
- Red signal and OBD II icons: the ECU ID does not match the sensor ID.
- Red battery icon: a sensor battery is low.
- Amber TPMS icon: one or more DTCs are present in the ECU.
When the TS508WF cannot help
Knowing how to use Autel TS508WF includes knowing its limits. It programs Autel MX-Sensors, so it cannot write IDs into sensors of other brands, and a repair that needs a different part still needs a shop. Match the problem to the next step with the table below.
| Problem | Likely reason | What to do |
|---|---|---|
| No sensor detected | The tool cannot reach a sensor, or the software is old | Update the software over Wi-Fi, then hold the tool closer to the sensor |
| Multiple sensor detected | More than one sensor is close to the tool | Move the other sensors away and try again |
| Red battery icon | A sensor battery is low | Replace the sensor, then program and relearn the new one |
| Amber TPMS icon | DTCs are stored in the ECU | Run TPMS Diagnose and repair the fault before you clear anything |
Part of how to use Autel TS508WF correctly is not treating a successful program as the end of the job. Always run the relearn and check the Sensor Status screen before you hand the car back, because a sensor that shows an ID but is not linked to the ECU will not stop the warning. The basics of using a TPMS tool carry over to other brands too.
Related Guides
Frequently Asked Questions
Can the Autel TS508WF program any TPMS sensor?
No. Autel’s kit page says programming is limited to Autel MX-Sensors. Check the sensor type on the box or label before you buy or try to program a sensor from another brand.
What is the difference between Quick and Advanced mode?
In how to use Autel TS508WF, Quick mode covers scan sensor, program sensor, relearn and sensor information. Advanced mode adds TPMS diagnose and position relearn, so it suits a deeper check of the system.
Why does the tool say multiple sensors are detected?
More than one sensor is close enough for the tool to read at the same time. Move the other sensors away, keep one sensor near the tool, and try the step again.
Do I need OBD II to follow how to use Autel TS508WF steps?
The TPMS diagnose step uses the OBD II cable, and the manual says to turn the ignition on before the tool reads the ECU. Scanning a sensor alone does not need the OBD II connection.
Can I update the tool without a computer?
According to Autel’s kit page, software can be updated directly from the tool over Wi-Fi. The USB port is used for updates from a computer as well.
The last lesson in how to use Autel TS508WF is that a TPMS job is only finished when the warning light goes off and the sensor status looks right. Write down each sensor ID, position and battery reading before and after the job. That record makes the next service faster and shows whether a sensor was swapped or only relearned.