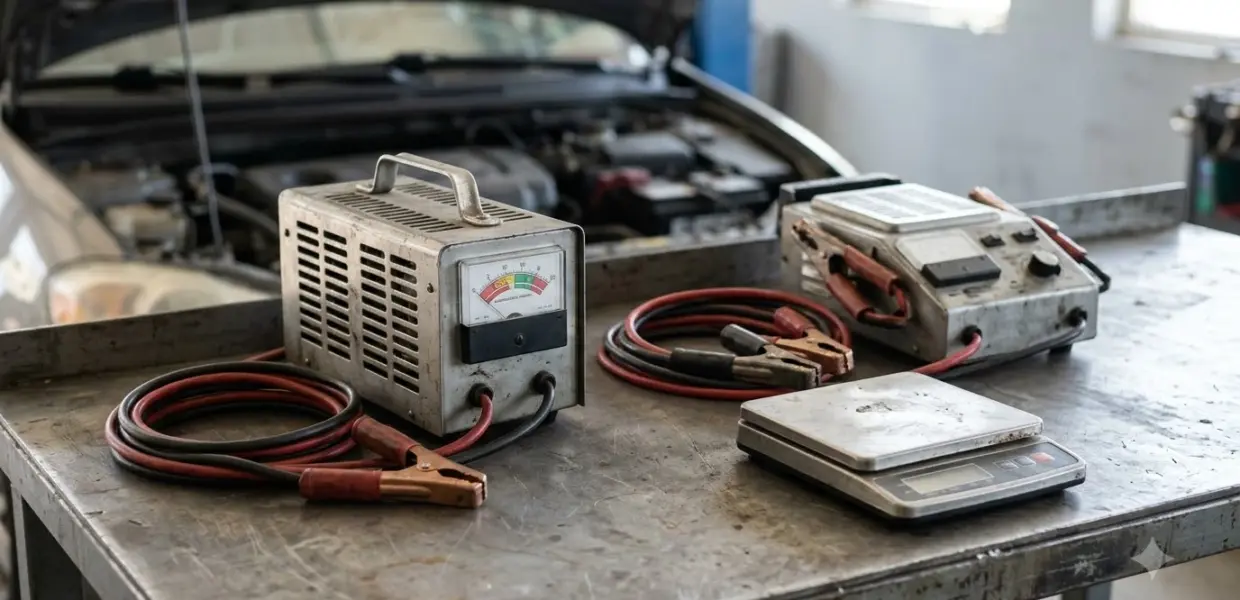

Knowing how to test a starter means checking the battery first, then reading voltage at the starter while the engine cranks. Most no-start problems come from a weak battery, dirty connections or a worn cable, not the starter itself. A digital multimeter is enough for the basic checks.
Work through the checks in order when you learn how to test a starter. Replace the starter only after the battery and cables pass and the readings still point to the starter.
This guide on how to test a starter covers basic 12-volt starting system checks on most passenger cars. Battery work can cause sparks and short circuits, and hybrid or electric vehicles have high-voltage systems that these steps do not cover.
Charge and Check the Battery First
A starter test only means something when the battery is fully charged. According to Bosch’s starting systems guide, a maintenance-free battery should read 12.6 volts at full charge and at least 12.4 volts at 75% charge to test the system.
Charge the battery if it is low, then let it rest before you measure. A battery tester adds a load reading to the resting voltage, and this guide to using a car battery tester shows the steps. A weak battery drops voltage quickly under the load of cranking, so a healthy starter can look faulty when the battery is the real problem.
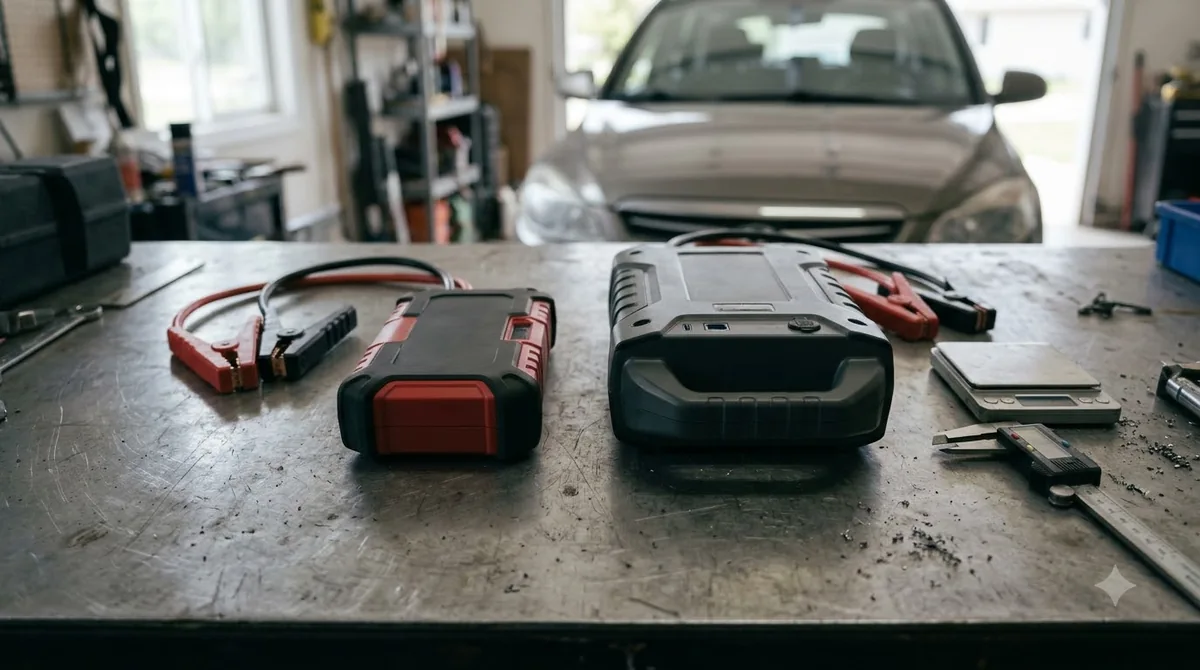
- Look for corrosion on both battery posts and cable ends. Clean the connections and tighten them.
- If a cable end is corroded, replace the whole cable. Bosch advises against repairing only the cable end.
- Check the ground strap from the battery to the engine, frame and body. All connections should be clean and tight.
- Set the multimeter to DC volts and measure the battery with the engine off.
Disconnect the negative battery cable first, before you touch the positive one. Freightliner’s service bulletin for heavy-duty trucks uses the same order to reduce the risk of a short circuit if a tool touches the chassis. Keep sparks and flames away from the battery at all times, and treat this step as part of every starter test.
How to Test a Starter While the Engine Cranks
You can learn how to test a starter in the car by reading voltage at two points while the engine cranks. According to Bosch, the solenoid battery terminal and the starter terminal should each read at least 9.6 volts.
This is the core of how to test a starter in the car. Read with the engine cranking, not with the key on, because the starter only draws full current under load. Keep the battery charged and the connections clean, as described in the first section.
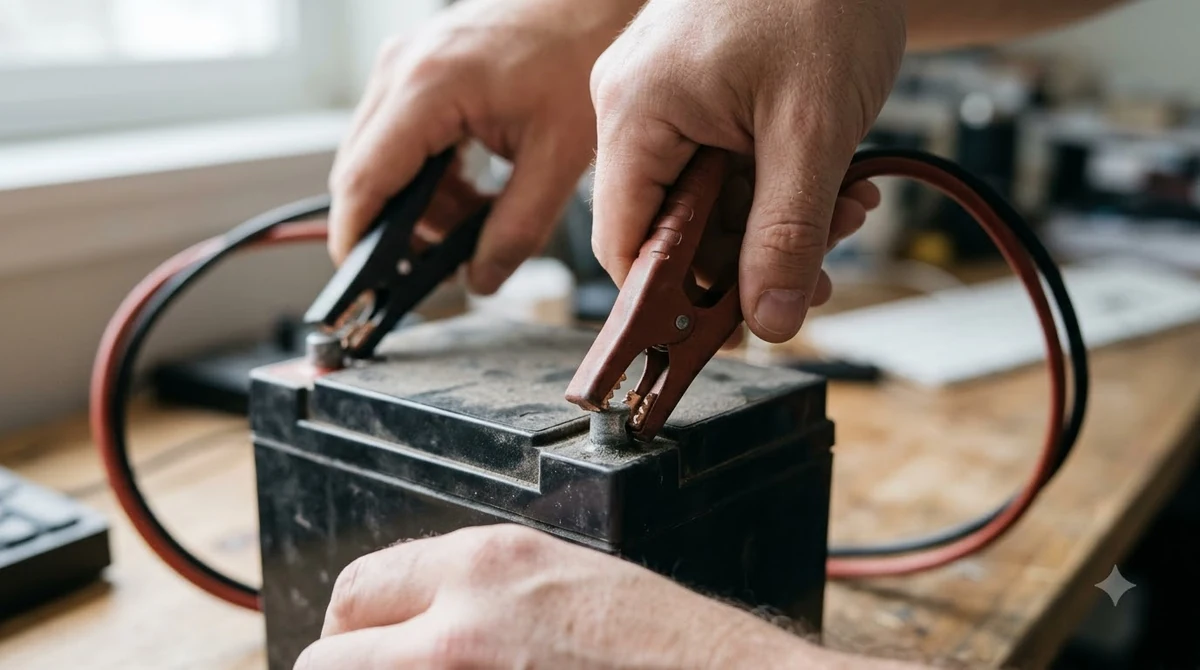
Reading Voltage at the Solenoid and Starter Terminals
Connect the multimeter black lead to the battery negative post, then follow these steps for how to test a starter with a helper at the key.
- Place the red lead on the solenoid battery terminal. Have a helper crank the engine and note the reading. It should be at least 9.6 volts.
- Move the red lead to the starter terminal and crank again. This reading should also be at least 9.6 volts.
- If the solenoid battery terminal reads low, check the voltage drop between the battery and that terminal, then clean the battery posts or replace the cable.
- If the starter terminal reads low, remove and clean the cable connections. If cleaning does not cure the problem, Bosch calls the starter solenoid defective.
When you work out how to test a starter, remember that the solenoid needs at least 8 volts to pull in, according to Bosch. If it does not engage, check for a poor connection or voltage drop at the ignition switch, because the solenoid grounds through the starter. A poor starter ground also causes engagement trouble.
If the starter turns the engine normally but the engine still will not start, the starter is not the problem. Bosch points to engine compression, ignition and the fuel system as the next checks.
Starter Voltage Drop Test on the Cables
A starter voltage drop test measures the loss across the cables while the starter cranks. Volkswagen’s service tip sets 0.5 volts as the limit for the positive starter cable and the ground side.
Voltage drop only shows up under load, which matters for how to test a starter. Volkswagen’s technical tip explains that an ohmmeter can miss a resistance that appears only when current flows, so the starter must be cranking during the test. Check the wiring diagram first, because some circuits have resistors that raise readings on purpose.
| Test | Meter leads | Limit |
|---|---|---|
| Positive starter cable | Red to battery positive, black to the cable connection on the starter | 0.5 volts (Volkswagen) |
| Ground side, battery to starter | Black to battery negative, red to the starter housing | 0.5 volts (Volkswagen) |
| Engine ground | Red to the ground cable connection on the engine block or transmission | 0.5 volts (Volkswagen) |
| Battery to engine (cranking) | Positive probe on the starter case, negative probe on the battery negative post | 0.1 volt (Bosch) |
The limits differ between manufacturers, so the vehicle’s service information decides pass or fail when you test a starter. Volkswagen says to replace the ground cable or clean the ground connection when the drop exceeds 0.5 volts. Bosch says to clean or replace the battery-to-engine cable when the drop exceeds 0.1 volt.
Symptoms That Point to the Solenoid or Ignition Switch
A click without cranking usually points to the solenoid circuit, the ignition switch or a poor starter ground. A starter that keeps spinning after you release the key usually has a defective drive. Reading the symptoms is the quickest start to how to test a starter.
Symptoms tell you where to begin when you learn how to test a starter. Match what you hear and see to the cause in the table, then run the matching voltage test.
| Symptom | Likely cause (Bosch) | Next check |
|---|---|---|
| Solenoid does not engage | Poor connection or voltage drop at the ignition switch, or a poor starter ground | Check the ignition switch circuit and starter ground |
| Solenoid engages but the pinion does not mesh | Misaligned or loose starter | Check installation; shims may be needed |
| Starter keeps spinning after key release | Defective starter drive | Replace the starter |
| Unusual noise while cranking | Damaged engine ring gear or starter pinion | Inspect both; replace the damaged part |
| Starter cranks but the engine will not start | Engine condition, not the starter | Check compression, ignition and fuel system |
Knowing how to test a starter fully means the voltage readings must pass first, because a weak feed can mimic a bad starter. If the starter checks out but the battery keeps going flat, check the charging side with this alternator testing guide. Use the table as a guide, not a diagnosis.
Optional Current Draw Test
A current draw test is an optional step that checks each starting circuit individually, but only when the engine manufacturer’s specifications are available. Bosch lists it after the voltage checks.
If you want more detail on how to test a starter, a current/voltage tester gives more detail than a multimeter because it reads the current the starter draws. Compare that reading with the engine specifications, not with a generic number.
Bosch also warns that results depend on the engine’s mechanical condition, ignition, fuel system, and oil viscosity and temperature. A low reading can come from any of these, so check them before you condemn the starter.
Common Mistakes When You Test a Starter
The most common mistake when you learn how to test a starter is testing with a weak battery, which makes a good starter look faulty. Dirty or corroded connections cause the same false result.
- Testing before the battery is fully charged, since low voltage drags down every reading.
- Reading voltage with the key on instead of while the engine cranks.
- Replacing the starter before cleaning and checking the cables.
- Ignoring the wiring diagram, which can show resistors that change the readings.
- Treating a single click as proof of a bad starter without a battery check.
Battery charging and jump-starting are separate topics. If the battery is the root cause, charging or replacing it is the fix, not the starter, and the guide to using a jump box safely covers the safe way to get a dead battery running.
Related Guides
Frequently Asked Questions
Can you learn how to test a starter without removing it?
Yes. According to Bosch, the main checks are made with the starter in the car: read voltage at the solenoid battery terminal and the starter terminal while the engine cranks, then check the cables. Removal is only needed when those readings point to the starter and the cable checks pass.
How do you bench test a starter?
A bench test is done after the starter is removed from the engine. The pass and fail limits for that step come from the starter maker’s service information, so follow the specification for your vehicle. The voltage checks above are for a starter that is still installed in the car, so a bench test is a separate stage in how to test a starter.
How much voltage should a starter get while cranking?
At least 9.6 volts at the solenoid battery terminal and at the starter terminal, according to Bosch, unless the manufacturer lists a different value. Readings below that point to a cable, connection or battery problem first. This is the key reading in how to test a starter. Clean the connections and test again before you condemn the solenoid.
What voltage drop is too high on a starter cable?
Volkswagen’s service tip sets 0.5 volts as the limit for the positive starter cable and the ground side. Bosch uses a stricter 0.1 volt limit between the starter case and the battery negative post. Use the limit in the vehicle’s service information, and replace or clean any cable or connection that exceeds it.
Why does the starter click but not turn the engine?
A click often means the solenoid is trying to engage but current is not reaching the motor, or the battery is too weak to supply it. Check the battery voltage and the ignition switch connection first. Then check the starter ground and the solenoid terminal voltage, as described in the cranking section. Checking the battery first is part of how to test a starter.
Do you need a multimeter to test a starter?
A digital multimeter is enough for the voltage and voltage drop checks in this guide. The optional current draw test needs a current/voltage tester and the engine manufacturer’s specifications. Without a meter, you can only observe how the starter sounds and turns, which cannot confirm a voltage problem.
If the battery and cables pass but the starter still fails the cranking readings or shows a damaged drive, replacing the starter is the next step. Electrical work carries real risk, so stop and ask a qualified technician whenever a reading or connection is unclear, even after you finish how to test a starter.