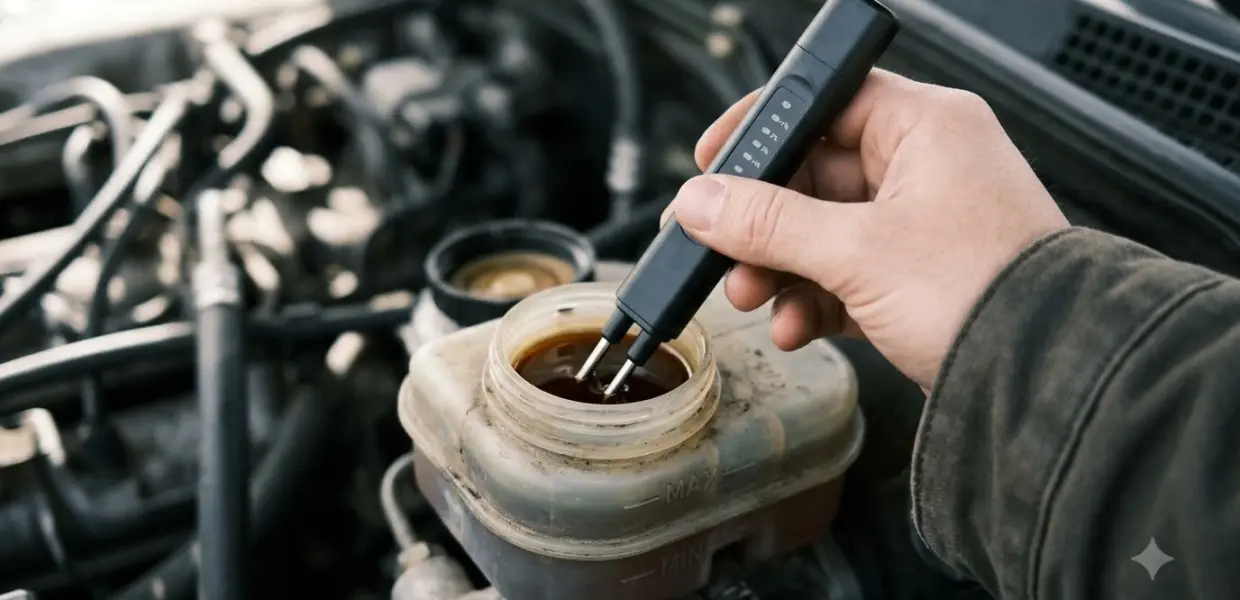

Learn how to use a brake fluid tester by dipping its probe into your reservoir fluid and reading the result. The tester estimates how much water has built up in the fluid, which helps you decide whether a change is due. Readings appear as LED colors or as a temperature band, depending on the model.
Two tester types are common when you learn how to use a brake fluid tester: a battery-powered LED pen and a 12V boiling-point unit. Choose the method that matches your fluid type and the steps in your own tester manual.
Brake fluid is flammable and damages paint, so follow your vehicle and tester manuals closely. A high reading is a reason to have a qualified technician inspect the brake system, not a reason to ignore it.
What a Brake Fluid Tester Measures
Knowing how to use a brake fluid tester starts with what it reads. A brake fluid tester estimates the percentage of water in your brake fluid, because absorbed water lowers its boiling point. Pen-style testers show LED colors, while boiling-point testers show a temperature band.
Brake fluid is hygroscopic, meaning it draws in moisture from the air over time. The W181 instruction sheet warns that the fluid is highly hygroscopic and should not be left exposed to the atmosphere for long periods.
The Sealey VS0271 manual puts the effect in numbers: a moisture content of just 3% can lower the boiling point by more than 100 °C. The manual says the best way to detect this small amount of water is to measure the boiling point of the fluid.
| Tester type | Power source | What it shows |
|---|---|---|
| LED pen | Built-in battery | A pattern of colored lights |
| Boiling-point unit (12V) | Car battery through clamps | A temperature reading, checked against a chart |
What You Need Before You Test
Before you learn how to use a brake fluid tester, you need gloves, eye protection, a clean cloth, a tester with a charged battery, and the fluid type your car uses. Confirm the fluid type in your owner’s manual before you start.
- Gloves and eye protection, which the Sealey manual recommends during the test
- A clean cloth or absorbent paper to remove excess fluid from the probe
- A tester with a fresh battery, or a 12V car battery for a boiling-point unit
- The fluid type your car uses, as listed in your owner’s manual
- The manual for your specific tester model
Brake fluid also damages paintwork. The Sealey manual says to flush any spill with water immediately, and to keep the fluid away from hot surfaces because it is flammable.
Check fluid compatibility before you use a tester on your car. The Sealey VS0271 is stated to work on DOT 3, 4 and 5.1 fluids. The W181 sheet does not list fluid types, so confirm compatibility with the maker before testing DOT 5.1 fluid.
How to Use a Brake Fluid Tester With an LED Pen
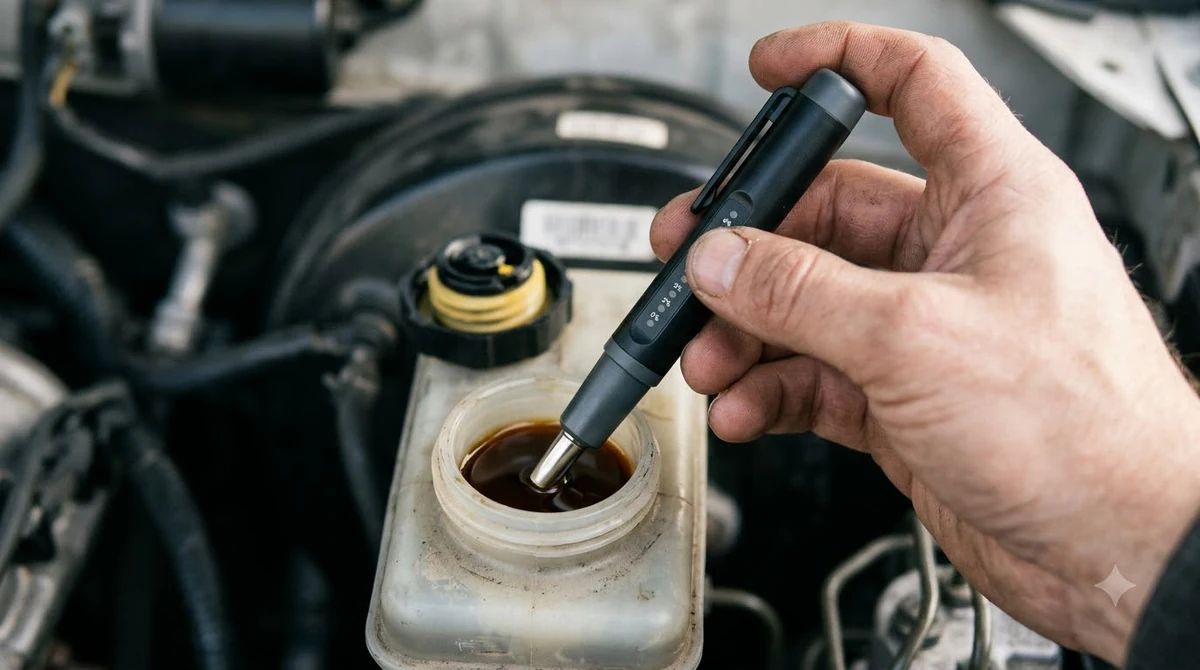
The LED method of how to use a brake fluid tester is quick: remove the tester cap, power it on, dip the probes into the fluid for one second, and read the lights. The steps below follow the W181 instruction sheet.
- Open the brake fluid reservoir and remove the cap from the tester.
- Press the power button. The green LED should light up.
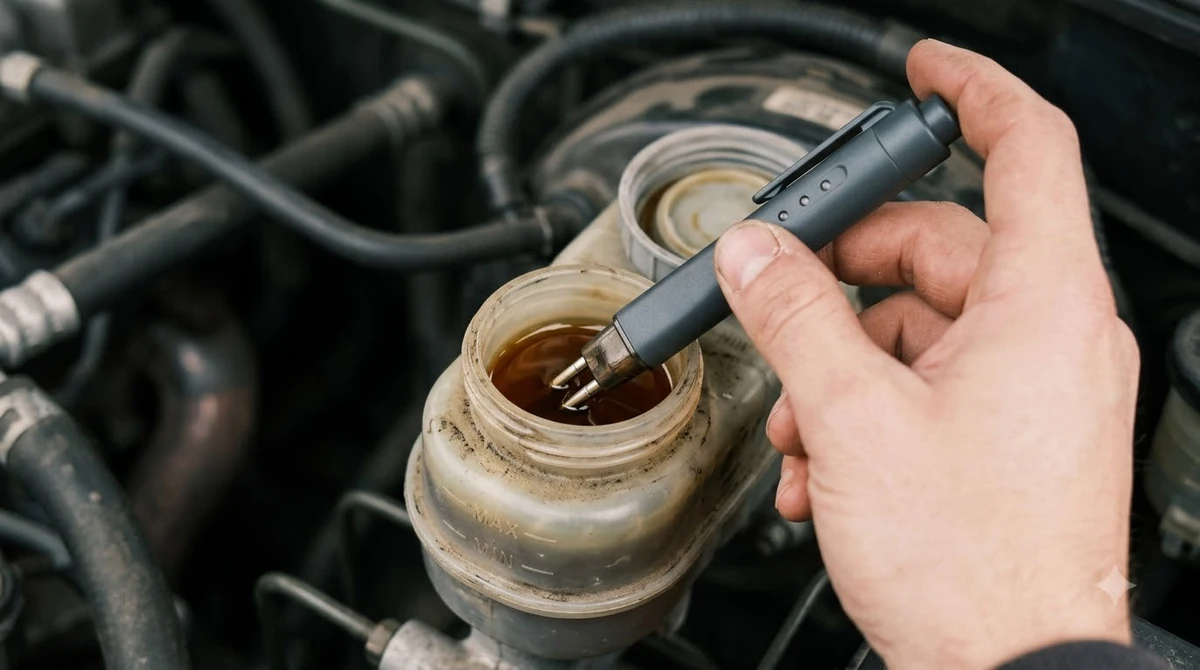
- Dip the test probes into the brake fluid up to the plastic rim of the device, and hold them there for one second.
- Read the LED pattern. The tester switches off by itself after 12 seconds of inactivity.
- Wipe the probes clean and wash them with tap water after every use.
If the green LED does not light when you press the power button, replace the battery before testing. The W181 sheet says the battery is reached through the side panel, and that used batteries should be disposed of properly.
Steps for a Boiling-Point Tester
The boiling-point type of how to use a brake fluid tester takes a few more steps. A 12V boiling-point tester connects to your car battery, and its probe must be submerged at least 25 mm before you switch it on and hold the switch for 30 seconds.
- Put on gloves and eye protection, and keep a cloth ready to wipe excess fluid.
- Remove the cap from the master cylinder reservoir, and check that the battery terminals are clean and accessible. If you doubt the battery itself, testing the car battery first takes a few minutes.
- Uncoil the cable and remove the protective cap from the probe tip.
- Connect the red clamp to the positive battery terminal and the black clamp to the negative terminal.
- Immerse the probe tip in the brake fluid to a depth of at least 25 mm. Switch the unit on only after the tip is fully covered.
- Hold the control switch for 30 seconds, release it, and read the temperature on the display.
- Lift the probe so the fluid drains back into the reservoir, wipe the tip, and return the unit to its case once it has cooled.
The probe gets very hot, so do not touch it while the unit is on. If the master cylinder is too shallow for a 25 mm immersion the Sealey manual says to draw some fluid out with the plastic pipette, place it in the small container provided, and immerse the probe in that sample.
How to Read the Results
The last step in how to use a brake fluid tester is the reading: a green-only result means no water, a pattern with one red light means about 3% water and a fluid change, and the full five-light pattern means at least 4% water and an urgent change. Low or wet fluid is one reason the brake warning light comes on, and brake warning light meanings and first checks covers the rest.
| LED pattern | Water content | Meaning on the W181 sheet |
|---|---|---|
| Green | 0% | Battery OK, no water |
| Green, yellow | Less than 1% | Less than 1% water |
| Green, yellow, yellow | About 2% | About 2% water |
| Green, yellow, yellow, red | About 3% | Fluid should be changed |
| Green, yellow, yellow, red, red | At least 4% | Change urgently |
For any tester, the W181 sheet states that its data is for reference only, so treat the colors as a guide. The Sealey VS0271 uses another method. It measures boiling point and sorts the result into good, poor or unsafe, with renewal not necessary, recommended or immediate.
Whichever way you use a brake fluid tester, compare your reading with the illustrated card that comes with your tester, because the chart in each manual sets the cutoffs for that model.
Common Mistakes When Testing Brake Fluid
The common mistakes in how to use a brake fluid tester include testing with a weak battery, skipping the probe wash, and switching on a boiling-point unit before the probe is covered.
- Skipping the probe wash. The W181 sheet says to wash the probes with tap water after every use.
- Switching on the boiling-point unit too early. The Sealey manual warns that the heating element may be damaged, and the warranty invalidated, if the unit is switched on before the probe is fully immersed.
- Testing with a weak battery. The W181 sheet says to replace the battery when the green LED does not light after pressing power.
- Touching a hot probe. The Sealey probe gets very hot during the test.
- Leaving fluid on paint. Brake fluid damages paintwork, so rinse any spill right away.
Brake fluid is also flammable, so keep it away from ignition sources and hot surfaces such as the exhaust manifold.
When to Change Brake Fluid
After you finish how to use a brake fluid tester, act on the result: Castrol advises draining and changing brake fluid when water content is above 2.5%, and says a change is essential above 3%.
According to Castrol’s brake fluid guidance, as little as 3.5% water can reduce brake fluid effectiveness by up to 40%. The company also notes that most manufacturers recommend a change every 24 months or 24,000 miles, and advises checking the fluid at every service.
A reading above 2.5% on a brake fluid tester is the point where Castrol recommends a change, so plan one rather than waiting for the next scheduled interval.
Frequently Asked Questions
Can a brake fluid tester replace a fluid change?
No. Knowing how to use a brake fluid tester helps you track water content, but a test does not replace a change. The tester shows the water content at the moment you test, but it cannot remove water already in the fluid. If the reading is high, or the fluid is older than your manual’s interval, change it rather than retest.
How often should I test brake fluid?
Test at every service, and follow the replacement interval in your owner’s manual. Castrol notes that most manufacturers recommend a change every 24 months or 24,000 miles, so a test between changes is a useful check.
Is brake fluid dangerous to touch?
Brake fluid can irritate skin and eyes, and swallowing it needs immediate medical advice. The Sealey manual says to rinse eyes with plenty of water and seek medical advice, and to wash skin and clothing with water after contact.
Can I use the same tester on DOT 3 and DOT 5.1 fluid?
Check the manual for your model first. The Sealey VS0271 is stated to work on DOT 3, 4 and 5.1 fluids, while the W181 sheet does not list fluid types, so confirm compatibility with the maker before testing.
What should I do if the green LED does not light?
Replace the battery before you test again. The W181 sheet says the green LED must light after you press the power button, and that used batteries should be disposed of properly.
A test gives you a snapshot, not a full brake inspection. If your reading is above 3%, plan a fluid change and have a qualified technician check the brake system rather than relying on one test alone. If you flush the fluid yourself, support the car safely first with choosing a floor jack.