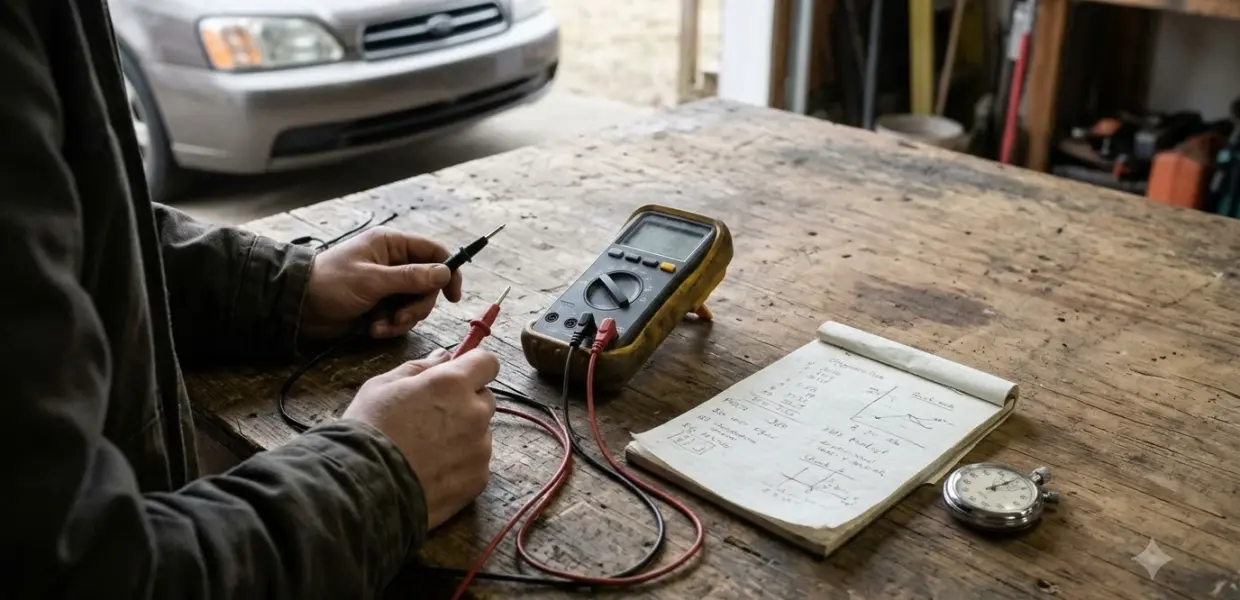

How to use Klein MM300 comes down to three steps: set the dial, plug the leads into the right jack, and read the 2000-count display. The MM300 is a manual-ranging digital multimeter, so you pick each measurement range yourself with the dial.
The manufacturer no longer makes the MM300 and points to the MM325 as its replacement. The steps below follow the official instruction manual, so they apply to any MM300 you already own.
Electrical testing can cause shock or arc flash. This guide summarizes the manufacturer’s manual and does not replace it or your local electrical safety rules.
How to Use Klein MM300 Safely Before Each Test
Before you learn how to use Klein MM300 in the field, measure a known voltage or current to confirm the meter works. If the meter or its leads look damaged, stop and do not use them.
Start with a quick visual check of the meter housing and test leads. Look for cracked casings, exposed wire and worn insulation. Then confirm the batteries are in good condition, because the manual warns that false readings can lead to electrical shock.
- Use only CAT III or CAT IV rated test leads.
- Confirm the circuit stays within the meter’s CAT III 600V rating.
- Keep your fingers away from the metal probe contacts while measuring.
- Do not open the meter to change batteries while the probes are connected.
Environment matters too. The manual lists an operating range of 0°C to 40°C (32°F to 104°F), an altitude limit of 2000 m (6562 ft), and humidity below 80 percent without condensation. Do not use the meter during electrical storms or in wet weather, and use extra caution above 25V AC RMS or 60V DC, which pose a shock hazard.
Connect the Test Leads to the Right Jacks
Jack choice is where most first-time mistakes happen. Put the black lead in COM for every measurement and the red lead in VΩ for most tests. Use the 10A jack only for DC current above 200mA, because each jack has its own current limit.
| Jack | Use it for | Limit from the manual |
|---|---|---|
| VΩ | Voltage, resistance, continuity, diode and battery tests, and DC current below 200mA | Do not exceed 600V or 200mA |
| COM | Every measurement, as the return path for the black lead | Black lead only |
| 10A | DC current from 200mA up to 10A | Do not exceed 10A |
Push each lead all the way into its jack, which is part of how to use Klein MM300 correctly, and keep the CAT III or CAT IV rated leads in good condition.
How to Measure Voltage With the Klein MM300
Knowing how to use Klein MM300 for voltage starts with the dial. To measure voltage, set the dial to the highest V setting, which is 600V, then step down for finer resolution. The meter reads up to 600V AC and up to 600V DC, so pick the setting that matches the type of voltage you are checking.
Connect the red lead to VΩ and the black lead to COM. The official Klein MM300 instruction manual describes the same procedure for AC and DC voltage.
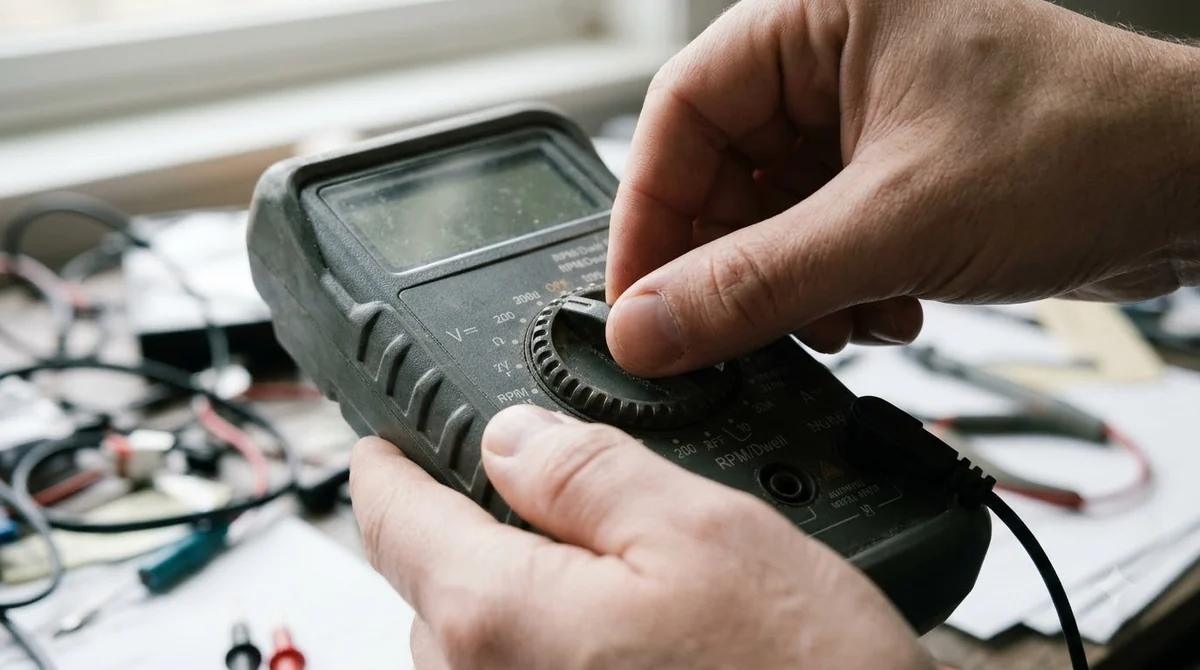
- Turn the dial to the highest V DC setting, 600V, for DC voltage. For AC voltage, use the highest V AC setting.
- Touch the probes across the circuit and read the display.
- Turn the dial to a lower setting, such as 200V or 20V, for a more precise reading.
Check the reading against what you expect before you trust it, and stop if the number looks wrong. Once the dial is set for DC voltage, a step-by-step car battery voltage test shows how to read the result.
Measuring Current Safely
Measure current with the meter wired in series, and remove power from the circuit while you connect it. The 10A jack covers DC current from 200mA to 10A, and the VΩ jack covers milliamp readings below 200mA.
Current is where fuses blow most often, which is why how to use Klein MM300 for current needs extra care. The manual says a fuse may blow if more than 200mA reaches the VΩ jack or more than 10A reaches the 10A jack. Follow these steps to avoid blowing a fuse.
- Remove power from the circuit and open it at the test point, the same safety step as any test.
- For DC current from 200mA to 10A, plug the red lead into the 10A jack and set the dial to 10A DC.
- For DC current below 200mA, plug the red lead into VΩ and set the dial to the highest mA DC setting.
- Connect the meter in series with the test leads, then restore power to the circuit.
Do not measure more than 10A. When measuring currents above 6A, the manual recommends a measurement time of 30 seconds, followed by 10 minutes of recovery time.
Checking Resistance, Continuity and Diodes
Resistance checks follow one rule: power off first. To check resistance, remove power from the circuit, set the dial to a Ω setting, and connect the leads. Continuity beeps when the measured resistance is below 100Ω, which makes it quick for checking wires.
Start on the highest Ω setting, which is 2MΩ, and step down for more resolution. When the leads are open, the display shows O.L., and the manual says this is normal.
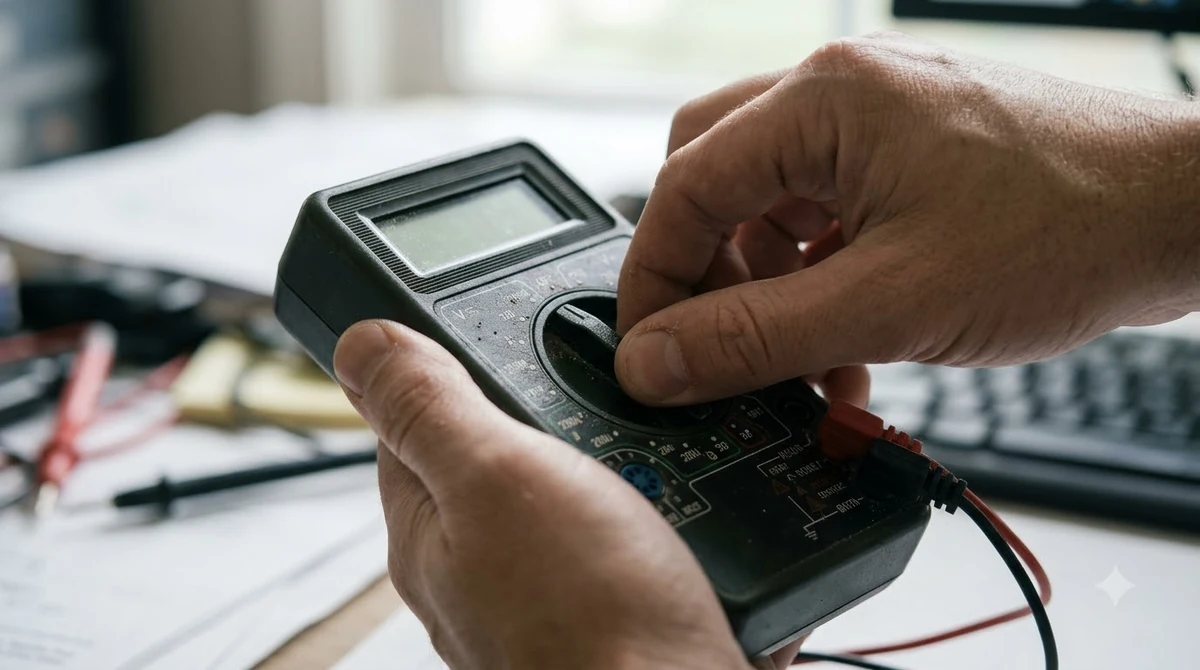
- Continuity: set the dial to the continuity symbol. The meter beeps below 100Ω and shows OL on an open circuit.
- Diode: forward bias reads about 200 to 700 mV, reverse bias shows OL, and a shorted diode reads close to 0 mV.
- Battery: use the 9V or 1.5V position, with black on negative and red on positive.
The manual says never to measure resistance or continuity on a live circuit, so confirm the circuit is de-energized before you connect the leads.
Battery Test, Fuse Replacement and Storage
The MM300 runs on two AAA batteries and uses two replaceable fuses: 69031 (200mA/600V fast-blow) for the VΩ jack and 69032 (10A/600V fast-blow) for the 10A jack.
Replace the batteries when the low battery indicator appears. Remove the battery door screw, replace both AAA batteries with the correct polarity, and fasten the door again. Disconnect the leads from any voltage source before you remove the battery door.
The meter also checks 9V and 1.5V batteries. Connect black to negative and red to positive. A healthy battery should read within about 10 percent of its rated voltage.
To replace a fuse, disconnect the leads from any voltage source, remove the six back screws, and swap in the matching fast-blow fuse. Do not operate the meter while the back housing is removed.
Remove the batteries if you will store the meter for a long time. After a battery check, testing a car battery under load shows how well it can crank. Keep it away from high temperatures and humidity, and wipe it with a dry, lint-free cloth. The MM300 product page at Klein Tools says the model is no longer in production and names the MM325 as its successor.
Frequently Asked Questions
Can the Klein MM300 measure AC current?
No. The manual lists AC voltage, DC voltage, DC current and resistance, and it also tests batteries, diodes and continuity. If you need AC current, you need a different meter. Check the manual for the exact functions on your unit. For a meter that does read AC current, see digital multimeter setup for cars.
What does OL mean on the display?
OL means overload or an open circuit. The manual shows it when the input exceeds the selected range, when the leads are open during a resistance test, and when a diode is reverse biased.
What batteries does the MM300 use?
The MM300 uses two AAA batteries. Replace both when the low battery indicator appears, because the manual warns that low batteries can cause false readings. Disconnect the probes before you open the battery door.
Which jack should I use for current?
Use the 10A jack for DC current from 200mA to 10A. Use the VΩ jack for milliamp readings below 200mA. The manual warns against exceeding 200mA on the VΩ jack or 10A on the 10A jack, because a fuse can blow.
What safety rating does the MM300 carry?
The MM300 is rated CAT III 600V, Class 2, with double insulation. Use it only on circuits within that category, and use CAT III or CAT IV rated test leads. Knowing how to use Klein MM300 safely starts with that rating. The manual also notes that voltages above 25V AC RMS or 60V DC pose a shock hazard.
Is the MM300 still made?
The manufacturer’s product page says the MM300 is no longer in production and lists the MM325 as its successor. Check current availability before you buy, because stock and listings change. The steps still follow the same manual for the unit you own.
Understanding how to use Klein MM300 starts with picking the function before you touch the probes, confirm the meter reads a known voltage or current, and stop if a reading looks wrong. Because the MM300 is no longer in production, check whether a newer model suits your work before you buy.