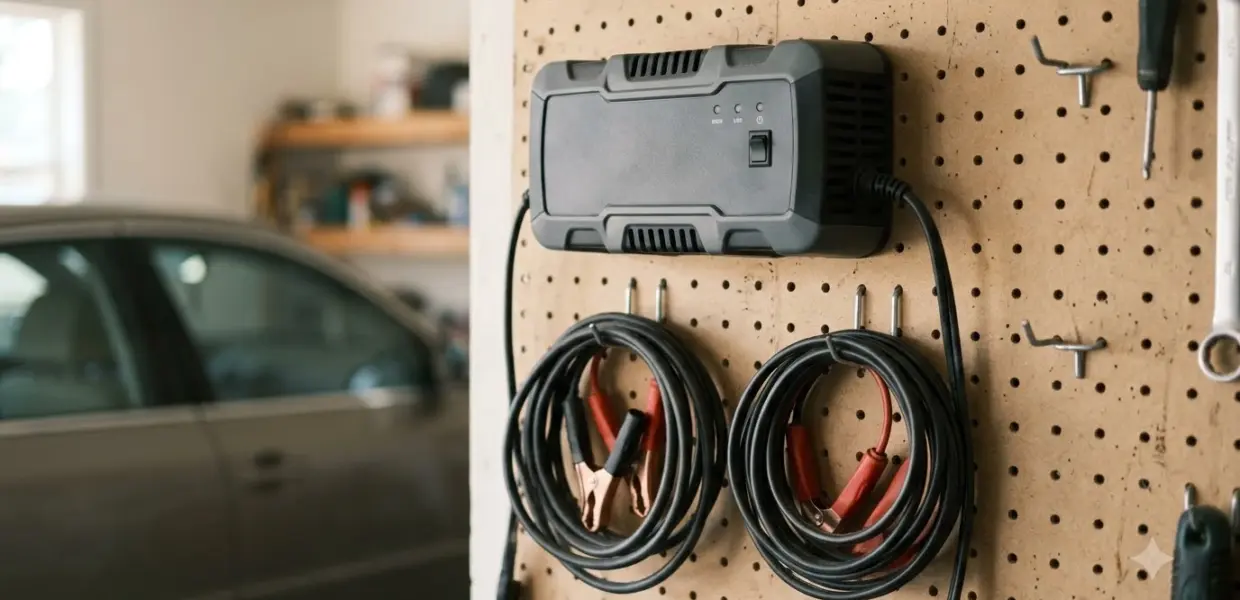

To learn how to use noco genius 10, connect the clamps in the correct order, pick the mode that matches your battery, and plug the charger in last. It charges 6V and 12V batteries up to 230 Ah at 10 amps.
Lead-acid batteries and 12V lithium batteries with a built-in battery management system are supported. If you are not sure of your battery’s chemistry, check the owner’s manual before you charge it.
This guide follows NOCO’s user guide for the GENIUS10. Battery charging carries risks of shock, fire and explosion, so read the full safety section of the manual before your first charge.
Which Batteries the NOCO Genius 10 Charges
The NOCO Genius 10 charges 6V and 12V lead-acid batteries, including AGM and flooded types, plus 12V lithium batteries that have a built-in battery management system, up to 230 Ah.
- Lead-acid types: wet (flooded), gel, maintenance-free, calcium, enhanced flooded (EFB) and AGM.
- 12V lithium (LiFePO4) batteries, only when the battery has a built-in BMS.
- Battery capacity up to 230 Ah.
- Other battery chemistries are not supported. Contact the battery maker if you are unsure of the chemistry or voltage.
What You Need Before You Start
Before you connect anything, confirm the battery’s voltage and chemistry. Then set up in a ventilated spot with the charger uncovered and clear of combustible materials. If you doubt the battery is worth charging, checking a car battery before charging takes only a few minutes.
Gather these items before your first charge:
- The battery owner’s manual, to confirm voltage and chemistry.
- Eye protection, because batteries can explode and send debris flying.
- A dry, ventilated area with no smoking and no sparks or open flame nearby.
- An ambient temperature between -4°F and 104°F (-20°C and 40°C). Do not charge a frozen battery.
- For a battery outside the vehicle, at least a 24-inch, 6-gauge insulated cable for the negative clamp.
How to Use NOCO Genius 10: Connecting the Battery
Connect the clamps before you plug the charger into the wall, and attach the negative clamp last, away from the battery. The guide asks for this order every time, whether the battery is in the vehicle or on the bench.
Battery in the car
Most vehicles are negative-grounded, and NOCO’s GENIUS10 user guide sets out the clamp order for that case. Following that order is the core of how to use noco genius 10 safely, so start with the positive clamp on the positive battery terminal.
- Keep the AC and DC cords away from the hood, doors, fan blades, belts and pulleys.
- Check the polarity marks. The positive terminal (POS, P or +) is usually the larger one.
- Connect the red positive clamp to the positive terminal, which is not grounded to the chassis.
- Connect the black negative clamp to a heavy metal part of the frame or engine block, away from the battery.
- Plug the charger into an outlet last. Do not face the battery while you make this connection.
- To disconnect, reverse the order and remove the negative clamp first.
Battery out of the vehicle
A battery on the bench is simpler to reach, and how to use noco genius 10 on it follows the same spark rules. Attach the 24-inch, 6-gauge cable to the negative terminal first, and keep the free end away from the battery.
- Check the polarity marks, then attach the insulated cable to the negative terminal.
- Connect the red positive clamp to the positive terminal.
- Stand as far from the battery as practical and connect the black clamp to the free end of the cable.
- Plug the charger into an outlet last. To disconnect, reverse the order and break the first connection as far from the battery as you can.
Choosing a Charge Mode
The key choice in how to use noco genius 10 is the mode: press the Mode button to cycle through them, and pick the one that matches your battery’s voltage and chemistry before you start charging.
| Mode | Use it for |
|---|---|
| Standby | No charging and no power to the battery. The charger starts here on first use, shown by the orange LED. |
| 12V | 12V wet, gel, enhanced flooded, maintenance-free and calcium batteries. |
| 12V AGM | 12V AGM batteries. |
| 12V Lithium | 12V lithium-ion or lithium iron phosphate batteries with a built-in BMS only. |
| 6V | 6V lead-acid batteries. Press and hold for 3 seconds. Consult the battery maker before using this mode. |
| 6V AGM | 6V advanced AGM batteries that need a higher charging voltage. |
| Repair | Recovery for old, idle, damaged or sulfated 12V lead-acid batteries. |
| Supply | Power for 12V DC devices, with the clamps not connected to a battery. |
| Force | Starts a charge on a battery whose voltage is too low for the charger to detect. |
Auto-memory returns the charger to the last mode you used when you reconnect it, so check the mode LED each time. The smaller GENIUS1 is a different model with its own modes, covered in NOCO Genius 1 setup steps. Battery Tender’s Plus line is sold as a charger and maintainer, and the Battery Tender Plus voltage and clip order explains how to connect it.
Starting a Charge and Reading the LEDs
Once you select the right mode, the charge LEDs show how full the battery is, and the charger keeps monitoring it after charging is done.
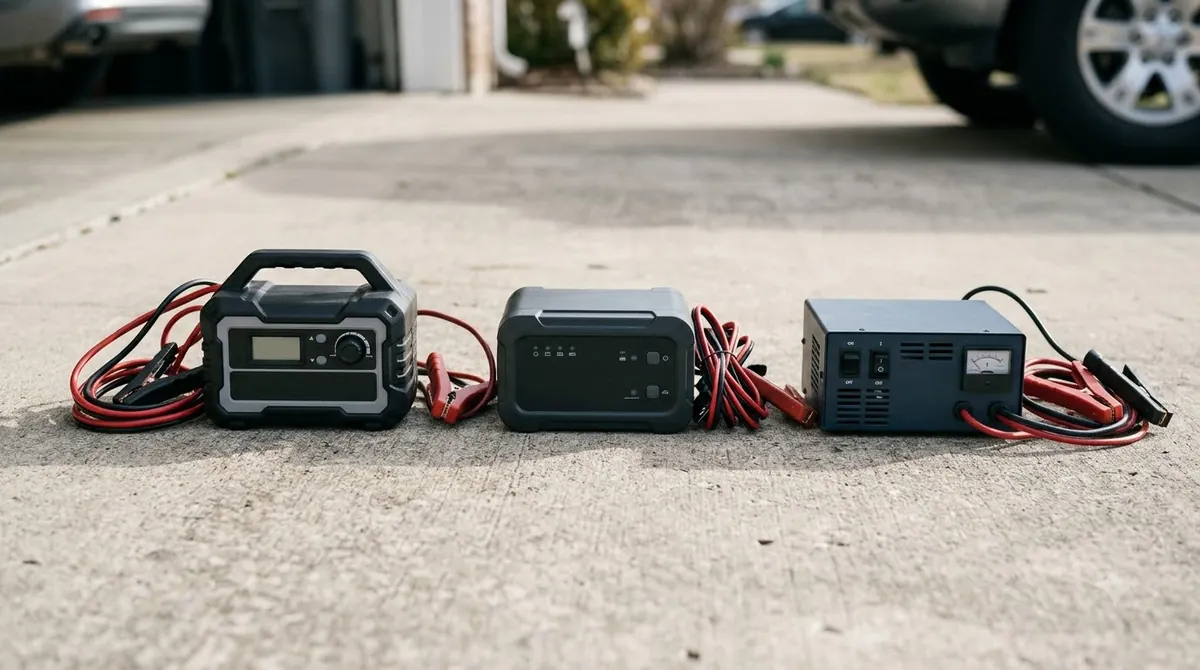
Each charge LED shows a state of charge:
- 25% (red): pulses while the battery is below 25 percent, then stays solid.
- 50% (red): pulses while the battery is below 50 percent, then stays solid.
- 75% (orange): pulses while the battery is below 75 percent, then stays solid.
- 100% (green): a pulsing green light means bulk charging is complete and the battery is being optimized. A solid green light means the battery is full.
How Long a Charge Takes
Plan the wait before you start, because how to use noco genius 10 on a large battery means a long charge: a 230 Ah battery takes about 17.3 hours, while a 20 Ah battery takes about 1.5 hours, based on a battery discharged 50 percent.
| Battery size | Approximate charge time |
|---|---|
| 20 Ah | 1.5 hours |
| 40 Ah | 3.0 hours |
| 80 Ah | 6.0 hours |
| 100 Ah | 7.0 hours |
| 230 Ah | 17.3 hours |
NOCO presents these times for reference only. Temperature and battery condition change the result, so treat the table as a starting estimate.
Advanced Modes: Supply, Repair and Force
The advanced half of how to use noco genius 10 covers three modes: Supply mode turns the charger into a 13.6V, 10 amp power supply, Repair mode tries to recover old or sulfated 12V batteries, and Force mode starts a charge on a battery that is too low for the charger to detect.
Supply mode
Press and hold the mode button for 3 seconds with the clamps not connected. The charger then delivers 13.6 volts at 10 amps, with overload protection at 12 amps, for 12V DC devices such as a tire inflator.
Supply mode disables safety features and leaves live power at the connectors, so do not touch the connections together.
Repair mode
Repair mode is for old, idle, damaged, stratified or sulfated 12V lead-acid batteries. It can drive up to 16.5 volts into the battery, and a recovery can take up to four hours. Not every battery can be recovered.
Repair mode can cause some water loss in flooded cells. Disconnect the battery first if it has sensitive electronics, and use this mode on 12V lead-acid batteries only.
Force mode
Press and hold the mode button for 5 seconds to start it, then select your mode. Force mode runs for five minutes before the charger returns to normal charging. Make every connection before you enter it, because it disables safety features.
Common Mistakes and Error Lights
A solid red overvoltage, bad battery or reverse polarity light means the charger has found a problem, so check the battery and clamps before you charge again. If the battery is too flat to wait for a charge, using a jump starter on a dead battery is the quicker route.
| Light or problem | What it means | What to do |
|---|---|---|
| Overvoltage (solid red) | Battery voltage is above the protect level for the selected mode. | Check the battery and the charge mode. |
| Bad battery (solid red) | The battery will not hold a charge, which can mean a short. | Have the battery checked by a professional. |
| Reverse polarity (solid red) | The clamps are connected to the wrong battery terminals. | Reverse the battery connections. |
| Standby light with no charge | The charger is in Standby, or the battery voltage is too low for it to detect. | Select a charge mode, or use Force mode for a very low battery. |
| Flashing light | The charger’s internal temperature is too high, or the surrounding air is too cold. | The charger resumes once its temperature returns to range. |
Frequently Asked Questions
What is the first step in how to use noco genius 10?
The first step in how to use noco genius 10 is to confirm the battery’s voltage and chemistry from its owner’s manual. Then connect the clamps in the order the guide gives, plug the charger into an outlet last, and select a mode. On first use the charger starts in Standby, so it is not charging until you choose a mode.
Can I leave the NOCO Genius 10 connected to my battery?
Yes. According to NOCO’s user guide, the charger can stay connected to the battery indefinitely. After a full charge it keeps monitoring and maintaining the battery.
Can the NOCO Genius 10 charge a lithium battery?
It charges 12V lithium (LiFePO4) batteries, but only those with a built-in battery management system. Select the 12V Lithium mode. The guide warns that some lithium batteries are unsuitable for charging, so consult the battery maker for recommended voltages and rates first.
Can the NOCO Genius 10 power a tire inflator?
Yes, in Supply mode. The charger provides 13.6 volts at up to 10 amps for 12V DC devices, with overload protection at 12 amps. Supply mode leaves live power at the connectors, so never touch the clamps together while it is on.
Read the full safety section of the NOCO manual before each charge, and confirm the battery’s voltage and chemistry every time you connect. The guide says not to operate the charger until you have confirmed the right mode for your battery.