

Learning how to use a test light on a car takes minutes. Clip the lead to a solid ground, then touch the probe to the point you want to check. A lit bulb means power is present at that point, and a dark bulb means there is none.
A test light answers one question quickly, but it can load sensitive circuits and cannot give exact values. Use a digital multimeter when you need a number or a sensor check.
Electrical work can cause sparks, short circuits and damage to parts. Follow your vehicle’s service manual, and do not probe airbag wiring unless the manual says the procedure is safe.
What a Test Light Does and When It Helps
A test light shows whether power or ground is present at one point, using a bulb instead of a number. It works best on high-current circuits such as headlights and the main power feed.
Knowing how to use a test light saves time on simple electrical faults. The bulb lights when current flows through the probe and the ground lead, so the result is a quick yes or no. A 1998 Motor magazine article notes that most test lights have low input impedance, which means they can load delicate electronic circuits. For that reason, the article limits test light use to high-current circuits.
The same article gives an oxygen sensor as an example. That circuit runs on low voltage and small currents, so a low-impedance test light can act as a path to ground and pull the signal down. This is why knowing how to use a test light also means knowing where it does not belong.
What You Need Before You Start
You need a 12-volt test light, a solid ground point, and a wiring diagram for the circuit you are checking. Test the light before you trust it.
- A test light with a clip lead and a sharp probe tip.
- A solid ground point, such as the negative battery terminal or bare metal on the frame or engine.
- A wiring diagram, so you know which wire and connector to probe.
- A battery to confirm the light works before you test the vehicle.
Some brands sell a low-voltage tester for the same job. Klein Tools’ catalog 69127 tester, for example, checks live 6 to 24 volt AC or DC circuits. Its specifications list shorts in automotive electrical systems, ground circuits of lamps, wiring and fuses as tests it covers. Its probe is 3.75 inches long, which helps you reach into tight spaces. The steps for how to use a test light still apply to a tool like this.
Before you learn how to use a test light on a live circuit, confirm the tool works. Connect the lead to negative and touch the probe to positive. The bulb should light. If it stays dark, fix the tool or the ground before you test the circuit.
Step-by-Step: How to Use a Test Light
Clip the ground lead, test the light on the battery, then touch the probe to the point you want to check. A bright bulb means power is present at that point.
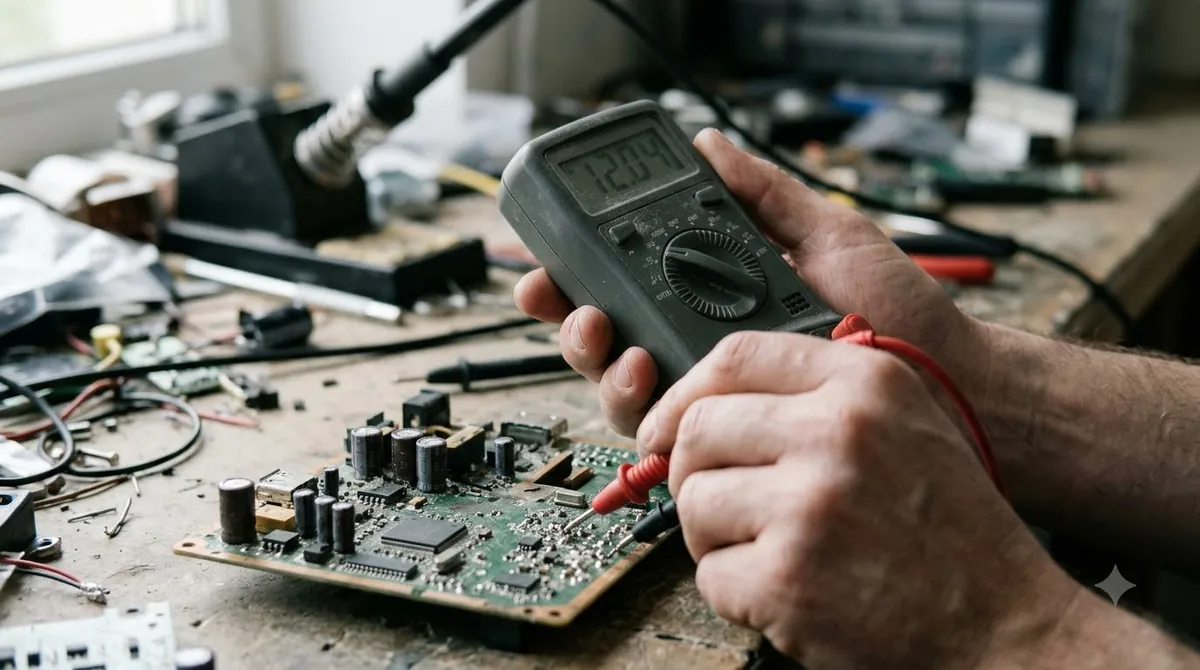
- Clip the lead to a solid ground, such as the negative battery terminal or bare metal on the frame.
- Touch the probe to battery positive. The bulb should light before you test anything else.
- Touch the probe to the fuse, wire or connector you want to check. A bright bulb means power is present there.
- If the bulb stays dark, move back toward the fuse and check the next point in the circuit.
- Compare each result with your wiring diagram before you decide what to repair.
Work from the power source outward. A dead point close to the battery means the fault sits upstream of it, so start there. Repeat these steps at each point to learn how to use a test light on any circuit. Powered circuit testers such as the Power Probe III are rated for 12 to 24 volt automotive systems. Its Power Probe III instruction manual warns that the tool can spark, so do not use it around gasoline or its vapors.
Checking a Fuse
Learning how to use a test light on fuses takes seconds. Touch each side of the fuse with the test light grounded. If both sides light, the fuse is good and power is present. If one side stays dark, treat the fuse as suspect and confirm it against your wiring diagram before you replace it.
Testing a Connection Point
If a wire tests good before a connector but not after it, the connector is the suspect. Remove it and look for rust or corrosion inside. Probing on both sides of the connector helps you isolate the fault quickly. Learning how to use a test light on connectors takes a few tries, so practice on a known good circuit first.
Tracing a Fault Through the Circuit
Follow power from the fuse to the switch and then to the load, the same path you cover when you learn how to use a test light on a faulty circuit. The last point that lights before a dark one shows where the fault sits. For measured values, see digital multimeter use on cars.
Power at the switch but not at the motor usually points to a bad switch. Power at the motor, with good grounds, points to a likely bad motor. When you learn how to use a test light for tracing, these two readings save a lot of guesswork. Write down each point that lights and each point that stays dark, so you can see exactly where the power stops.
When you learn how to use a test light for ground checks, a dim headlight or brake light is the classic clue. It usually means the power side is fine and the ground is bad. Move the lead to a known power point, test the ground side, then follow the ground wire back to the body.
Probing a wire through its insulation is part of how to use a test light on harnesses, but the hole lets moisture in. Confirm the wire color on the wiring diagram first, and seal the spot afterward.
Common Mistakes to Avoid
The most common errors are a weak ground, probing sensitive wiring, and testing near fuel vapors. Each one can give a false reading or damage a part. A charging test is described in alternator output checks.
- Clipping the lead to a painted or rusted surface, which can make a good circuit look dead.
- Probing airbag (SRS) wiring without the factory service manual’s approval.
- Using a test light on computer or control module signal wires, where it can change the signal.
- Using a powered probe around gasoline or fuel vapors, since it can spark.
- Using an automotive tool on 110-volt household wiring. The Power Probe III manual says it is not for that use.
The ground is the most common source of error when you use a test light. A bulb that stays dim or dark can point to a poor ground rather than a dead circuit.
Knowing how to use a test light is only half the job. Keep the tool on the circuits it suits, and switch to a multimeter when the wiring is sensitive.
When to Use a Digital Multimeter Instead
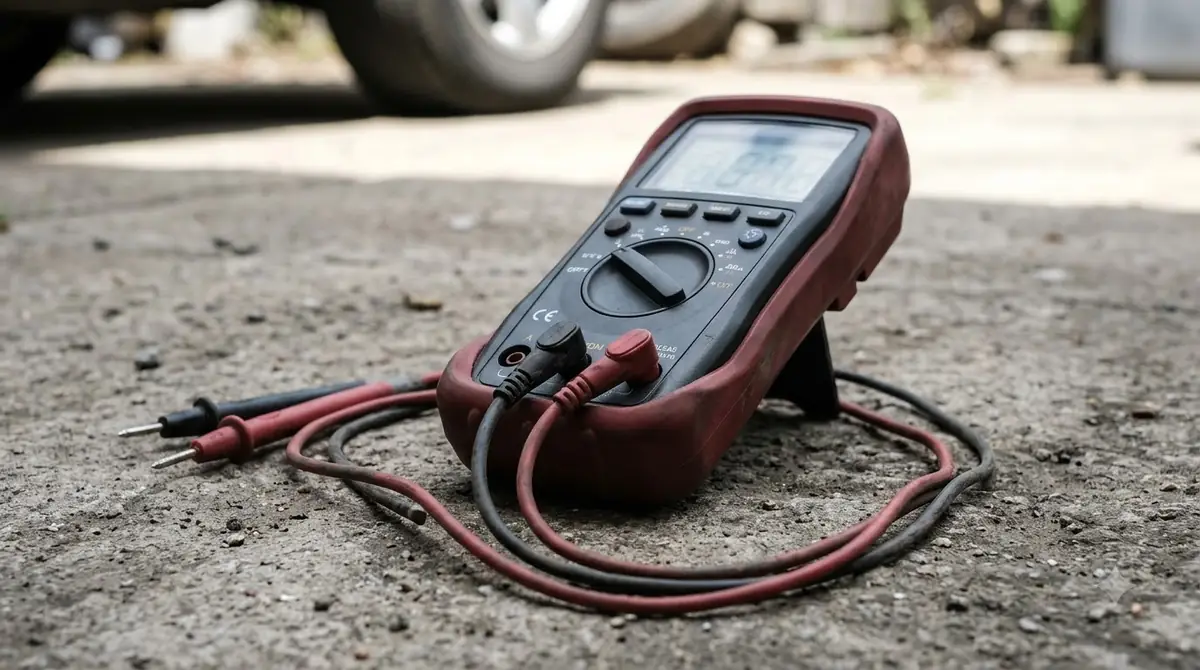
Use a digital multimeter when you need a number, a resistance reading or a check on a sensitive sensor, since a test light only shows bright or dim or dark.
| Check | Test light | Digital multimeter |
|---|---|---|
| Quick power or ground check | Fast, bright or dark | Works, but slower to read |
| Exact voltage | Not shown | Shows a number |
| Sensor or computer signal wire | Can load the circuit | High input impedance, loads less |
| Pulse width or duty cycle | Cannot measure | Can measure |
Motor magazine’s hand-held tester article describes digital multimeters as high impedance, typically rated around 10 megohm. The same article notes that the display updates one to four times per second, so a fast glitch can slip past. Use the test light for fast power checks and the multimeter for numbers. Keep both tools close at hand, because each one answers a different question about the same circuit. Knowing how to use a test light well means knowing when to switch.
Frequently Asked Questions
Can you use a test light on airbag wiring?
Check the factory service manual before you probe airbag (SRS) wiring. If the manual does not describe a test method for that circuit, leave it alone and ask a qualified technician to help.
Does a test light work on 110-volt home wiring?
No. The Power Probe III manual states that it is for 12 to 24 volt automotive systems and not for 110/220 volt household electrical. Use a tool rated for household wiring when you check outlets or appliances.
Is a test light better than a multimeter?
For quick power and ground checks on high-current circuits, a test light is faster. A multimeter gives a number and loads sensitive circuits less, so it is the better choice for sensor and computer wiring.
How do you test a test light before using it?
Before you learn how to use a test light on a real circuit, clip the lead to the battery negative and touch the probe to battery positive. The bulb should light. If it stays dark, check the bulb and the ground before you trust any reading from the tool.
Start every test with a clean ground and a wiring diagram in hand. A lit bulb proves power at one point only, so check the next point before you decide what to repair. Learning how to use a test light well prevents most wrong repairs and keeps the tool on the work it does best.