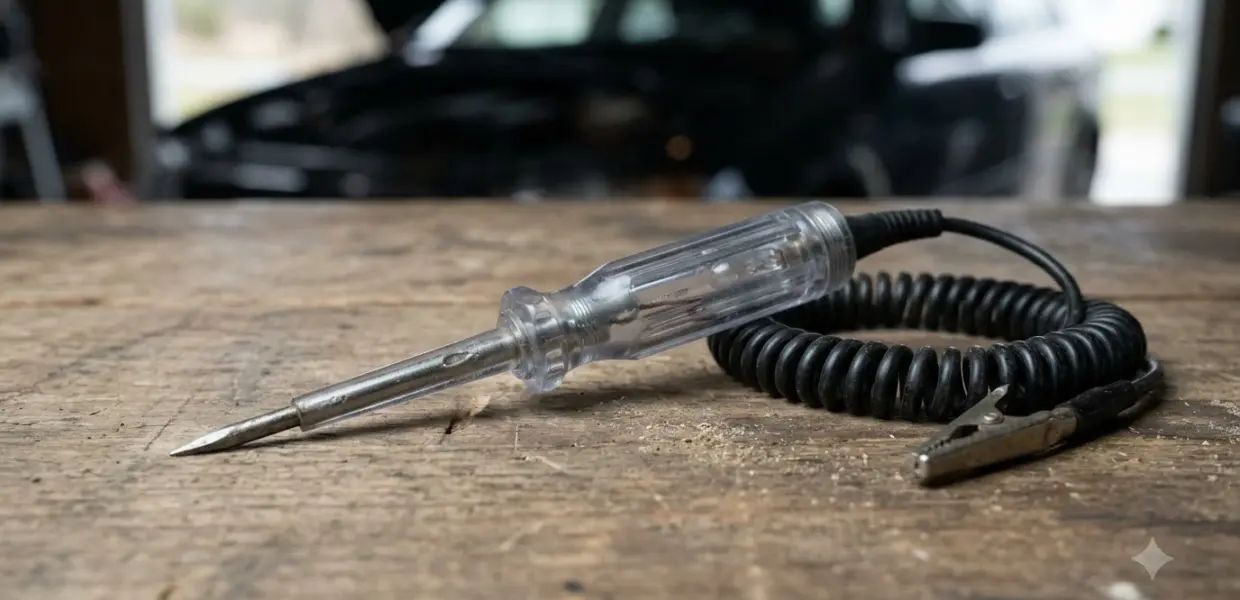

The short answer to how to use Power Probe III is to clip the red lead to the positive battery terminal, the black lead to negative, then press the switch forward to energize the tip. The tool is made for 12 to 24 volt automotive circuits only.
The Power Probe III is a circuit tester that shows voltage and polarity at a glance. Anyone learning how to use Power Probe III should run the quick self-test before probing a real circuit, so you know the lights and display work.
How to use Power Probe III: safety and scope first
The Power Probe III is made for 12 to 24 volt automotive systems, and the manual says it must not be used with 110 or 220 volt household wiring. Before you learn how to use Power Probe III on a car, confirm the system voltage sits in the 12 to 24 volt range.
When the switch is pressed, battery current goes directly to the tip, which may cause sparks when it touches ground or certain circuits. The Power Probe kit instruction manual warns that the tool should not be used around gasoline or its vapors, because a spark could ignite them.
The manual compares the caution to using an arc welder. Read the instruction booklet carefully before the first use, and keep the work area free of fuel vapor.
The current that finds a fault can also cause a spark, so the warning is not optional. Treat every session with the same care, even on a quick check.
- The vehicle system is 12 to 24 volts DC
- No gasoline or fuel vapor is nearby
- The instruction booklet has been read before the first use
How to use Power Probe III: hook up the clips and run the self-test
The first step in how to use Power Probe III is the hookup: connect the red clip to the positive battery terminal and the black clip to the negative terminal, then wait for the power-up beep before you test. The tool goes into Power Probe Mode when it first connects to a battery.
- Unroll the Power Probe cable.
- Connect the red battery hook-up clip to the positive terminal of the vehicle battery.
- Connect the black battery hook-up clip to the negative terminal of the vehicle battery.
- Wait for the quick high and low beep. The two white lights come on to illuminate the probe tip.
- Press the power switch forward. The red plus LED lights and the display reads battery voltage.
- Press the power switch rearward. The green minus LED lights and the display reads 0.0.
If the indicator does not light, press the reset button of the circuit breaker on the right side of the housing and repeat the self-test. Quickly pressing the mode button toggles the audio tone on or off.
Once the self-test passes, you know the tool is ready for a live circuit. Keep the 20 foot cable clear of moving parts while you work.
How to use Power Probe III to test voltage, polarity and continuity
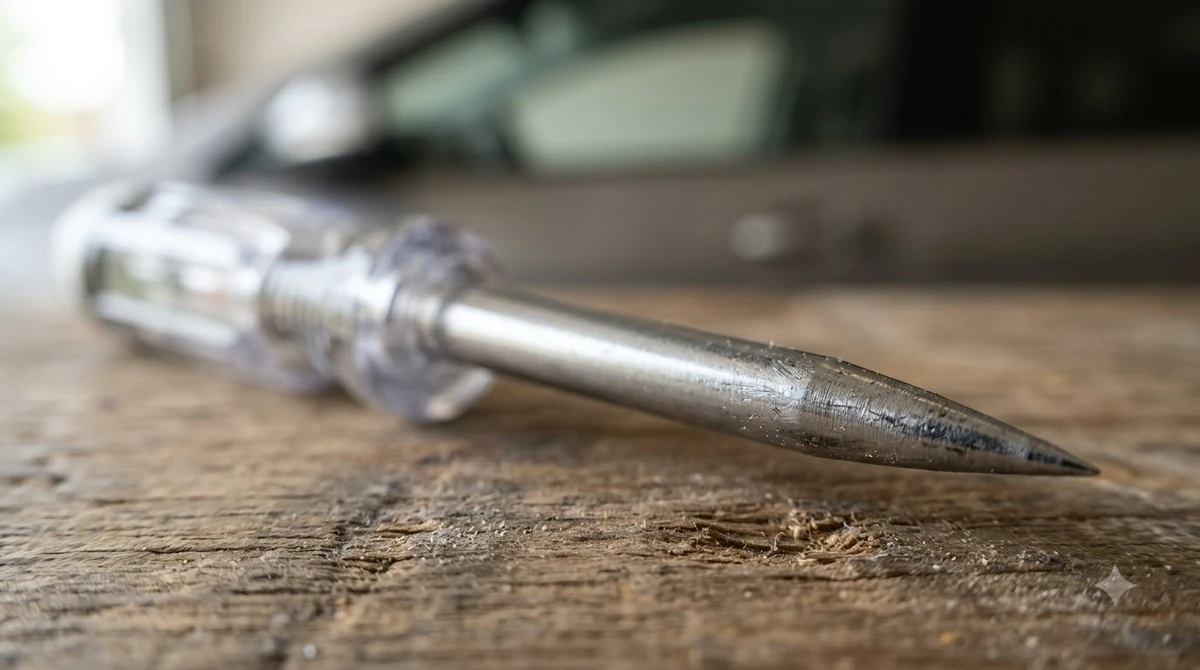
In Power Probe Mode, touching the tip to a positive circuit lights the red plus LED and shows the voltage to 0.1 volt. A negative circuit lights the green minus LED, and an open circuit lights neither LED.
The manual says the tool can also test continuity to find broken wires, which requires its auxiliary ground lead, so keep that lead clean and secure. Connect that lead before you start a continuity test, so the result reflects the circuit and not a missing ground.
The tool is short circuit protected, so the manual says you can follow and locate short circuits without wasting fuses. When the circuit breaker trips, the display shows CB and the tool stops sending battery current to the tip, but voltage probing still works.
A useful habit when you learn how to use Power Probe III is to read the polarity light before the voltage number. The light tells you which side of the circuit you are on before you trust the display.
How to use Power Probe III to activate components
The power switch is the heart of how to use Power Probe III when you need to activate a component, because it sends battery current to the tip. The manual covers activating components out of the vehicle, trailer lights and connections, activating components in the vehicle, and activating with ground.
The manual gives a practical tip: press the switch first, then contact the tip to the component. The arcing then takes place at the tip instead of the switch contacts, which extends the life of the switch.
Keep each activation short, and recheck the hookup and the self-test if the component does not respond. A quick check of the clips and breaker often finds the cause.
Common mistakes to avoid with the tool
The manual names several hazards that come up when people use the tool carelessly. Three of them are simple to avoid once you know the rules.
- Testing 110 or 220 volt household wiring, which the manual rules out
- Probing near gasoline or fuel vapor, where a spark could cause ignition
- Connecting the clips to the wrong battery terminal, so the polarity readings are wrong
Check the red and green indicators during the self-test, a habit worth building from your first day of learning how to use Power Probe III, to confirm the clips are on the correct terminals. A reversed connection shows up as the wrong polarity light, so fix the clips before you test a circuit. Clip errors are easy to make in tight engine bays, so slow down and read the lights before each test. Most beginner problems with how to use Power Probe III trace back to the clips.
A clean approach on any car is to check the clips, the self-test and the breaker before each session, so the readings you take are trustworthy.
Is Power Probe III the right tool for you?
The Power Probe III fits quick 12 to 24 volt circuit checks on a vehicle, while a multimeter gives a wider range of measurements. Choose the tool for power, ground and short circuit hunting rather than for household work. Decide this before you commit to the tool on every job.
It fits a technician who needs to find power, ground and short circuits quickly on a car or truck, and who plans to use the Power Probe III daily. It fits less a home user who mainly tests outlets, because the manual rules out household electrical use.
The tool also has a 20 foot extendable cable, which the manual says lets you test along the entire length of the vehicle without searching for ground hookups each time. That convenience is a real advantage on larger vehicles.
Before you buy, check whether your model covers the features you need, because the variants differ. If you plan to use the tool on many jobs, compare the booklets for each model first.
Related Guides
Frequently Asked Questions
Can I use Power Probe III on a household outlet?
No. The manual says the Power Probe III and the ECT 2000 are not to be used with 110 or 220 volt household electrical, and are only for 12 to 24 volt systems.
What do the red and green lights mean?
A red plus LED means the tip touches a positive circuit, and a green minus LED means a negative circuit. If neither LED lights, the manual says the contact point is an open circuit. Those lights are the first thing to check in how to use Power Probe III.
Why does the display show CB?
The circuit breaker has tripped. The tool then stops sending battery current to the tip, though voltage probing still works. Reset the breaker on the right side of the housing when you are ready.
How do I test continuity with the tool?
Use the auxiliary ground lead, as the manual describes for continuity testing. Connect that lead before you start, then probe the circuit you want to check.
Is it hard to learn how to use Power Probe III?
Not really. The hookup is two clips, and the self-test confirms the tool works before you probe. The harder part is knowing the circuit you are testing, so read the warnings and the booklet first.
Can I use the tool near fuel lines or a fuel tank?
No. The manual warns that the Power Probe should not be used around flammable items such as gasoline or its vapors, because a spark could ignite them.
Read the full instruction booklet before the first use of the Power Probe III on any vehicle. Match the manual to your exact model number, since the tool has several variants with their own booklets. If you remember one thing about how to use Power Probe III, make it the 12 to 24 volt limit.